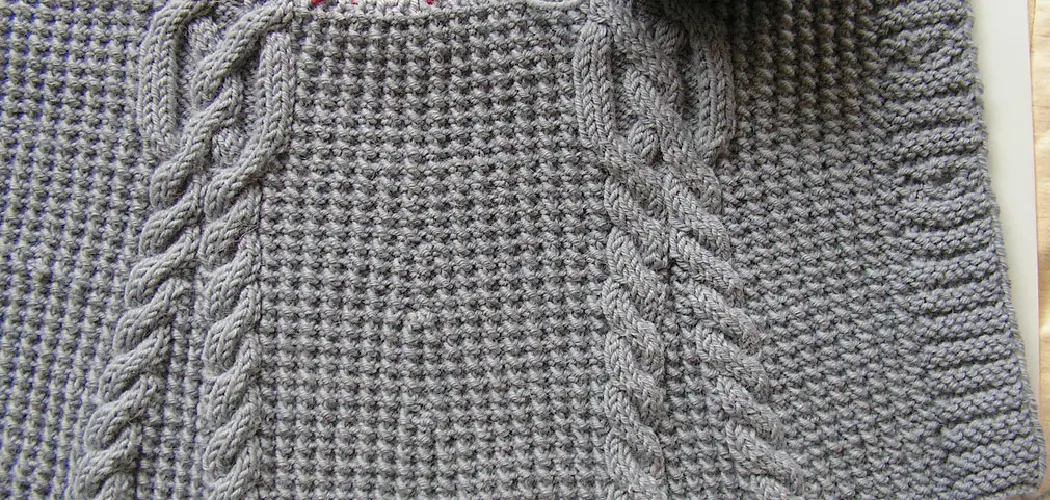
Shrinking crochet is a great way to customize pieces to fit better, create textured fabrics, or use special yarns and fibers. It can also give your crocheted pieces a unique look and texture. For example, if you are making a shawl or blanket, you may want to shrink it to make it a snugger or to create a unique effect.
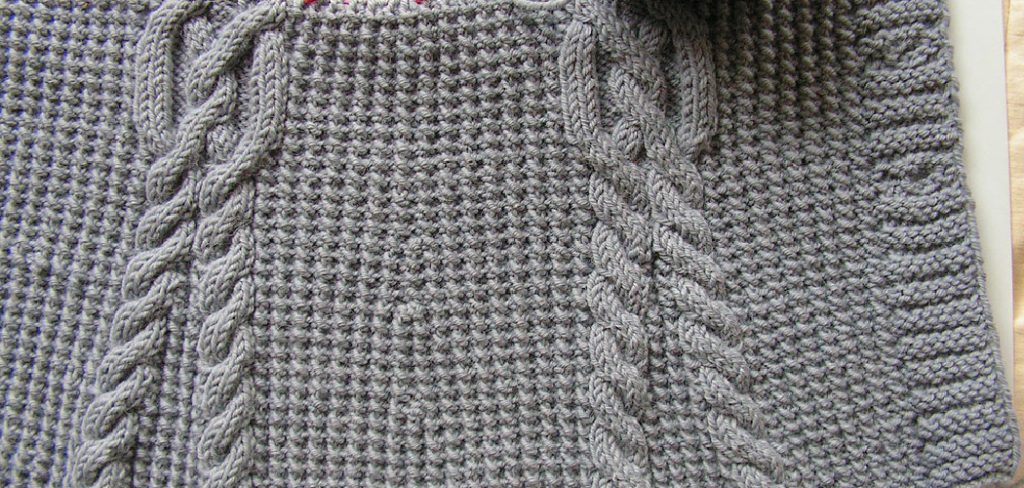
One advantage of learning to shrink crochet is that it can help you create unique, textured pieces with precise control over the size. It’s especially helpful for projects like hats, sweaters, and scarves often made with thinner yarns or delicate materials. Shrinking crochet allows the crafter to manipulate the shape and size of the item with just a few simple stitches, resulting in a truly custom piece. In this blog post, You will learn in detail how to shrink crochet.
What is Shrinking Crochet?
Shrinking crochet is when you use a combination of techniques to create a tighter, smaller fabric after crocheting. This can be done by using a smaller hook, making adjustments to the tension and stitch choices, or even wet blocking and steam blocking. Essentially, shrinking crochet involves manipulating the structure of the stitches to create a more compact design.
How to shrink your crochet project depends on what type of yarn you’re using and what size and shape you’re looking for. For example, if you are working with wool or other natural fibers, wet blocking and steam blocking can be effective methods for shrinking. On the other hand, if you are working with synthetic or acrylic yarns, a smaller hook and tighter tension may be necessary to achieve the desired results.
Tools and Materials You Will Need
Crochet Needle:
The size of the crochet needle you will need varies with what type of project you are working on and how much you want it to shrink. In general, a smaller needle size will result in more shrinking. Experiment with different sizes to achieve your desired results.
Yarn:
Most yarn types can be shrunk, but natural fibers like wool or cotton tend to shrink more easily than synthetic fibers. It’s important to test a small swatch of your chosen yarn before attempting to shrink the entire project.
Hot Water:
The key to shrinking crochet is hot water. You will need enough hot water to fully submerge your piece in a bowl or sink.
Measuring Tape:
A measuring tape will help you keep track of how much your piece has shrunk. This is especially helpful if you have a specific size in mind for your final project.
Blocking Mat:
A blocking mat or towel will come in handy for shaping and drying your shrunken piece.
Step-by-Step Processes for How to Shrink Crochet
Step 1: Inspect the Crochet
Before starting, it is important to check the item and make sure that it is suitable for shrinking. This means looking at the material and checking its label or care instructions to ensure the process will not damage it. Before shrinking, remove all embellishments, such as beads or buttons, from the crochet. This ensures that they do not become distorted or damaged during the process.
You should also make sure that the stitches are evenly spaced throughout the crochet piece. If there are any areas with looser or tighter tension, it may not shrink uniformly.
Step 2: Prepare the Shrinking Process
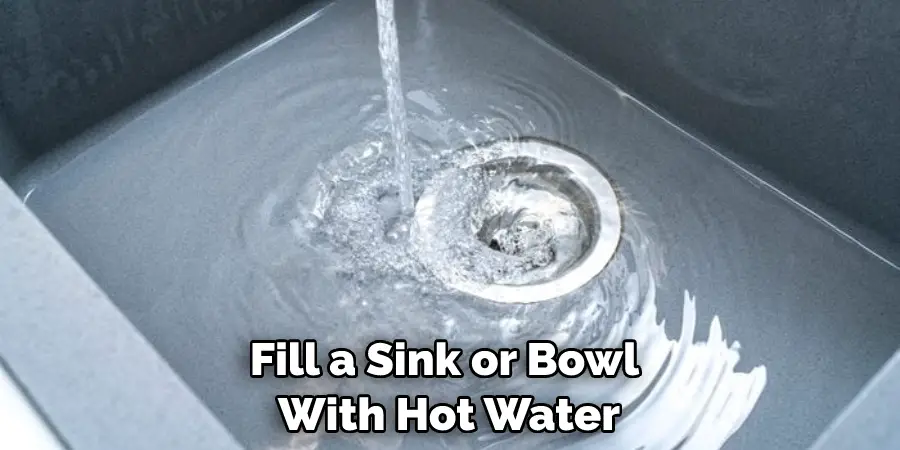
Fill a sink or bowl with hot water and add an appropriate mild detergent to it. Place the crochet into the hot water and gently use your hands to agitate it for several minutes. This will help loosen any dirt or debris so that it can be removed during the shrinking process. After agitating, rinse the crochet with cold water and gently squeeze out any excess moisture.
It’s important not to wring or twist the crochet as this can cause it to stretch and lose its shape. You can also add fabric softener to the rinse water for a softer feel, but this is optional.
Step 3: Remove the Crochet from the Water
Once the crochet has been in the water for several minutes, remove it and gently squeeze out any excess liquid. Do not wring or twist the item, as this could cause damage to its shape. Instead, press it between two towels to absorb moisture before laying it flat in a well-ventilated area.
But before the drying process, you can take this opportunity to adjust any shaping or size by pulling on the crochet in desired areas. This will help achieve a more custom fit.
Step 4: Allow the Crochet to Dry
Once laid out in a flat position, allow the crochet item to dry naturally. The shrinking process will begin as soon as it is exposed to air and heat. It may take several hours for this process to be completed. Once the item is dry, it should have shrunk to a smaller size and be ready for use.
Although you can speed up the drying process by using an iron or hairdryer, it’s not recommended as this may cause the crochet to stretch or lose its shape. You can also shape the item further while it’s drying by gently pulling on specific areas to achieve the desired shaping.
Step 5: Finishing Touches
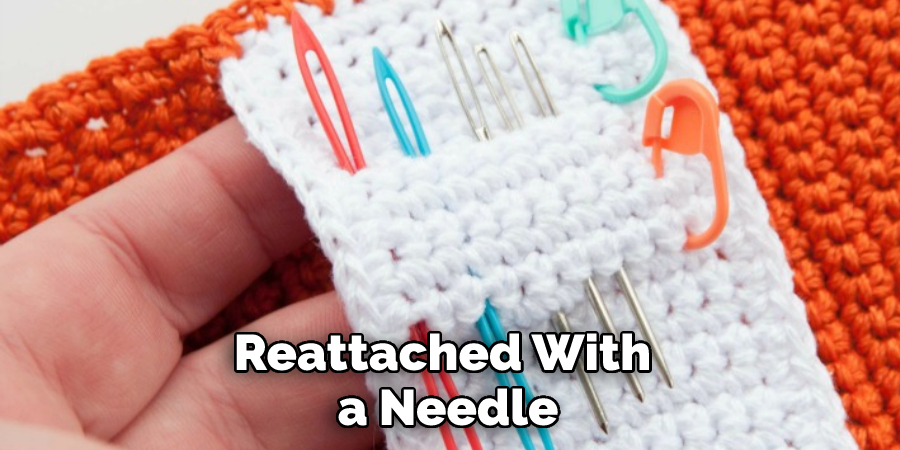
Finally, gently press the crochet with an iron on a low-heat setting if necessary. This will help smooth out any wrinkles or creases in the fabric and give it a more finished look. Additionally, any embellishments that were removed should be reattached with a needle and thread.
It’s important to remember that the shrinking process can be unpredictable and may not always result in your desired outcome. It’s always a good idea to practice on smaller swatches before attempting to shrink an entire project.
With these steps on how to shrink crochet, you will successfully shrink your crochet item without damaging or distorting its shape. It is important to note that the amount of shrinkage varies depending on the material used, so it may be necessary to repeat this process several times to achieve the desired size.
Tips for How to Shrink Crochet
- Always read the care tags of a crochet item before attempting to shrink it. Some yarns are not meant to be washed or shrunk and may suffer damage if you attempt this method.
- Use cold water when shrinking your crochet item – hot water can cause irreversible damage.
- Avoid using bleach as it could discolor your item.
- Use a mild detergent specifically designed for washing wool or delicates, as this will help preserve the color and shape of your crochet item.
- Put your crochet item into a mesh laundry bag before putting it in the washing machine – this will help protect any delicate details from being damaged in the process.
- Do not dry your crochet item on a radiator or clothesline – this could cause it to shrink too much and be unusable. Instead, lay it flat on an absorbent towel until it completely dries.
- When shrinking a larger crochet project, such as a blanket, do so in sections to ensure that the process is even and consistent.
- Once your item has been dried, gently stretch it back into shape if necessary. This will help to keep its size consistent when worn or used for other purposes.
Following these simple tips can help you achieve excellent results when shrinking a crochet project.
How Much Time Does It Take to Shrink Crochet Effectively?
The time it takes to shrink crochet effectively will depend on the project’s complexity and how much you need to shrink it. Generally, it is possible to shrink small projects such as hats or scarves in a fraction of the time required for larger projects such as afghans or sweaters.
If you are shrinking a large project, reaching the desired size may take several hours or even days. To ensure that your project shrinks correctly and evenly, it is important to be patient and ensure every stitch is properly tightened. Additionally, if you are working with a more delicate yarn such as cashmere, silk, or mohair, extra care should be taken to ensure that it does not get stretched or damaged in the shrinking process.

The best way to determine how much time it will take to shrink your project is to do a test swatch first. Creating a small sample of your project and shrinking it will help you gauge how much time you should expect to spend on the full project. Doing this will also give you an opportunity to make any adjustments necessary to get your finished project just right.
How Can You Avoid Overshrinking Your Crochet Pieces?
- How you wash your crocheted item matters: Always take care when washing any crochet pieces, as this will impact their size. Avoid using hot water or harsh detergents, and opt for a gentle hand-washing process with lukewarm water and mild soap. If possible, add a teaspoon of hair conditioner to the mix for softness.
- Blocking is essential: One of the most important steps for avoiding over-shrinking is to block the piece once it has been washed and dried. This will help shape the crochet, allowing it to retain its proper size and shape during the shrinking process. To block your item, lay it flat on a towel, pin it in place, and then gently use a steam iron set on low heat to stretch the fabric into shape.
- Follow the recommended gauge: Following the gauge given in your pattern is essential for successful shrinking. Take time to knit or crochet a swatch before beginning your project and measure its final size after washing and blocking. This will give you a clear indication of how much your crochet pieces will shrink before starting.
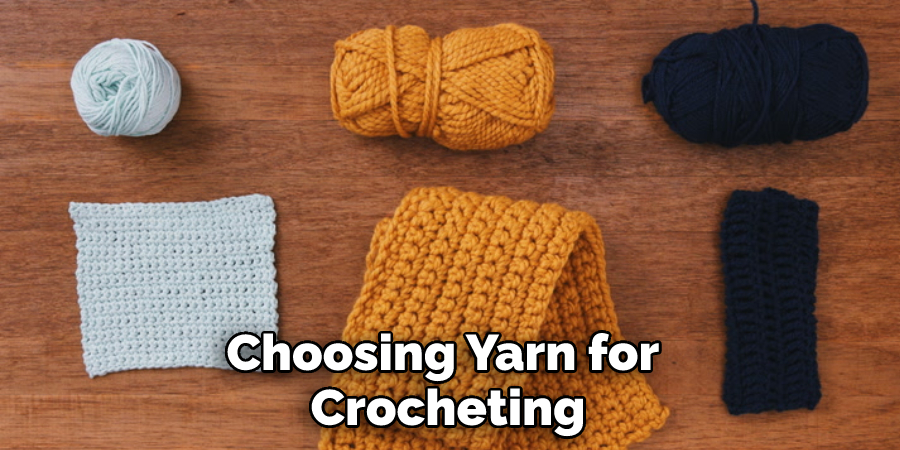
- Use the right yarn: When choosing yarn for crocheting, make sure to select one that is not too stretchy or has too much elasticity. Natural fibers such as cotton, linen, and wool are best suited for shrinking crochet items, as they don’t tend to shrink as much.
- Don’t overwash: How many times you wash your crocheted item can also affect the degree of shrinking. Avoid overwashing, as doing so could potentially cause your pieces to shrink too much. A single wash should be sufficient for most items unless otherwise specified by the pattern.
That’s all the steps you can take to help avoid over-shrinking your crochet pieces. By following these tips, you can ensure that your projects come out perfectly every time.
How Do You Avoid Damaging the Yarn When Shrinking Crochet?
- Use a low heat setting when shrinking crochet pieces. The heat that is too high can damage the yarn, so set your iron to its lowest setting and keep it there for the duration of the process.
- Cover the piece with a damp or press cloth before applying any heat. This will help ensure that the heat is evenly distributed and won’t cause any damage to the yarn.
- Be sure to check on the piece frequently, as crochet pieces can shrink quickly. The last thing you want is for your project to become too small and lose its shape.
- Once the desired shrinking effect has been achieved, take the piece off of the heat and let it cool before handling. This will allow the yarn to set in its new shape.
- When you’re finished, gently press any remaining wrinkles out of the piece with your hand or a pressing cloth, and you’ll have a perfectly shrunken crochet piece.
With the above tips in mind, you can shrink crochet pieces and enjoy the results without worrying about damaging the yarn.
How Do You Avoid Creating Holes in Your Finished Crochet Pieces?
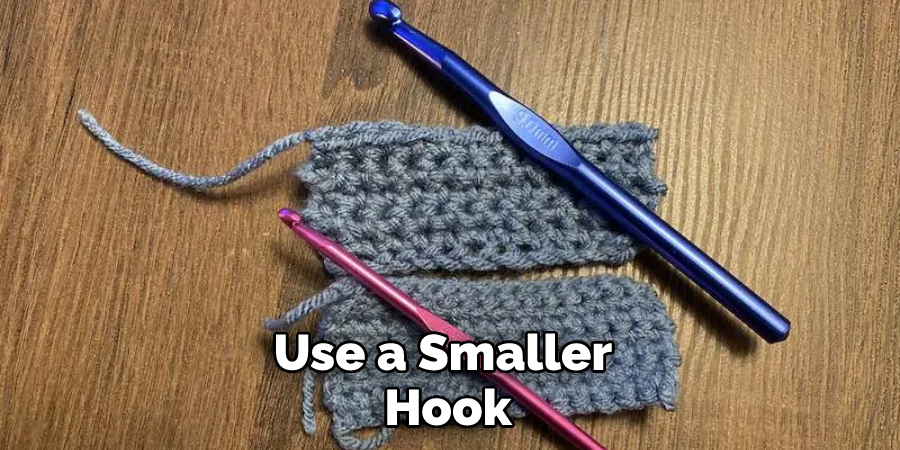
When shrinking crochet pieces, it’s important to take care not to create holes in the finished product. To avoid this, use a smaller hook than what you usually use for your project. This will cause the yarn stitches to pull together more tightly so that there are no gaps. If you’re using a pattern with specific instructions on what size of hook to use, be sure to follow the pattern exactly so that you get the best results.
You can also adjust your tension when crocheting to ensure the stitches are not too loose. If there are any gaps between stitches, it will be easier for them to stretch and create holes in your crochet piece when shrinking it. Finally, make sure you don’t over-shrink the piece. Pulling it too tightly will cause the yarn to stretch and create holes or misshapen areas.
Frequently Asked Questions:
Q: Can I Shrink My Crochet Project More Than Once?
A: Yes, you can shrink your crochet project multiple times, but be careful not to over-shrink it. Each time you shrink it, the yarn will become tighter and denser, so make sure to monitor its size and shape during the process. You can always adjust the amount of shrinkage by using a different hook size or adjusting your tension.
Q: Can I Resize My Crochet Project by Shrinking It?
A: Yes, you can resize your crochet project by shrinking it. However, keep in mind that not all projects are suitable for resizing in this manner. Some designs may lose their shape or structure if shrunk too much, so it’s important to do a test swatch first and carefully monitor the shrinking process.
Q: Can I Use A Dryer To Shrink My Crochet Pieces?
A: While some crocheters may successfully use a dryer to shrink their pieces, this method is not recommended. The heat and tumbling action of a dryer can cause uneven shrinking and damage the yarn. It’s best to stick to hand-washing and blocking methods for shrinking crochet pieces.
Q: Can I Un-Shrink My Crochet Piece If I Overdid It?
A: Unfortunately, once a crochet piece has been shrunk, it cannot be un-shrunk. However, you can try gently stretching the piece while damp and then reshaping it on a towel to see if you can regain some of its original size. This may not work for all types of yarn, so it’s best to avoid over-shrinking in the first place.
So, be careful and follow these tips to avoid damaging your crochet pieces and achieve the perfect fit every time. Happy crocheting!
Overall, shrinking is a useful technique for adjusting the size of your crochet projects, but it requires some care and attention to prevent any damage or unwanted results.
Conclusion
In conclusion, shrinking crochet can be quite tricky, but it is not impossible with the right technique. By understanding the basics of shrinking crochet, you can create unique and beautiful designs that will last for years to come.
Remember to always start with a swatch before beginning your project so that you know exactly how much your material will shrink, and use the correct yarn and hook size for the fabric you are working with.
I hope reading this post has helped you learn how to shrink crochet. Make sure the safety precautions are carried out in the order listed.
You Can Check It Out To Crochet a Book Sleeve
You Can Check It Out to Embroider on Denim

