
Do you want to learn how to make an adorable pair of bear ears? Crocheting bear ears is a fun and creative way to express your love for animals. Even if you have just started learning how to crochet, this project is suitable even for a beginner. With basic tools like a crochet hook, yarn, scissors, and stuffing, and our step-by-step instructions on how to crochet bear ears– it only takes about 2 hours from start to finish! In no time at all, you will be wearing or gifting your unique handmade creation! Get ready for some crafting fun with these cute fluffy bear ear warmers!

What Is the Easiest Toy to Crochet?
Crocheting toys are a great way to create something special and unique for kids, friends, or family members. While more complicated amigurumi-style crocheted designs may take some time and skill to complete, simpler projects like bear ears are easy to make and can still make a meaningful gift. All you need is some basic crochet knowledge and supplies, and you can have an adorable toy in no time.
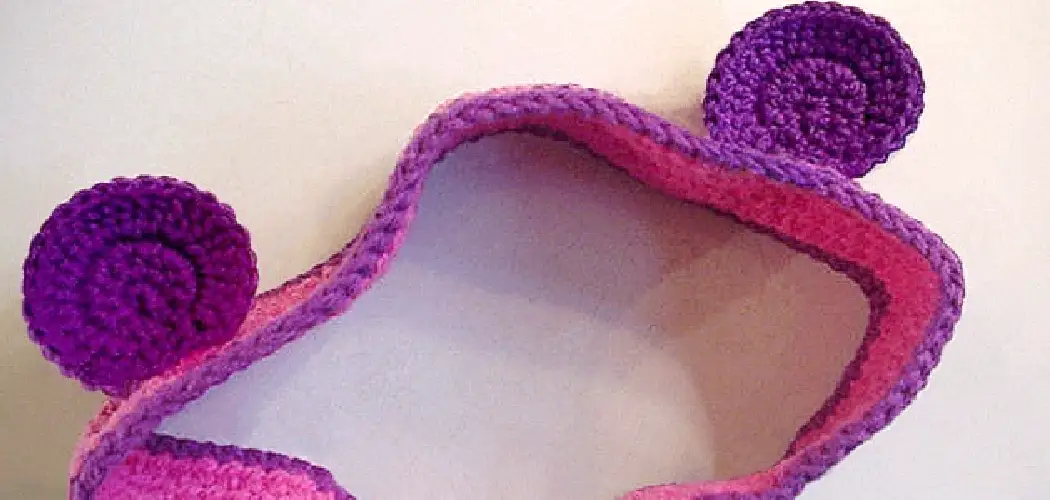
To make bear ears, start by gathering the supplies needed. You will need a G/6 (4mm) crochet hook, some worsted weight yarn in the colors of your choice, scissors, a tapestry needle for weaving in any loose ends, and a stuffing material of your choice. Once you have everything, begin by making two small circles in the color of your bear’s ears.
To do this, make six single crochet stitches into a magic ring and then slip stitch to join them in the beginning stitch, then chain one and turn. Work two single crochets into each of the six stitches, then slip stitch to join in the beginning stitch and chain one. Finally, work two single crochets into each of the twelve stitches and slip the stitch to join before fastening off.
Next, make four small circles for the bear’s eyes by making three single crochet stitches into a magic ring and then slip stitch to join them in the beginning stitch. Chain one and turn, work two single crochets into each of the three stitches, then slip stitch to join in the beginning stitch and chain one. Finally, work two single crochets into each of the six stitches and slip the stitch to join before fastening off.
Now that you have all the pieces, it’s time to assemble the bear. Begin by sewing one of the eyes onto each ear, then sew them together at the top. Sew on two more eyes and stuff with your chosen stuffing material before closing off the top completely. Lastly, you can add accessories such as bows or buttons for a finishing touch.
Why Stop at Just Making Bear Ears?
You can also use this basic pattern to make other animal-inspired headwear like cat or bunny ears. Get creative with different colors and patterns, add embellishments, or even experiment with different types of stitches to give each pair of ears a unique look.
Don’t forget to have fun and enjoy the process of creating something handmade with love. Share your creations with friends and family, or even consider selling them at local craft fairs or online marketplaces. The possibilities are endless when it comes to crocheting bear ears – let your imagination run wild! With each project you make, your crochet skills will improve and soon you’ll be comfortable creating more complex designs.
So go ahead and grab your crochet hooks and yarn – it’s time to start making some adorable bear ears! With just a little patience and creativity, you can create something that will bring joy and warmth to anyone who wears it.
Needed Materials:
4mm Crochet Hook:
Choosing the right crochet hook is essential for this project. The G/6 size, which is equivalent to a 4mm hook, works best with worsted-weight yarn and will give your bear ears the perfect shape and size.
Worsted Weight Yarn:
Worsted weight yarn is commonly used for amigurumi projects due to its sturdy nature. It is also widely available in a variety of colors, making it ideal for creating different animal-inspired designs.
Scissors:
A pair of sharp scissors is necessary for any crocheting project. Make sure they are small enough to make precise cuts and that they are comfortable to hold for extended periods.
Tapestry Needle:
Tapestry needles have blunt tips, making them perfect for weaving in ends, sewing on embellishments, and attaching different pieces together without damaging the yarn.
Stuffing Material:
There is no specific type of stuffing material required for this project. You can use anything from traditional toy stuffing to scrap fabric or even recycled materials like old t-shirts or socks. Just make sure it’s clean and free of any potential allergens.
10 Methods How to Crochet Bear Ears
1. Decide the Size of the Bear’s Ears:
Choose a size for the bear’s ears that fits your project best. Smaller ears will work better for amigurumi crochet projects, while larger ears are great for stuffed animals or other projects. Keep in mind that you can always adjust the size of your ears by changing the number of stitches and rows. You can also use a bigger or smaller hook to achieve the desired size. It all depends on your personal preference.
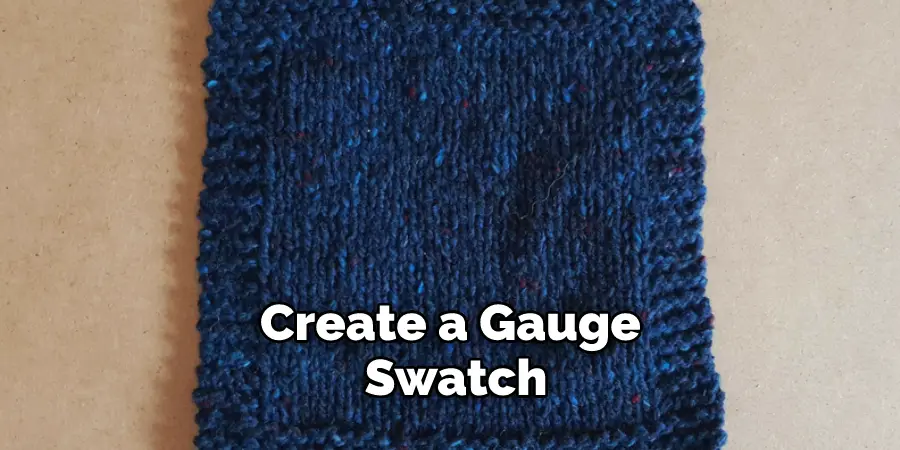
2. Gauge:
Before starting to crochet, it’s important to create a gauge swatch and measure it to make sure the project will turn out correctly. To do this, crochet a swatch measuring 4 inches by 4 inches and use a ruler or measuring tape to measure it. If the measurements are not correct, adjust the crochet hook size and repeat the swatch until it matches correctly. If you’re working with a pattern, use the crochet hook size and yarn weight specified in it. The correct gauge is crucial for the success of your project.
3. Crochet a Single Ear:
Start with six single crochet stitches in a magic ring and increase the stitch count in each round until you reach the desired size of your bear’s ear. After the desired size is reached, slowly decrease the stitch count in each row until it closes off. Leave a long tail to attach the ear to your bear. While crocheting your single ear, you can also add small details like the inner ear using a different color yarn. When finished, weave in all ends and attach it to your bear’s head. You can either sew it on or use a hot glue gun for quick attachment.
4. Decrease:
Once you have reached the desired size, begin to decrease the stitch count in each round until you have a small triangle shape. For example, start with a decreasing stitch in the next round and then repeat this every other round until you have six stitches left. When you are done, cut a long length of yarn and thread it through the remaining stitches.
Pull the yarn tight to close the top of the ear and secure it with a knot. Leave a long tail to attach the ear to your bear. But remember, don’t close off the ear completely as you will need to stuff it later on.
5. Fasten Off:
After decreasing, fasten off your work and weave in the ends of the yarn before moving on to the next ear. When both of the ears are complete, you can move on to joining them with your bear’s head. Now that you know how to crochet bear ears, you’ll be able to craft a cute and cuddly bear for your loved one! Have fun and enjoy the process. It may take a few tries to perfect your technique, but the end result will be worth it.
6. Repeat:
Repeat steps three through five for the second bear’s ear. It is important to make sure that the ears are identical in size and shape. This can be achieved by counting your stitches carefully and making sure each row of stitches is even. Once both ears are complete, you can move on to the next step. Though this step may seem tedious, it will create a beautiful finished product. Remember, practice makes perfect! You’ll soon be able to crochet bear ears without even having to think twice about it.
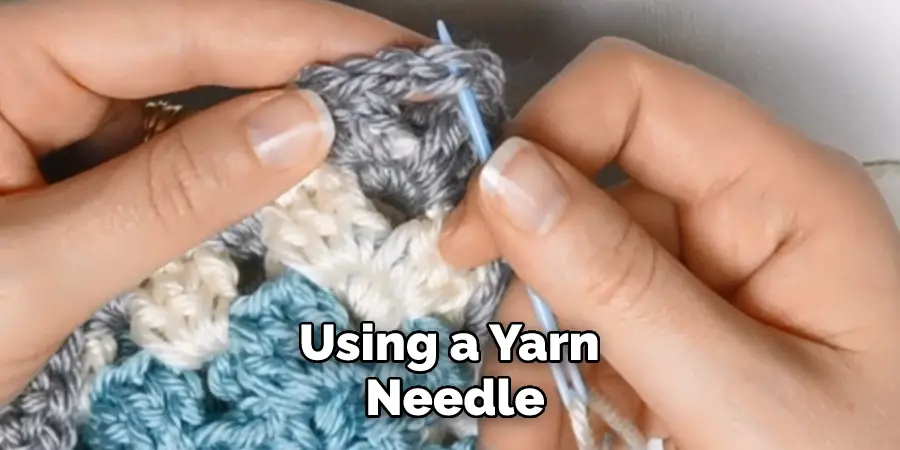
7. Sew Ears Together:
Using a yarn needle, sew the two ears together at the base to form one complete ear for your bear. Make sure to sew securely so that the ear doesn’t come apart. 8. Attach Ears:
When attaching your ears, it is best to make sure that the opening of the ear points towards the back of your bear. You can do this by sewing the base of each ear to the main body of your bear. For a more secure attachment, you can also use a hot glue gun or fabric glue. Just be careful not to get any glue on your bear’s fur. But if you do, gently wipe it off with a damp cloth before it dries. Although it may seem like a small detail, the direction of the ears can make a big difference in the overall look of your bear.
8. Attach to Project:
Sew or glue the ear onto your project with a small stitch around the edges of the ear, attaching it securely. If you are using a crochet bear, insert the hook into the top of each ear and use three single crochets to attach it. Make sure the ear is positioned in the correct direction and that it is firmly attached. If you are using a stuffed animal, use fabric glue to securely attach the ear.
Once the glue has dried, gently tug on the ear to make sure it is firmly attached. You can also use a small amount of stuffing to create a more three-dimensional ear. This step is especially important if your project will be played with or handled frequently.
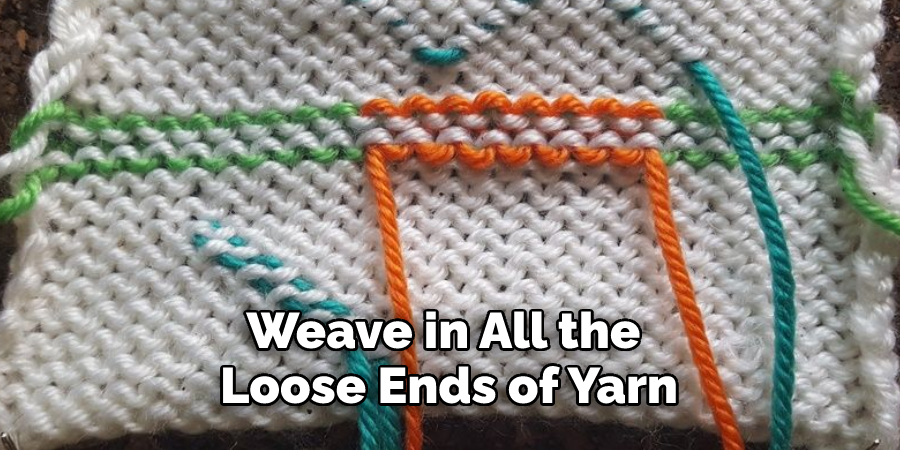
9. Weave in Ends:
Make sure to weave in all the loose ends of yarn you have created while crocheting and attaching the ear. To do this, thread the loose end onto a yarn needle and weave it in and out of the stitches created. Make sure to secure the ends by weaving them in and out of the stitches several times. Once you are done, trim off any excess yarn. Though this step may seem tedious, it’s important to make sure the ears don’t unravel or come loose over time.
Congratulations! You have now crocheted your own bear ears. With this skill, you can create all sorts of cute and cuddly animals or even add a unique touch to your own projects. Keep practicing and experimenting with different sizes and styles to find what works best for you. Happy crocheting!
10. Enjoy:
Give your project a final look over and make sure everything is secure before showing off your adorable bear with his two ears! Enjoy! Try to create other animals or even characters with different ear shapes and sizes. Make them your own and have fun with it. Happy crafting! Don’t be afraid to make mistakes; they are part of the learning process. And remember, each project you complete will only improve your crochet skills even more! Keep practicing and exploring different techniques to take your crocheting to the next level.
Now that you know how to crochet bear ears, you are well on your way to becoming a master crafter. Good luck, and have fun!
Things to Consider When Crochet Bear Ears
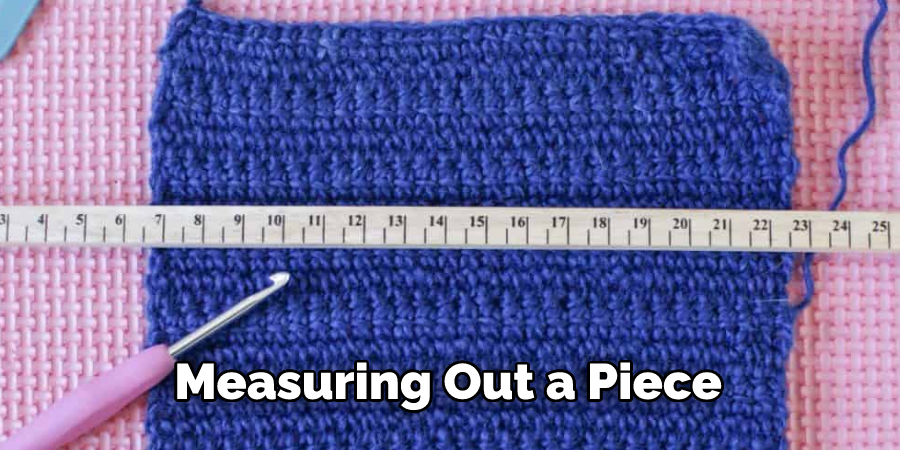
1. Measurement:
When crocheting bear ears, it is important to ensure the size of your bear ears matches the size of your project. This means measuring out a piece that fits properly and not over- or under-est. You will want to consider the size of the ears. You can use a ruler or measuring tape to make sure that the ears are the correct size for your project.
2. Color:
Another thing to keep in mind when crocheting bear ears is color. If you are going for a realistic look, then you might want to choose colors that are similar to a real bear’s fur. You could also choose contrasting colors, such as black and white or brown and pink, for a more whimsical look.
3. Yarn type:
You’ll also want to consider the type of yarn you use when crocheting bear ears. Worsted-weight yarn is a good choice since it’s strong and durable. You could also choose to use lighter-weight yarn, such as acrylic or cotton, for a softer and lighter look. Just make sure to adjust your hook size accordingly.
4. Skill level:
Crocheting bear ears can be a fun and easy project for beginners, but it may require some basic knowledge of crochet stitches and techniques. If you are new to crocheting, take the time to learn the basics before attempting more complex projects like this one.
5. Experimentation:
Don’t be afraid to experiment with different techniques and styles when crocheting bear ears. You can try using different stitches, adding embellishments or changing the size and shape of the ears. This will not only help you improve your skills but also make your project more unique and personalized.
6. Safety precautions:
When attaching your bear ears to a stuffed animal or other project, make sure to use safe and non-toxic glue if you choose to go that route. Also, be sure to secure the ears tightly so they don’t come loose and pose a choking hazard for young children.
Frequently Asked Questions:
Q: Can I Use Different Yarn Weights to Crochet Bear Ears?
A: Yes, you can use different yarn weights, but keep in mind that this may affect the size and shape of your bear’s ears. It is best to follow a pattern or adjust your gauge accordingly. It is also important to note that different yarn weights may require different hook sizes.
Q: Can I Add Beads or Other Embellishments to My Bear Ears?
A: Yes, you can add beads, buttons, or other embellishments to your bear ears for a unique and personalized touch. Just make sure they are securely attached and won’t come loose over time.
Q: How Do I Make My Bear Ears Stand Up?
A: To make your bear’s ears stand up, you can use a technique called “blocking,” which involves dampening the yarn and shaping it in the desired position before allowing it to dry. Alternatively, you could insert pipe cleaners or thin wire into the ears before attaching them to your project.
Q: Can I Crochet Bear Ears Using Different Stitches?
A: Yes, you can use different crochet stitches to create your bear ears. For example, instead of using single crochets, you could try double crochets or half double crochets for a different texture and look. Just make sure to adjust your stitch count accordingly. Remember to have fun and experiment with different stitches to find the perfect one for your project.
Conclusion:
Crocheting bear ears is a relatively easy process that only requires a few supplies and some basic crocheting knowledge. Now that you know how to crochet bear ears, you can make your very own teddy bear! This is a great project for beginners as it only requires basic stitches. With this pattern, you can make a cute and cuddly companion for yourself or a loved one. Give it a try today!
You Can Check It Out to Crochet a Keychain