There are several reasons why learning to sew mittens can be beneficial. First and foremost, being able to sew your own mittens allows for a personalized fit. Everyone’s hands are different, and store-bought mittens may not provide the perfect fit for everyone. By sewing your own, you have control over the size and shape of the mittens, ensuring they fit comfortably and provide the necessary warmth.
The main advantage of learning to sew mittens is the ability to customize them according to your needs and preferences. This is especially useful for individuals with larger or smaller hands, as store-bought mittens may not fit properly. By sewing your own, you can adjust the pattern and size to fit your hand perfectly. You can find step-by-step instructions on how to sew mittens in this blog article.
Step-by-step Instructions for How to Sew Mittens
Step 1: Inspect the Pattern
Before starting to sew, make sure that you have all the necessary materials and tools. Inspect the mitten pattern and check for any defects or missing pieces. Gather all materials needed including fabric, thread, scissors, pins, sewing machine (optional), and any other embellishments you plan to add.
Step 2: Prepare the Fabric
Next, you’ll need to prepare your fabric by washing and drying it. This will help prevent any shrinking or warping of the mittens after they are sewn. Place the mitten pattern on top of your fabric and trace around it with a fabric pen. Make sure to cut out two pieces for each mitten.
Step 3: Pin and Sew the Pieces Together
Place the two pieces of fabric together with their right sides facing each other. Use pins to secure them in place and then sew along the edge, leaving a small opening at the bottom for turning. Once you have finished sewing, carefully turn the mitten right side out through the opening at the bottom. Use a blunt object, like a pencil or chopstick, to push out the corners and smooth out any wrinkles.
Step 4: Sewing for Warmth
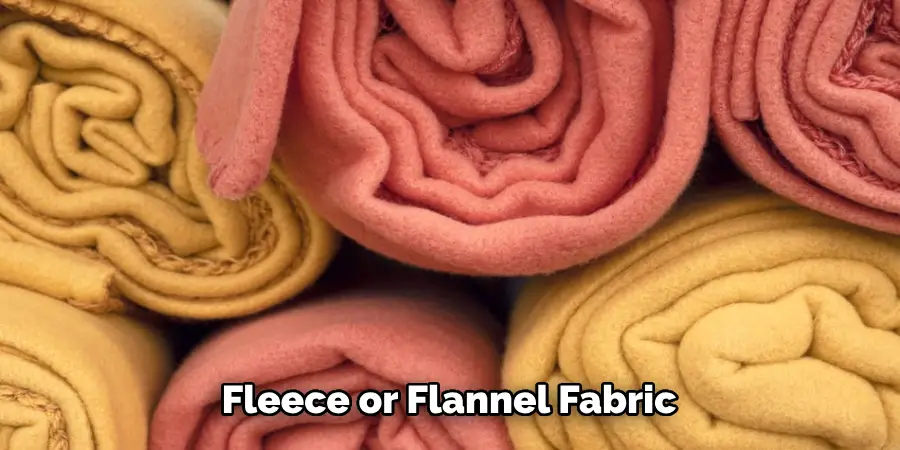
If you want your mittens to be extra warm, you can sew an additional layer of fleece or flannel fabric on the inside of each mitten. Simply cut out and sew the lining in the same shape as your main fabric. Now is the time to get creative and add any embellishments you want, such as buttons, ribbons, or embroidery. Make sure to sew them securely onto the mitten.
Step 5: Sew Up the Opening
Once you have added all your desired embellishments, sew up the opening at the bottom of the mitten using a needle and thread. Repeat these steps for the second mitten to have a matching pair. Now you have successfully sewn your own cozy mittens to keep your hands warm during those chilly days!
By learning to sew mittens, you can not only save money by making your own, but also have the satisfaction of creating something with your own hands. Plus, they make great gifts for friends and family during the winter season.
Safety Tips for How to Sew Mittens
- Use the Right Tools – Before you start sewing mittens, make sure you have all the necessary tools at hand. This includes a sewing machine or needle and thread, fabric scissors, pins, measuring tape, and a thimble. Using the right tools will not only make your sewing process easier but also safer.
- Choose the Right Fabric – When it comes to selecting the fabric for your mittens, make sure to choose a sturdy and durable material such as fleece or wool. This will ensure that your mittens hold up well in cold and wet conditions.
- Wash Your Hands – Before handling any fabric or materials, always wash your hands thoroughly. This will help prevent any germs or bacteria from transferring onto the fabric and potentially causing skin irritation.
- Use Sharp Scissors – Dull scissors can make cutting through thick fabric difficult and can lead to uneven edges. Make sure to use sharp scissors when cutting your pattern pieces to avoid any accidents.
- Take Breaks – Sewing can be a long and tedious process, but it’s important to take regular breaks. This will not only prevent eye strain and fatigue, but also give your fingers a rest from the constant sewing motion.
- Keep Your Workspace Organized – Cluttered workspaces can lead to accidents and injuries. Make sure to keep your sewing area clean and organized at all times to prevent any mishaps.
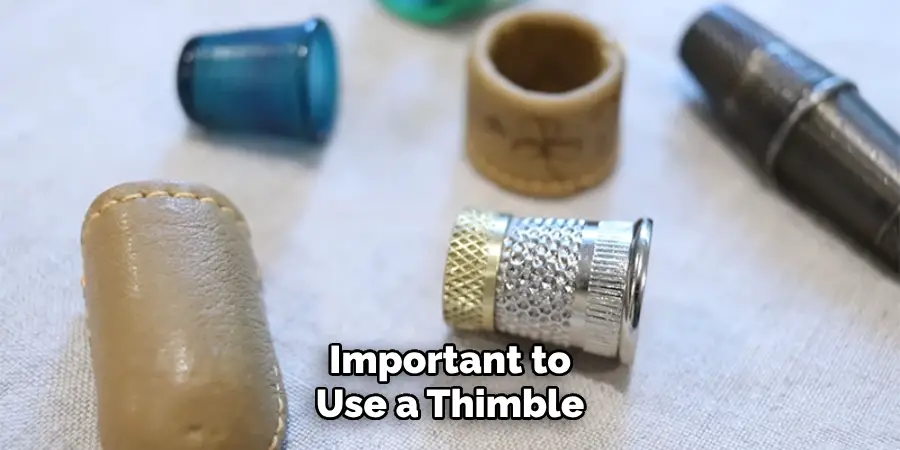
- Use a Thimble – When hand sewing, it’s important to use a thimble to protect your fingers from the sharp needle. This will also help you maintain control over the needle and thread for precise stitching.
By following these safety tips, you can ensure a safe and enjoyable sewing experience while making your own mittens. Remember to always put safety first and don’t be afraid to ask for help if you need it.
Are There Any Common Mistakes or Challenges When Sewing Mittens?
There are a few common mistakes or challenges that people face when sewing mittens. These can be easily avoided with the right knowledge and techniques.
- Choosing the Wrong Fabric: The material you use for your mittens is crucial in terms of functionality and durability. Avoid using fabrics that are too thick or stiff, as they will make it difficult to move your fingers comfortably. Instead, opt for soft and breathable fabrics like fleece or wool.
- Not Using the Right Needle: When sewing mittens, it’s important to use a needle that is strong enough to penetrate through thick layers of fabric. Using a regular needle may cause it to break or bend, resulting in uneven stitches and frustration. Use a heavy-duty needle specifically designed for sewing thicker fabrics.
- Not Leaving Enough Seam Allowance: Mittens are meant to keep your hands warm and protected, so it’s important to leave enough room for a comfortable fit. Make sure to leave at least ¼ inch of seam allowance when cutting and sewing your fabric.
- Skipping the Pattern Markings: Patterns can be overwhelming, especially for beginners. However, skipping or ignoring the pattern markings can result in a poorly constructed mitten. Take the time to transfer all markings onto your fabric for accurate and symmetrical results.
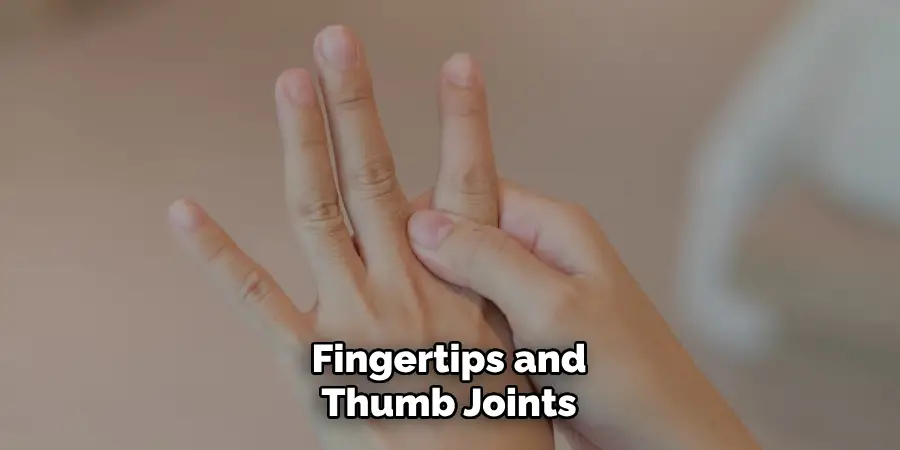
- Not Reinforcing Stress Points: Mittens are often subject to wear and tear, especially on areas like the fingertips and thumb joints. To prevent your mittens from falling apart after a few uses, make sure to reinforce these stress points with double stitching or using a zigzag stitch.
- Rushing the Process: Sewing requires patience and attention to detail, and rushing through the process can result in mistakes. Take your time to read instructions carefully, measure accurately, and sew slowly for a professional-looking finish.
In addition to these common mistakes, there are also some general challenges that people may face when sewing mittens.
How Do You Properly Care for and Wash the Mittens After Sewing?
Once you have completed sewing your mittens, it is important to properly care for and wash them to maintain their quality and appearance. Here are some steps to follow:
- Check the Label: Before washing your mittens, be sure to check the label for any specific instructions or guidelines. Some materials may require different cleaning methods.
- Spot Clean: If there are any small stains or spots on your mittens, it is best to spot clean them using a mild detergent and water. Gently dab the stained area with the solution and then rinse with clean water. Do not rub or scrub as this can damage the fabric.
- Hand Wash: For most mittens, it is recommended to hand wash them in lukewarm water. Use a gentle detergent and gently swirl the mittens in the water. Avoid twisting or wringing them as this can cause stretching or misshaping.
- Rinse: After washing, be sure to thoroughly rinse your mittens with clean water. Any leftover soap residue can cause irritation or stiffness in the fabric.
- Dry Flat: Once rinsed, lay your mittens flat on a towel to dry. Avoid hanging them as this can cause stretching or misshaping. If you need to speed up the drying process, you can use a hairdryer on low heat.
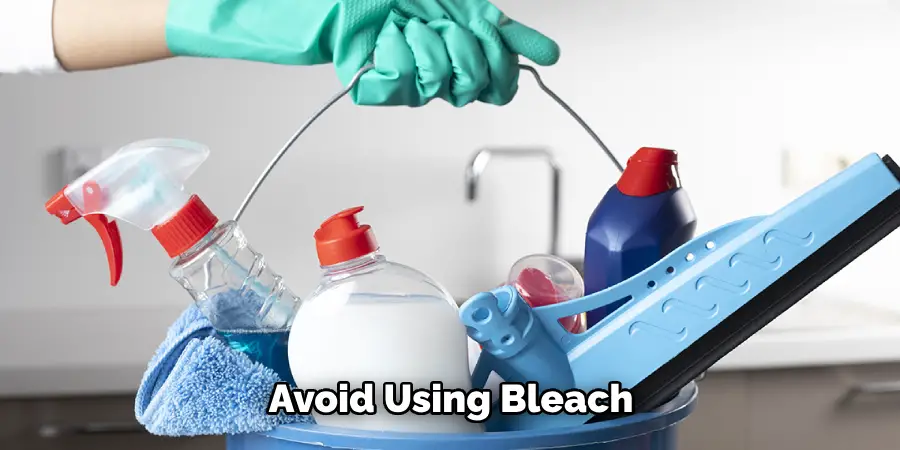
- Never Use Bleach: Avoid using bleach or harsh chemicals when washing your mittens as they can damage the fabric and color.
- Store Properly: When your mittens are completely dry, store them in a cool, dry place. Avoid storing them in direct sunlight or in plastic bags as this can cause mold and mildew to form.
By following these steps, you can ensure that your mittens stay clean and in good condition for years to come. Proper care and washing will not only maintain their appearance, but also keep them soft and comfortable to wear. Remember to always check the label and use gentle cleaning methods to avoid any damage.
Conclusion
In conclusion, sewing mittens is a fun and rewarding activity that can be enjoyed by anyone, regardless of their skill level. By following the steps outlined in this blog, you can create your own custom-made mittens that are not only stylish but also functional.
However, beyond just creating a practical item, sewing mittens also has many other benefits. Firstly, it allows for creativity and self-expression. You can choose your own fabrics, colors, and patterns to create a unique pair of mittens that reflects your personal style.
Furthermore, sewing is also a great way to relax and de-stress. The repetitive nature of stitching can be therapeutic and provide a sense of calmness. It’s also a great way to disconnect from technology and screen time, allowing you to focus on a hands-on activity. I hope this article has been beneficial for learning how to sew mittens. Make Sure the precautionary measures are followed chronologically.

