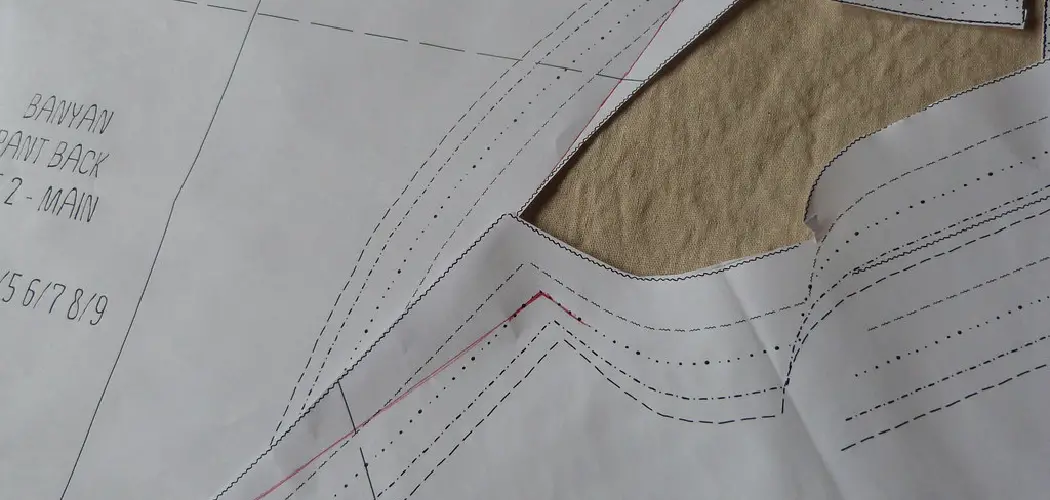
Sewing patterns are an essential part of the art of sewing. Without them, knowing how to draft garments could be a very daunting task. But once you learn the basics, pattern cutting can become an easy and enjoyable process that allows you to create amazing clothing pieces with your own unique style.
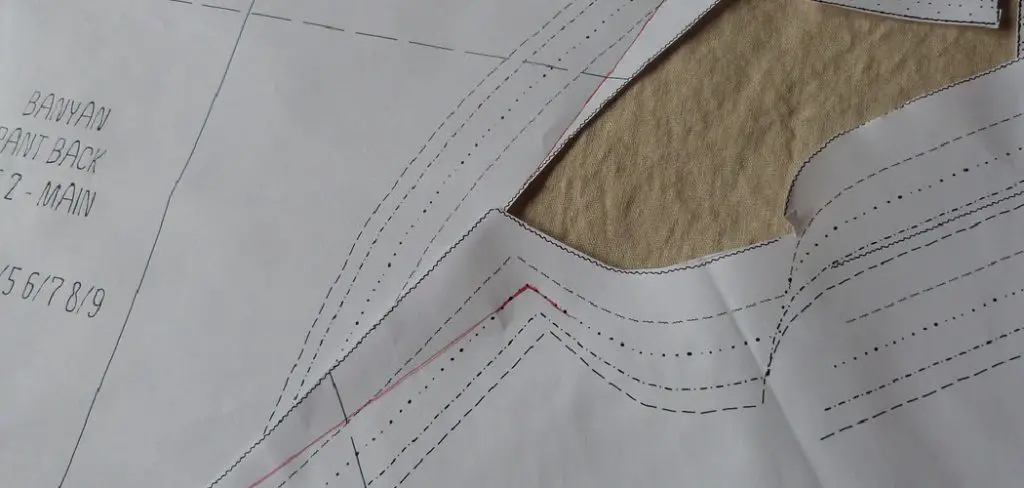
In this blog post on how to cut sewing patterns, we will talk about everything you need to know when it comes to cutting sewing patterns from selecting the right fabric and supplies all the way through constructing and stitching your finished product. So whether you’re looking for tips on designing custom-made garments or just starting out in apparel construction, this post is for you! Let’s get started!
Necessary Tools and Materials
First things first, let’s talk about the tools and materials you’ll need to get started with cutting sewing patterns. Having the right supplies will help make pattern cutting a smooth and precise process. Here are some essential tools you should have on hand:
Measuring Tape:
This is used to take body measurements accurately.
Pattern Paper:
A large roll of paper comes in a variety of widths and is used to trace and draft sewing patterns.
Pattern Weights:
These are small weights that hold the pattern paper in place when tracing or cutting.
Scissors:
Sharp, fabric scissors are crucial for cutting out your patterns with precision.
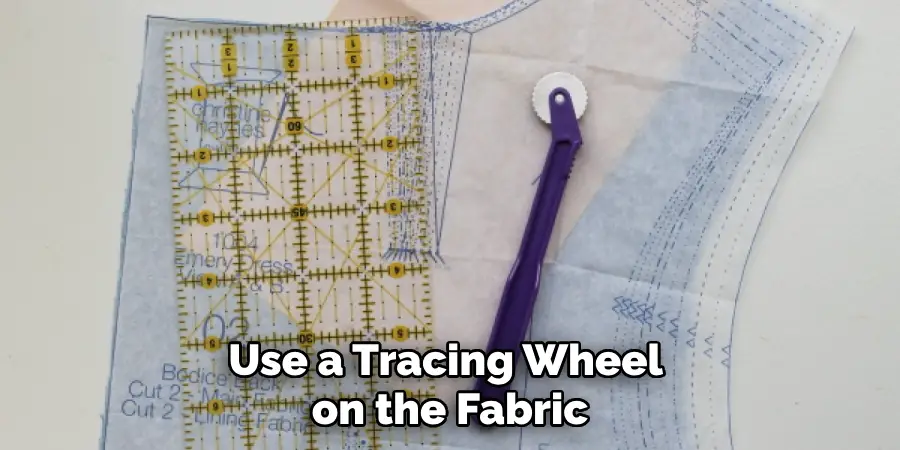
Tracing Wheel:
A tool used to transfer markings from the pattern onto the fabric.
Sewing Pins:
Used to secure the fabric in place while cutting or sewing.
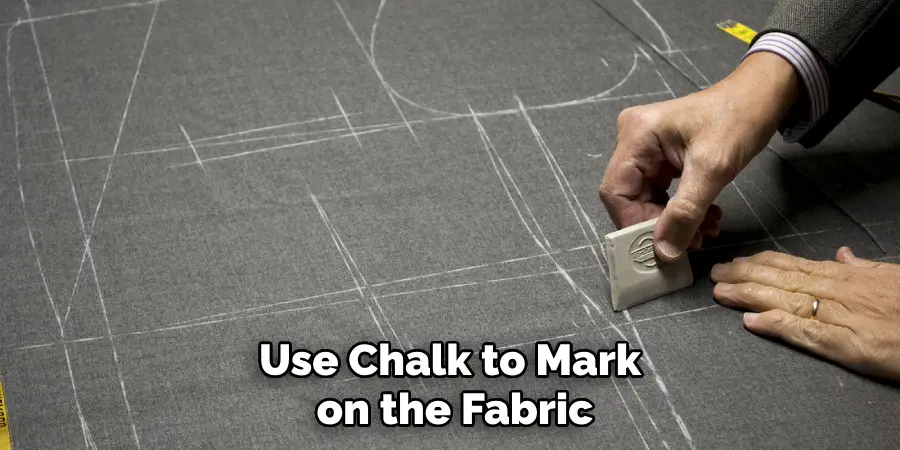
Fabric Marking Tools:
These include chalk, tailors’ pencils, and washable fabric pens used to make markings on the fabric for cutting and sewing.
Seam Ripper:
This handy tool is used to undo stitches in case of mistakes or alterations.
Iron and Ironing Board:
Ironing your fabric before cutting is essential for creating precise patterns.
9 Easy Step-by-step Guidelines on How to Cut Sewing Patterns
Step 1: Choose Your Pattern
The first step in cutting sewing patterns is selecting the pattern you want to use. You can find a wide variety of sewing patterns from online retailers and fabric stores, or even make your own.
It’s important to choose a pattern that suits your skill level and desired garment. You can also find patterns for different sizes, so make sure to select the one that corresponds with your body measurements.
Step 2: Preparing Your Pattern Paper
Before you start tracing your pattern, make sure you have a flat and clean surface to work on. Roll out the pattern paper and secure it in place with pattern weights. You can also use tape to keep it from moving around. But be careful not to tape over any important markings on the pattern. It’s also a good idea to have some extra paper handy in case you need to make any adjustments.
Step 3: Take Accurate Body Measurements
Using your measuring tape, take accurate measurements of your body. This will ensure that the pattern fits well and looks flattering on your body. Keep in mind that most sewing patterns include ease – extra room for movement and comfort – so you don’t have to take your measurements too tightly. Although, it’s always a good idea to measure twice to avoid any mistakes.
Step 4: Trace the Pattern onto Your Paper
Place the pattern on top of the paper and secure it in place with pins or weights. Use a tracing wheel to transfer all markings from the pattern onto the paper. This includes notches, darts, and seam lines. Make sure to go over each line multiple times to ensure the markings are clear and visible. Otherwise, you may have trouble following the lines when it’s time to cut.
Step 5: Cut Out Your Pattern
Using sharp fabric scissors, carefully cut out your pattern along the lines you have traced. Remember to cut out all notches and darts as well. It’s a good idea to label each pattern piece with the name of the garment, size, and any other important information. It will make it easier to identify the pieces when you start sewing. But be careful not to cut into your pattern markings or edges.
Step 6: Prepare Your Fabric
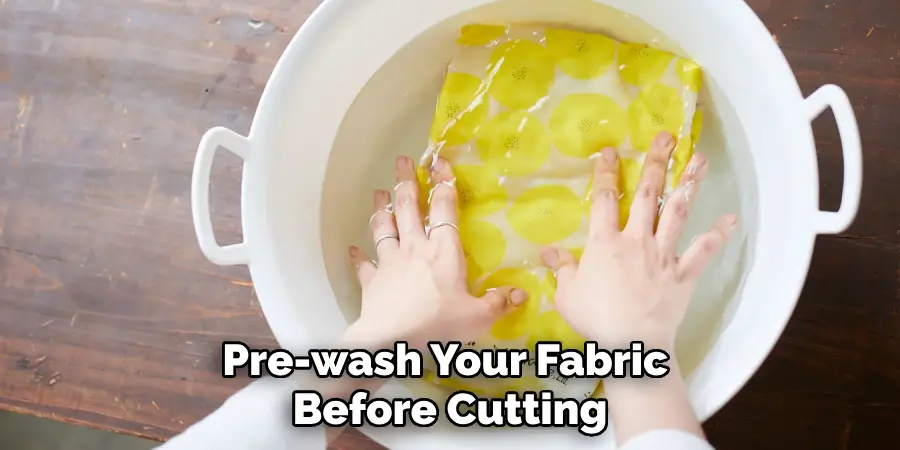
Before laying out your pattern on the fabric, pre-wash and iron your fabric. This will ensure that any shrinkage or color bleeding happens before you cut into your fabric. Ironing also helps to smooth out any wrinkles and makes cutting more accurate.
You can also use pattern weights to hold the fabric in place while cutting. It’s important to lay out your pattern pieces in the correct direction, following the grainline indicated on the pattern.
Step 7: Lay Out Your Pattern and Cut
Place your pattern pieces on top of the fabric according to the layout guide provided with the pattern. Make sure that all grain lines are aligned correctly with the fabric’s selvage. Using a tracing wheel, transfer any markings onto the fabric. Then, carefully cut out each piece following the lines you have traced. It’s always a good idea to double-check your work before moving on to the next step.
Step 8: Mark Your Fabric
Using fabric marking tools, transfer any remaining markings onto the fabric. This includes darts, pleats, and notches. It’s important to mark these lines accurately as they will guide you when sewing the garment together.
But remember to use a marking tool that can be easily removed once the garment is complete. You don’t want any marks showing on the finished product. The last thing to do is to label each fabric piece with the corresponding pattern piece.
Step 9: Time to Sew!
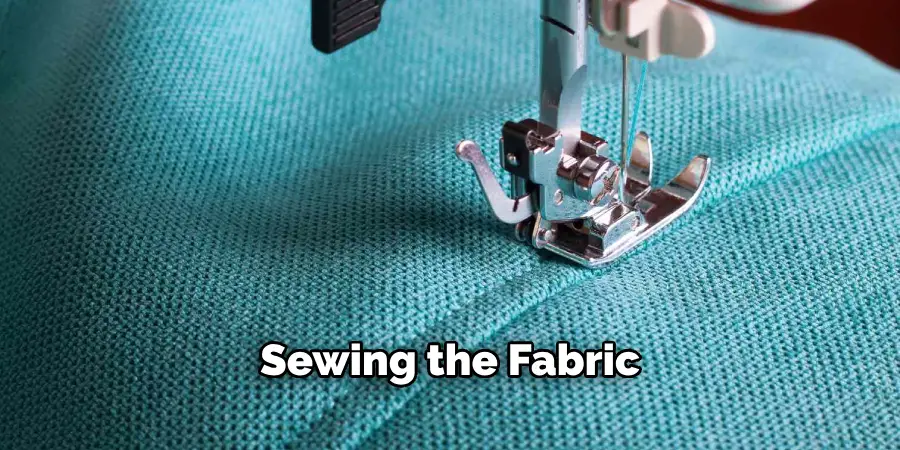
Now it’s time to put all your hard work into action and start sewing! Follow the instructions provided with your pattern carefully, and make sure to take breaks if you need them. Sewing can be a time-consuming process, so don’t rush through it. With patience and practice, you’ll be able to master the art of cutting sewing patterns in no time.
Always remember to have fun and be creative with your projects! And don’t forget to show off your finished garment with pride. So next time you’re feeling crafty, grab your tools and materials and start cutting sewing patterns like a pro!
Following these step-by-step guidelines on how to cut sewing patterns will help you become more confident in cutting sewing patterns and ensure precise and accurate results. Remember to always have the necessary tools and materials on hand, take accurate measurements, and carefully follow each step for a successful sewing project. Happy pattern cutting!
Additional Tips for Cutting Sewing Patterns
- Always Use Sharp Fabric Scissors to Get Clean and Precise Cuts.
- Take Your Time When Tracing and Cutting Out the Pattern Pieces.
- Make Sure to Transfer All Markings Accurately Onto the Fabric.
- Keep a Seam Ripper Handy in Case of Mistakes or Alterations.
- Don’t Forget to Label Your Pattern Pieces With Important Information.
Happy pattern cutting and sewing!
Frequently Asked Questions
Q: Can I Use Regular Scissors to Cut My Sewing Patterns?
A: It’s not recommended to use regular scissors for cutting sewing patterns as they may result in jagged or uneven edges. You want clean and precise cuts, so invest in a good pair of fabric scissors.
Q: How Do I Know What Size Pattern to Use?
A: Refer to the size chart provided with the pattern and select the size that corresponds with your body measurements. If you are between sizes, it’s best to go with the larger one as you can always make adjustments later on.
Q: Should I Pre-Wash My Fabric Before Cutting?
A: It’s always a good idea to pre-wash your fabric before cutting as it allows any shrinkage or color bleeding to occur beforehand. This ensures that your finished garment will not shrink or change shape after washing.
Q: What Should I Do if My Pattern Pieces Don’t Align Correctly?
A: If your pattern pieces don’t align correctly, double-check that you have followed the layout guide and grain lines accurately. If all else fails, you may need to retrace and cut out those pieces again. Remember to take your time and be patient – accuracy is key in pattern cutting!
Conclusion
Overall, using sewing patterns correctly is one of the most important skills to develop when learning how to sew. With a little practice, you’ll be able to accurately cut each piece of the pattern with ease. Once you are an expert on pattern pieces, the sky is the limit in terms of creating beautiful and creative clothing designs.
Don’t miss out on this opportunity – start dusting off those scissors and get ready for a crafting experience like no other. Who knows – it could even become your favorite pastime! Get started on that project today and see what amazing things you can create. Thanks for reading this article on how to cut sewing patterns.

