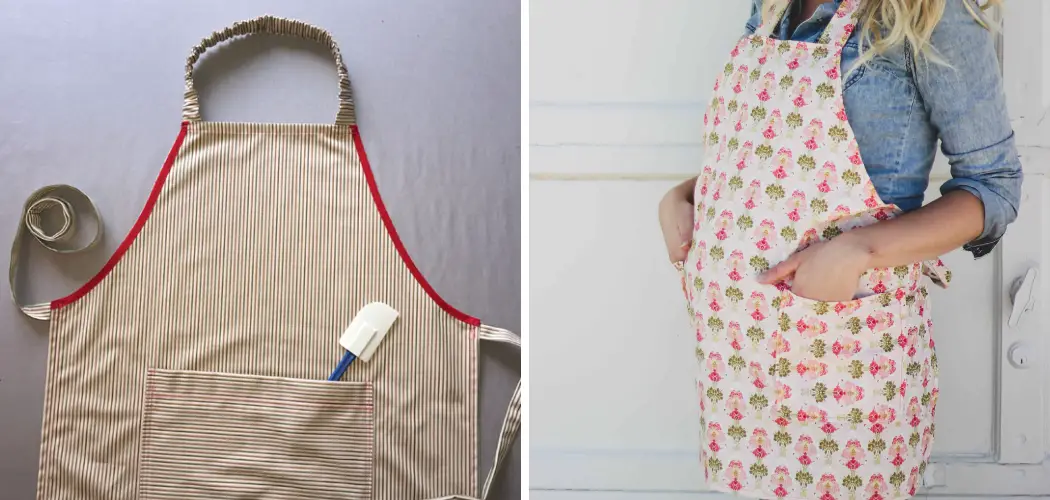
Are you ready to learn something new and creative? Could a few hours of sewing lead to the perfect addition to your wardrobe? Sewing can be an enjoyable and rewarding hobby, especially when you’re making something functional like an apron. With this tutorial on how to sew an apron with pockets, making something special that’s also practical is within reach!
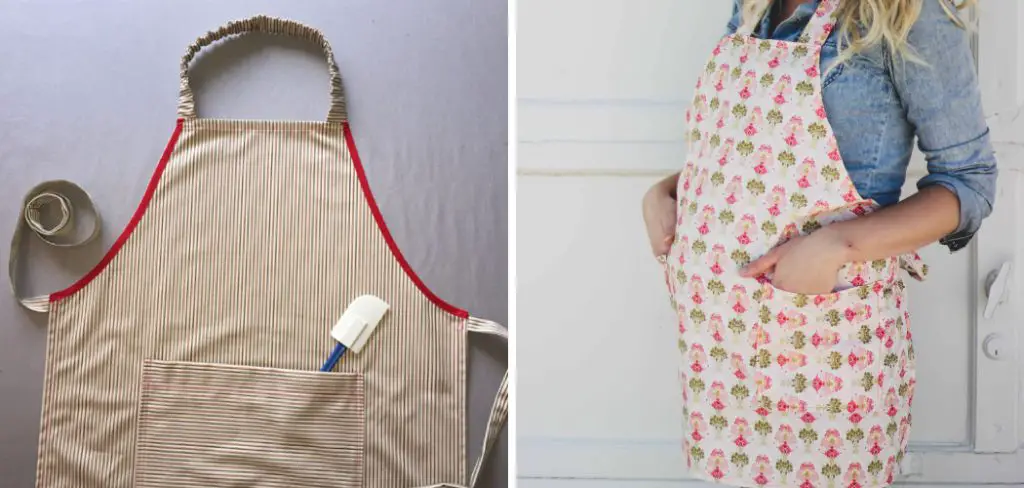
In just three easy steps, you’ll see how simple it can be to create your very own handmade aprons in no time. Not only will these bring beauty and style into any kitchen or workshop – they will also provide storage space for tools or other items needed close at hand. So break out those sewing supplies and let’s get started!
Needed Materials
Given below are the materials you will need to complete this project:
- Apron Pattern
- 1 Yard of Fabric (Cotton or Other Lightweight Fabric)
- Matching Thread
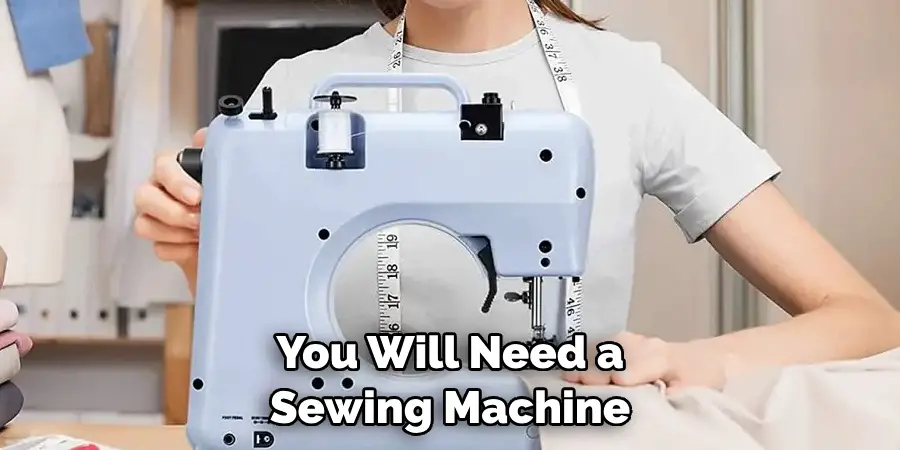
- Sewing Machine
- Pins and Scissors
- Measuring Tape
11 Step-by-step Instructions on How to Sew an Apron With Pockets
Step 1: Prepare the Fabric
Before you can start sewing, the fabric needs to be prepared and cut according to the pattern. Make sure that all pieces are cut accurately so that the apron will fit properly when completed. Otherwise, it may result in a poor-fitting garment. It’s also important to make sure the grain of the fabric is parallel to the pattern pieces, as this will determine how your apron fits.
But most importantly, be sure to also wash and press the fabric before cutting out your pattern pieces. This will remove any shrinkage that may occur after the apron is finished.
Step 2: Make the Pockets
Next, make the pockets by folding over one end of each pocket piece and sewing it down two sides and across the bottom. Once complete, turn them right side out and set them aside for later use. If desired, you can also add a decorative top-stitching for a more finished look. This step can also be done by hand or with the use of a sewing machine.
Step 3: Sew Together the Apron
Now that the pockets are complete, sew all pieces of the apron together. Place the front and back of the apron’s right sides together and stitch along the bottom edge.
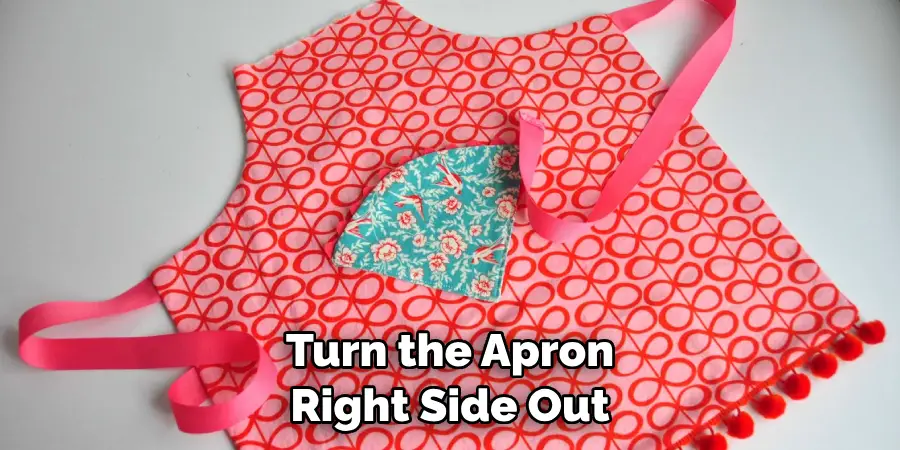
Next, pin and sew along both side edges, completing the two main pieces of your apron. However, when stitching the side edges, be sure to leave a gap of at least two inches so that you can insert the ties. Once complete, turn the apron right side out and press all edges to ensure a neat finish.
Step 4: Attach Pockets to Apron
Once both pieces of the apron are sewn together, it’s time to attach the pockets. Place each pocket on the outside of either side of the apron and pin them in place. Once properly secured, sew along all four sides of the pockets. It’s important to make sure the pockets are securely attached, as this will ensure they don’t come undone with use.
Step 5: Sew Neck Straps
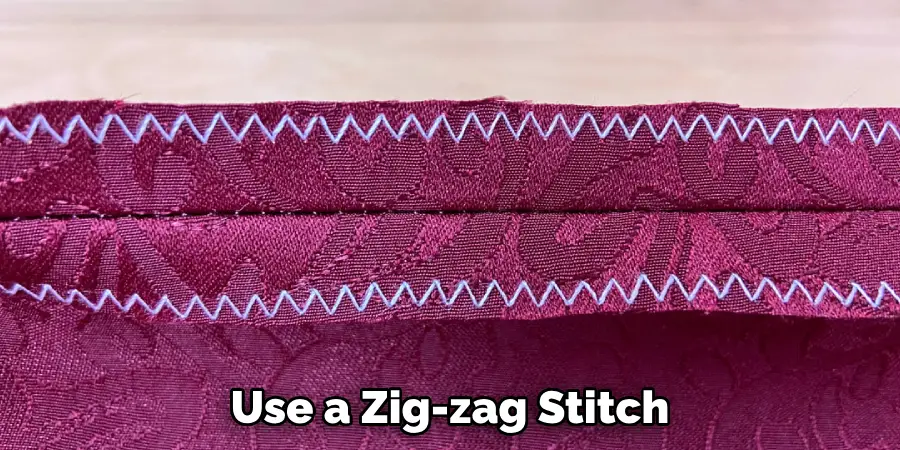
To finish off your apron, sew the straps for the neck. Take one of your long strips of fabric (the ones you set aside earlier) and fold it in half lengthwise. Pin both ends to create a loop and then stitch along both sides using a zig-zag or other decorative stitch.
You can also use the same technique for making the waist ties. Make sure to leave a couple of inches of fabric at each end so you can insert them into the sides of your apron.
Step 6: Attach Neck Straps to Apron
Now that your neck straps are sewn together, it’s time to attach them to the apron. Place the loop on either side of the top of the apron and pin it in place. Sew along both edges for a secure fit. You can also sew a few stitches at the top of the straps for added durability. Once done, you can use the remaining fabric to make waist ties if desired. This step can be omitted if you prefer using a waistband instead.
Step 7: Add Extra Details
For an extra special touch, consider adding some decorative details to your apron. Such as ruffles, lace, fringe or even pockets within the original pockets. But if you’re feeling ambitious, why not go all out and embellish the entire apron with some fancy fabric trim? You can also use this opportunity to add any special touches that you would like, making your apron truly one-of-a-kind.
Step 8: Finish Edges
Now it’s time to finish off the edges of your apron so that the raw edges are hidden. Use a zig-zag stitch or other decorative stitches to go around all four edges of your apron and along the neck-straps. But most importantly, remember to leave a few inches of fabric at the ends of your straps so they can be inserted into the sides of the apron.
Step 9: Put It All Together
Once you have finished all edges with a decorative stitch, it’s time to put all the pieces together. Place the two main pieces of your apron together with the right sides facing each other. Stitch along the bottom edge and up both side edges. Then turn the apron right side out, giving it one final press and you are finished!
Step 10: Don’t Forget to Accessorize
Now that your apron is complete, why not accessorize it with some coordinating items? Such as oven mitts, aprons or pot holders. You could even make a matching set of aprons for all the members of your family! Although this step is optional, it will really add to your apron and make it even more special.
Step 11: Show Off Your New Creation
You now have a beautiful and unique handmade apron with pockets! Wear it proudly while you cook, clean or work in your workshop. Not only will it be a conversation starter, but you can feel great about wearing something that you created yourself!
Always remember to keep your apron clean and in good condition. If necessary, it can be washed on a gentle cycle with cold water and tumble dried low for best results.
So don’t wait – grab those sewing supplies and show off your new creation today! With just a few hours of work, you have the perfect addition to any wardrobe or kitchen. Now all that’s left is to enjoy the fruits of your labor and show off your amazing apron with pockets!
Happy sewing!
Do You Need to Hire a Professional?
If you are new to sewing or find that this project is a little too complex for your skillset, don’t worry – there are professionals who can help! Many tailors and seamstresses offer services to create custom aprons with pockets. They can advise on the best fabrics and designs as well as provide guidance on the construction process itself.
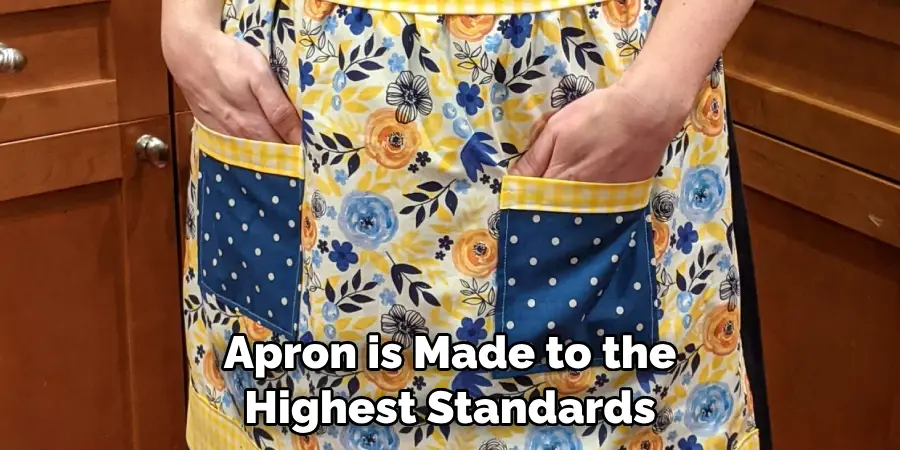
No matter your skill level, hiring a professional to make an apron with pockets can be the perfect solution. They will ensure that your apron is made to the highest standards and that it fits perfectly. You may even find yourself in love with the finished product – something you wouldn’t get if you were doing it yourself! So don’t hesitate to reach out for help if needed.
Tips & Warnings
- Always Read the Instructions Carefully Before Starting a Project.
- Make Sure to Use Thread That Matches or Complements the Fabric You Are Using.
- Cut the Fabric Accurately and Stay Consistent When Measuring So That Your Apron Will Fit Properly.
- Allow for Extra Fabric When Making the Pockets So That You Have Enough Room to Put Items Inside.
- Take Your Time and Stay Focused – Sewing Can Be Fun, but It Also Requires Attention to Detail!
- Safety First – Remember to Take All Necessary Precautions When Using a Sewing Machine.
- Have Fun and Enjoy the Creative Process! Crafting Something Special With Your Own Two Hands is Part of the Rewarding Experience.
With these tips in mind, let’s get started on making your very own custom apron with pockets! Happy sewing!
Frequently Asked Questions
Q: What Kind of Fabric Should I Use?
A: Cotton or other lightweight fabrics typically work best for aprons. However, you can use an apron pattern made of thicker fabrics such as denim or canvas if you prefer.
Q: How Long Does it Take to Make an Apron?
A: It usually takes about 3-4 hours to make an apron depending on how complex the design is and how experienced you are with sewing. For a more detailed estimate, consult the pattern instructions.
Q: Do I Need Special Equipment or Tools?
A: For this project, you will need a sewing machine and other basic supplies such as pins, scissors, thread and fabric. Depending on the pattern, you may also need extra materials such as trim, interfacing or bias tape.
Q: What Other Projects Can I Do With an Apron Pattern?
A: Once you have mastered how to sew an apron, you can use the same pattern to make other clothing items such as skirts, blouses or even pajamas. Or if you’re feeling adventurous, why not try making accessories like handbags or purses? The possibilities are endless
Conclusion
Overall, how to sew an apron with pockets is a great project for novice sewers and can be surprisingly simple if you take the time to be mindful and precise. With an attractive pattern, high-quality fabrics, and effective stitching techniques, you will create a professional-looking garment that can give you years of satisfaction and use.
Whether making it as a gift or creating one yourself, the steps to make this project are easy to follow and enjoyable. Don’t be discouraged if your project doesn’t turn out perfectly at first- don’t worry more practice will result in success!
Though aprons may not seem like the most glamorous project, they are sure to bring convenience and pride in craftsmanship wherever they are used. Now go cut your fabric, choose your pocket placement, thread your needle and let’s get started on your very own DIY pocketed apron!

