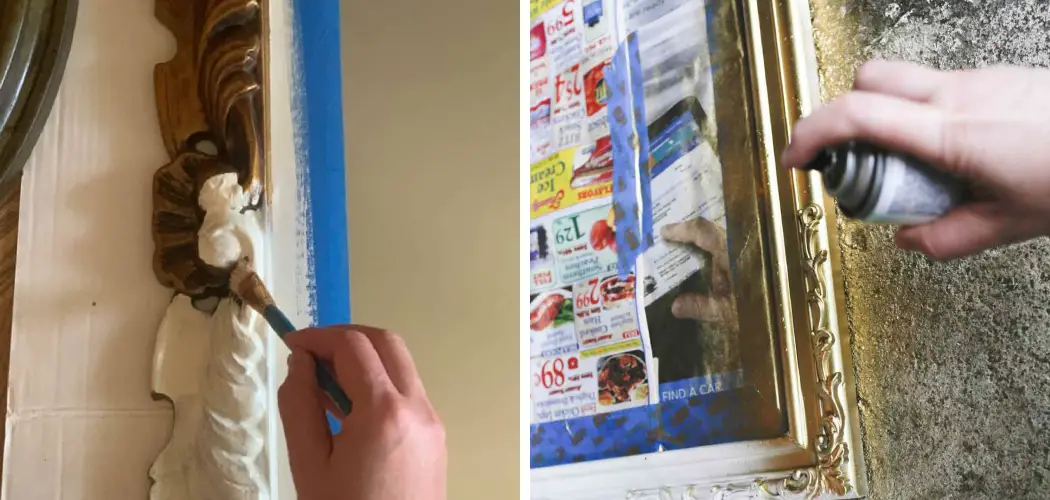
Reviving a tired or outdated mirror frame with a fresh coat of paint is a simple yet transformative way to inject new life into your decor. Learning how to paint mirror frames can be both an enjoyable and rewarding DIY project that allows for complete customization and creativity. Whether aiming for a sleek, modern look with a solid color, a sophisticated ombre transition, or a vintage charm with a distressed finish, there’s a painting technique suitable for each and every desired style and frame material.
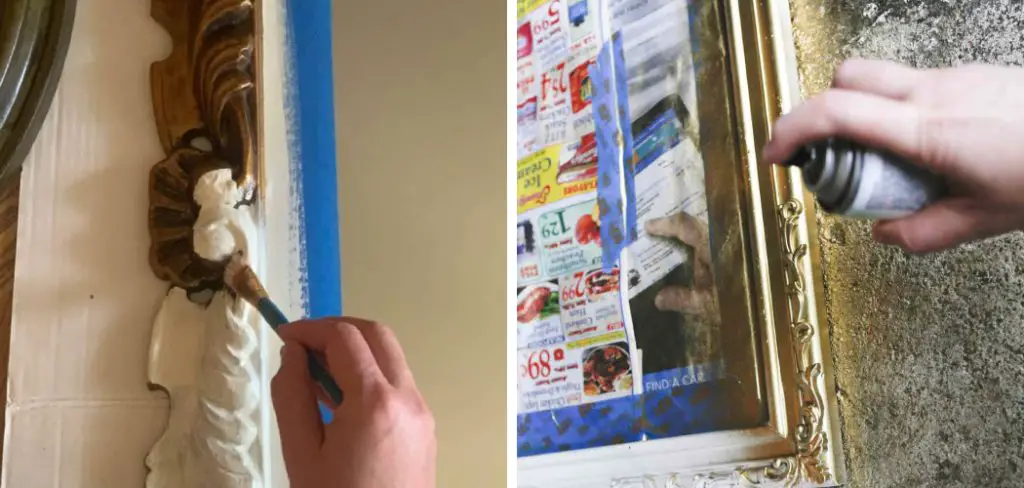
This comprehensive guide will explore the essentials, from selecting the right paint to the finishing touch reattachment. Immerse yourself in this crafting journey as we delve into various painting methods, essential tools, preparation tips, and creative design ideas to ensure your mirror frame stands out as a reflection of your personal taste.
Choosing the Right Paint and Tools
Paint Types:
When selecting paint for your mirror frame, consider the frame’s material and the finish you want to achieve. Acrylics are versatile and fast-drying, making them ideal for projects with a quick turnaround; they’re water-based for easy cleanup. Latex paints are known for their durability and ease of cleaning, also being water-based. Oil-based paints are excellent for a smoother, more durable finish, albeit with a stronger odor and longer drying time.
If you’re looking for an easy-to-distress, matte look, chalk paints may be your best bet, though they usually require a sealant to protect the finish. Align the paint type with your mirror frame’s material—be it wood, metal, or plastic—to ensure both adhesion and aesthetic appeal.
Essential Tools:
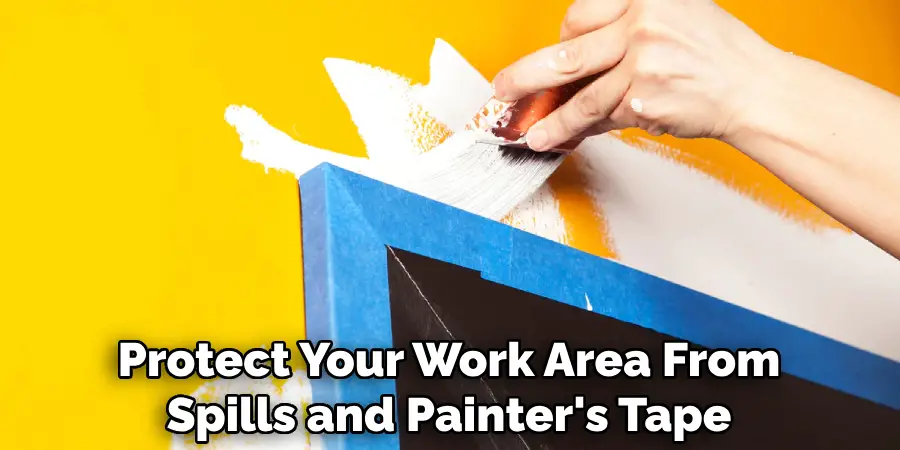
Gather your painting arsenal with care. To achieve clean edges, begin with drop cloths to protect your work area from spills and painter’s tape. Choose the right brushes for detail work and rollers for covering larger areas uniformly. Sandpaper is crucial to prep your surface or to distress it post-painting. While a primer is optional, it can help with paint adhesion and coverage. If your design includes intricate patterns or stencils, you may want to invest in specialty tools to help precisely bring those details to life.
Prepping Your Mirror Frame for Paint
Removing the Mirror:
Before diving into painting, removing the mirror to avoid damage is crucial. If the mirror is glued to the frame, carefully slide a putty knife or guitar string behind the glass to sever the adhesive bond, working gently to avoid cracking. For nailed or screwed mirrors, use a screwdriver or claw hammer to remove fixings. Always wear safety gloves and goggles during this process. Once removed, place the mirror in a safe zone, resting on a padded surface or wrapped in a blanket to prevent accidents while focusing on the frame.
Cleaning and Repairing the Frame:
To ensure your paint adheres properly, start by cleaning the frame with a mild detergent solution or a specialized degreaser to remove any dust, dirt, and grime. Rinse carefully and let it completely dry. Next, inspect the frame for damage—tighten any loose fittings, fill any cracks or gaps with wood filler for wooden frames, or use a suitable repair solution for other materials.
Once repairs are dry, smooth the surface with sandpaper, starting with a coarser grit to remove old paint and finishing with a finer grit for a flawless finish. This prep work lays a solid foundation for a successful paint job.
How to Paint Mirror Frames: Brush Up Your Creativity
Finding the right painting technique to match your vision for the mirror frame is essential. Each approach offers a different aesthetic and level of complexity.
1. Solid Color Transformation:
For a timeless look that works well with virtually any decor, a solid color transformation is an excellent choice, especially for beginners or those preferring modern simplicity. The key to this technique is ensuring an even application of paint to prevent drips or streaks, which can mar the finish. Multiple thin coats may yield a more professional result than one thick layer, allowing sufficient drying time between applications.

2. Ombre Effect:
The ombre effect, where colors gradually transition from light to dark or from shade to shade, adds depth and interest to your frame. Achieving this look requires blending techniques that can be done with wet-on-wet brushstrokes for a seamless color gradient or using sponges for a more textured appearance. This technique may take practice to perfect, so consider experimenting on a sample board first.
3. Stenciled Designs:
Incorporating stenciled designs on your mirror frame allows for intricate patterns and a level of personalization that can truly make the piece unique. Opt for stencils that complement the frame’s size and overall style, and use painter’s tape to keep the stencil firmly in place during application. Use a small amount of paint on your brush or sponge for a crisp result, and always dab off the excess before stencil application.
4. Distressed Finish:
A distressed finish can lend a charming vintage or rustic character to your mirror frame. This can be achieved through strategic sanding after painting, layering different paint colors, or applying an antiquing glaze. Lightly distressing the edges where natural wear might occur will produce an authentic look. It is wise to test your technique on a less visible area of the frame before committing to the entire piece.
Applying the Paint and Finishing Touches
Priming (Optional):
Priming the mirror frame, while not always necessary, serves several purposes that can significantly enhance the outcome of your painting project. Applying a primer forms a smooth, receptive base that ensures better paint adhesion to the frame, resulting in a more uniform and longer-lasting finish. It also promotes an opaque background that maximizes the paint’s true color.
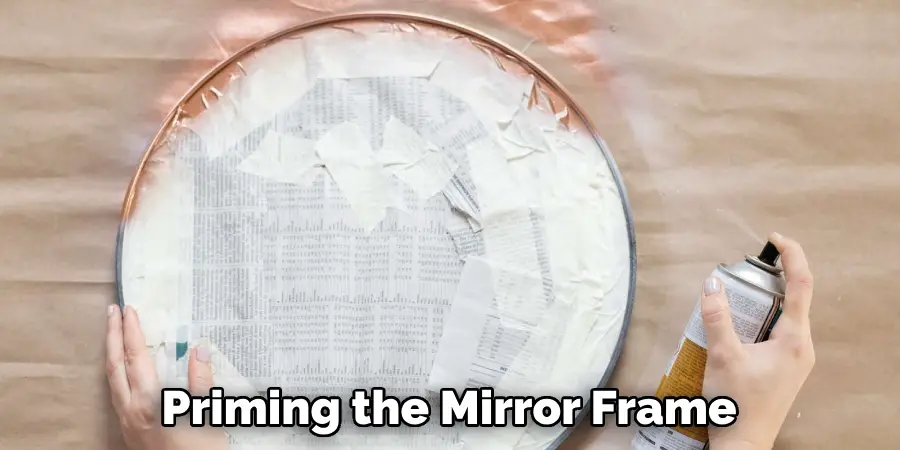
When choosing a primer, select one that’s compatible with your chosen paint and the frame’s material—be it wood, metal, or plastic—to enhance durability and coverage. Let the primer fully dry according to the manufacturer’s instructions before moving on to applying the paint.
Painting Techniques:
For the best results with your chosen painting method, start with thin coats to avoid drips and build up the layers gradually for even coverage. Whether you’re aiming for a smooth or textured finish, use the appropriate brushstrokes—long and even for a sleek look, dabbing or stippling for texture. Pay special attention to corners, edges, and detailed areas; consider using smaller brushes or specialized tools to navigate these intricate parts accurately. Ensuring that each layer is completely dry before adding another will produce a high-quality finish worthy of your effort.
Sealing the Paint (Optional):
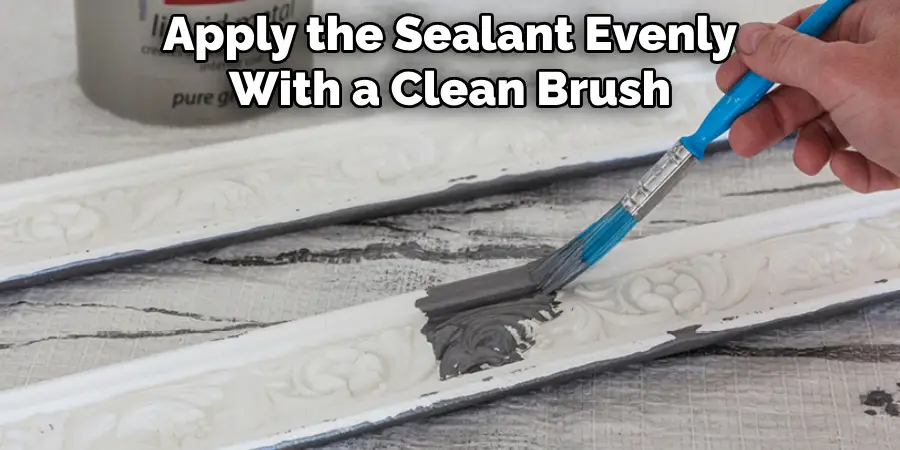
Adding a sealant after painting is an optional but beneficial step, especially for mirror frames exposed to high-traffic or humid areas, like bathrooms or entryways. Sealants provide a protective layer that prevents chipping, scratches, and wear, preserving the beauty of your work for years to come. Select a sealant that is suitable for the type of paint you’ve used—water-based for acrylics, latex paints, and oil-based for oil paints. The desired finish, whether matte, satin, or glossy, will also dictate the choice of sealant. Apply the sealant evenly with a clean brush or roller, and let it cure fully before reassembling the mirror for a flawlessly protected finish.
That’s it! You’ve now learned how to paint mirror frames like a pro. With the right materials, techniques, and a bit of creativity, you can transform any mirror frame into a stunning piece that will enhance your space’s overall aesthetic. Remember to prioritize safety every step of the way, enjoy the process, and have fun expressing yourself through your painting project!
Conquering Common Painting Mishaps
While painting a mirror frame can be a fulfilling DIY project, encountering painting mishaps such as drips, uneven coverage, visible brushstrokes, and accidental touches on the mirror itself is not uncommon. The good news is that most of these issues are rectifiable with some handy tips and tricks.
Drips and Runs:
Drips and runs can detract from the overall finish but can be managed if addressed promptly. If you notice the paint starting to sag:
- Dab gently with a clean, damp cloth before the paint dries to smooth out the drip.
- Carefully use a fine-tipped brush with touch-up paint for stubborn drips that have dried to even out the area.
Uneven Coverage:
Achieving even coverage is key to a professional-looking paint job. If you’re faced with patchiness:
- Apply additional thin coats of paint, focusing specifically on patchy areas to build up the evenness.
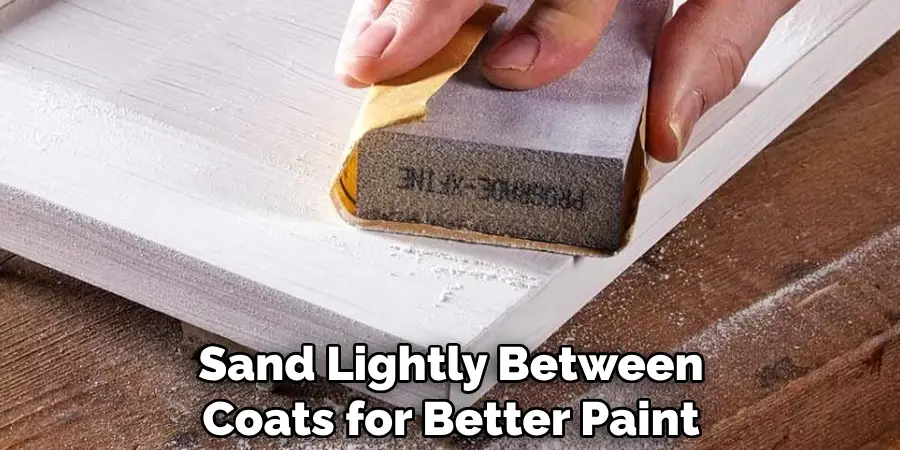
- Remember to sand lightly between coats for better paint adhesion, which helps in achieving a uniform finish.
Brushstrokes Visible:
Visible brushstrokes can cause your frame to look less than sleek. To minimize brush marks:
- Use light sanding along with additional thin coats of paint for a smoother finish.
- Consider blending techniques or trying a different brush type that may leave fewer stroke marks.
Accidental Touches on the Mirror:
Despite best efforts, paint may find its way into the mirror sometimes. If this happens:
- Wait for the paint to dry completely before scraping it gently off with a razor blade.
- For minor paint smudges, apply a bit of glass cleaner and wipe clean without affecting the surrounding paint.
Mastering these solutions can overcome common painting challenges and ensure your mirror frame looks impeccably finished.
Advanced Design Techniques for the Daring
In the realm of creative expression, some may wish to elevate their mirror frame to a piece of statement art through more audacious design elements. Experimenting with these advanced techniques can result in a bespoke decor item that truly stands out.
Metallic Accents:
Metallic accents can instantly add a luxurious feel to any mirror frame. To integrate this glamorous touch:
- Consider the use of metallic paints to highlight edges or ornate details that will catch the light and add dimension.
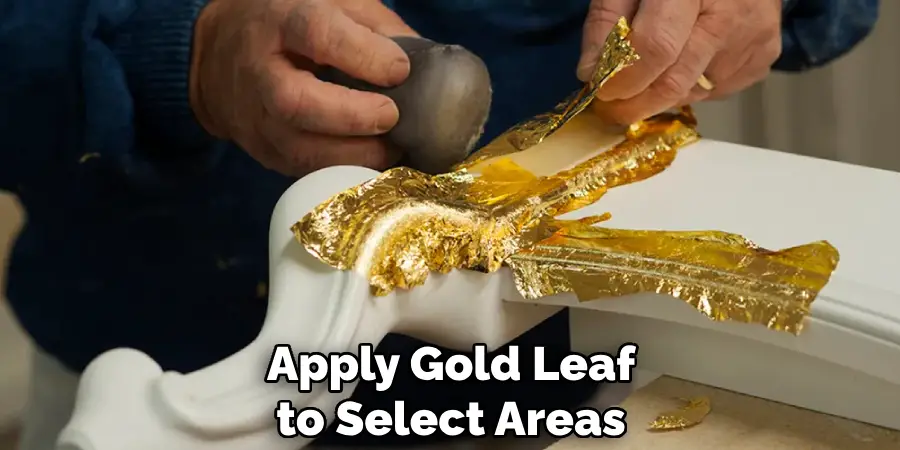
- Apply gold leaf to select areas for an authentic gilded appearance, using adhesive size and a soft brush for placing and smoothing the leaf.
- Get creative with metallic stencils that can create intricate patterns, remembering to use them sparingly for elegant accents rather than overwhelming the piece.
Multi-Color Stripes:
Bold or subtle, stripes are an excellent way to introduce color and pattern. To achieve beautifully crisp multi-color stripes on your mirror frame:
- Utilize painter’s tape to ensure precise lines; ensure the tape seals tightly against the frame to prevent bleed-through.
- Vary the widths of stripes or incorporate multiple hues for a dynamic effect; a harmonious color palette can unify the design despite the variation.
Geometric Patterns:
For a frame that boasts contemporary flair, geometric patterns are an exceptional choice. To craft these designs:
- Employ the use of stencils or freehand methods, defining shapes with masking tape as a guide for sharp edges.
- Select contrasting colors to make the geometric shapes pop against the frame’s base color; bold contrasts create an eye-catching piece.
Decoupage:
Decoupage provides a canvas for personal storytelling on your mirror frame. To embed these artistic narratives:
- Cut out decorative paper or fabric in the desired shapes and sizes and adhere them to the frame using a decoupage medium or suitable adhesive.
- After placing your decoupage materials, apply a clear coat to protect the surface and ensure the longevity of the artful additions.
With these advanced techniques at your disposal, your mirror frame can transform into an original masterpiece that enhances your home with your own personal touch.
Reattaching the Mirror and Finishing Touches
Once your mirror frame has been beautifully painted and perfected using advanced design techniques, the final phase is to reattach the mirror and add the finishing touches to your project. This closing step will ensure that your DIY endeavor is securely and aesthetically installed to enjoy for years to come.
Safe Reattachment:
When reattaching the mirror to the frame, your first priority should be safety and stability.
- Select either a strong adhesive that is appropriate for your mirror size and the material of your frame or use reliable hardware for heavier mirrors.
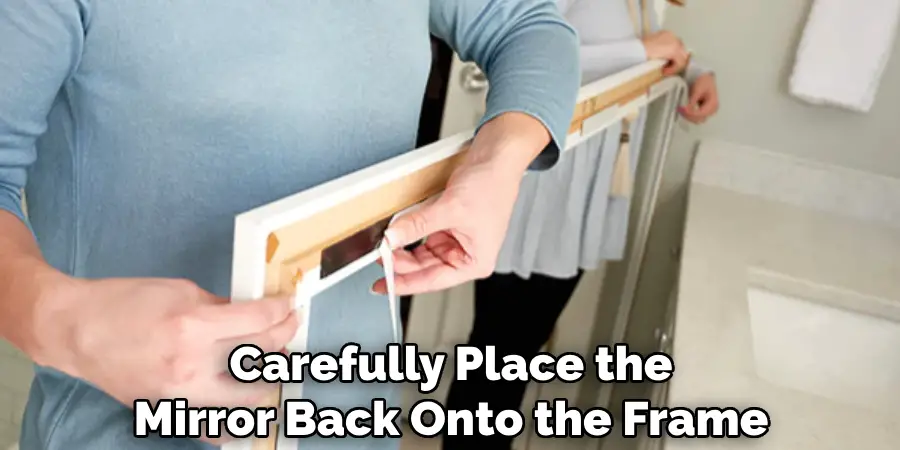
- Carefully place the mirror back onto the frame, ensuring that it is centered and level. Provide ample curing time if you’re using adhesives, following the manufacturer’s guidelines for the best bond.
Wall Mounting (Optional):
If your design calls for hanging the mirror on the wall:
- Use sturdy wall anchors that are appropriate for the frame’s weight and wall material to prevent any accidents.
- Be precise in your measurements to ensure the mirror hangs evenly, and follow all recommended safety precautions when drilling into walls.
Final Touches:
Lastly, gently clean your mirror frame with a soft, damp cloth to remove any dust or fingerprints.
- Avoid wetting the surface too much, which could damage the paint or sealant.
- After the frame is clean and dry, step back to admire your handiwork, reveling in the accomplishment of refreshing and customizing a mirror that reflects your personal style.
Frequently Asked Questions (FAQs)
Q: What Type of Paint Is Best for A Mirror Frame?
A: For most mirror frames, acrylic or oil-based paint provides durability and a stunning finish. If you’re working on a frame that will be handled frequently or exposed to high humidity, such as in a bathroom, you might want to consider using a formulated paint to resist moisture and wear.
Q: How Do I Avoid Paint Streaks when Working on My Mirror Frame?
A: Using a high-quality, soft-bristled brush or a foam roller to minimize paint streaks. Ensure that your paint is thoroughly mixed and apply thin, even coats, allowing each coat to dry completely before adding the next. Light sanding between coats can also help to create a smooth, streak-free finish.
Q: Can I Use Spray Paint on My Mirror Frame for A Quicker Finish?
A: Yes, spray paint can be a convenient option for painting mirror frames and can provide a smooth, even finish. Always spray in a well-ventilated area and apply multiple light coats rather than a single heavy coat to avoid drips and uneven coverage.
Q: What Should I Do if The Mirror Gets Accidentally Detached from The Frame?
A: If the mirror detaches, clean both the mirror and the frame where it will be reattached. Then, use an adhesive suitable for glass and the frame material, apply it according to the manufacturer’s instructions, and carefully reattach the mirror, ensuring it’s properly aligned and secure.
Q: How Long Should I Wait for Paint to Dry Before Reattaching the Mirror?
A: Drying times vary depending on paint type and environmental conditions. It’s best to wait at least 24 hours for the paint to dry to the touch, but for a full cure, especially before using adhesives or hanging, waiting up to 72 hours or as recommended by the paint manufacturer is advisable.
Q: Can I Still Use Decoupage Techniques if My Frame Has Intricate Mouldings?
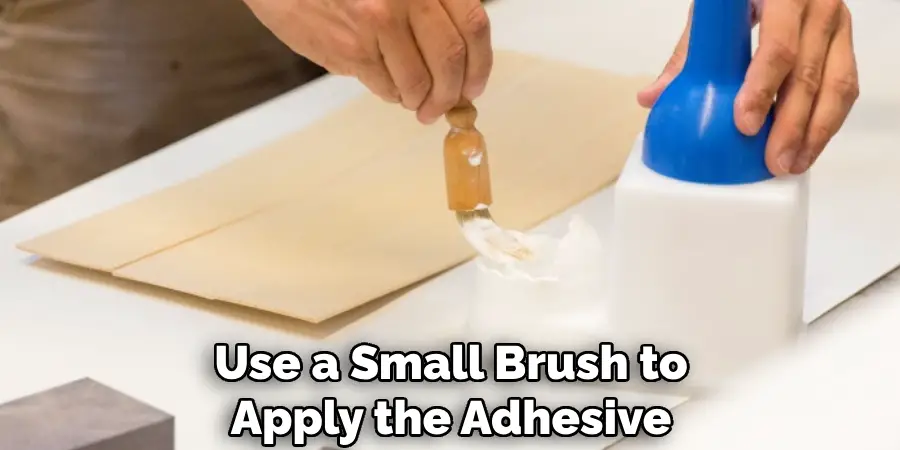
A: Absolutely! Carefully select and cut your decorative paper or fabric to fit the intricate areas. Use a small brush to apply the adhesive and gently press the material into the crevices. You may need to use small tools or your fingertips to smooth out the paper or fabric onto the moldings, ensuring a snug fit.
Q: What Safety Precautions Should I Take When Hanging a Heavy Mirror Frame?
A: Always use the appropriate anchors and hooks for the weight of your mirror and the wall type. Finding studs in the wall may be necessary to provide additional support. If you’re uncertain, consult with a hardware specialist or professional installer to ensure safety.
Conclusion
The journey of learning how to paint mirror frames is more than a simple DIY task; it’s an avenue for creativity and personal expression. Transforming an old, forgotten piece into a stunning decor item brings the joy of accomplishment and the thrill of making something uniquely yours. We encourage you to experiment with different styles and techniques to find the look that best suits your taste.
For continued inspiration and deeper insights into painting and DIY projects, consider online tutorials, workshops, and community forums that flourish with shared knowledge. Embark on this artistic endeavor to not just refurbish but also redefine the charm of your living space.

