Are you ready to give your living space a makeover with a crafty touch? A homemade quilt wall hanging is an easy and attractive way to revamp any area of your home. Not only are they beautiful, but they also serve as timeless pieces that remind us of the special moments in life we want to cherish for years to come.

Whether you’ve never picked up needlework before or if you’re experienced in quilting, this blog post will provide step-by-step instructions on how to make a quilted wall hanging! So get ready for some exciting creative fun — it’ll be worth it when you have something custom and handmade just waiting to liven up your walls!
Tools and Materials You Will Need to Make a Quilted Wall Hanging
- Fabric of your choice (preferably cotton)
- Batting
- Rotary cutter or scissors
- Quilting ruler
- Cutting mat
- Sewing machine
- Iron and ironing board
- Thread and sewing needles
- Straight pins or safety pins
Step-by-step Guidelines on How to Make a Quilted Wall Hanging
Step 1: Choose Your Design
First things first, you need to choose a design for your quilted wall hanging. You can go with a traditional quilt block pattern or come up with something unique and original. Pinterest is an excellent source for quilting inspiration. Choosing a design will also help you determine how much fabric and batting you’ll need.

Step 2: Cut Your Fabric
Once you’ve chosen your design, it’s time to cut your fabric. Use the rotary cutter or scissors, quilting ruler, and cutting mat to get precise measurements for each piece of fabric needed for your quilt block. Don’t forget to add an extra 1/4 inch on each side for seam allowance. While cutting, make sure to label each piece of fabric with the corresponding block number or letter.
Step 3: Sew the Quilt Blocks
After cutting all your fabric pieces, it’s time to sew them together. Follow your chosen design and use a 1/4-inch seam allowance for each block. Remember to press the seams open after sewing for a flat and neat finish. This step may take some time, but it’s essential to ensure your quilted wall hanging looks perfect.
Step 4: Assemble the Quilt Top
Once all your quilt blocks are sewn together, it’s time to assemble them into a quilt top. Lay out your blocks in the desired pattern and start pinning them together with the right sides facing each other. Sew each row of blocks together, then press the seams open. After sewing all the rows, join them together to create your quilt top.
Step 5: Add Batting and Backing
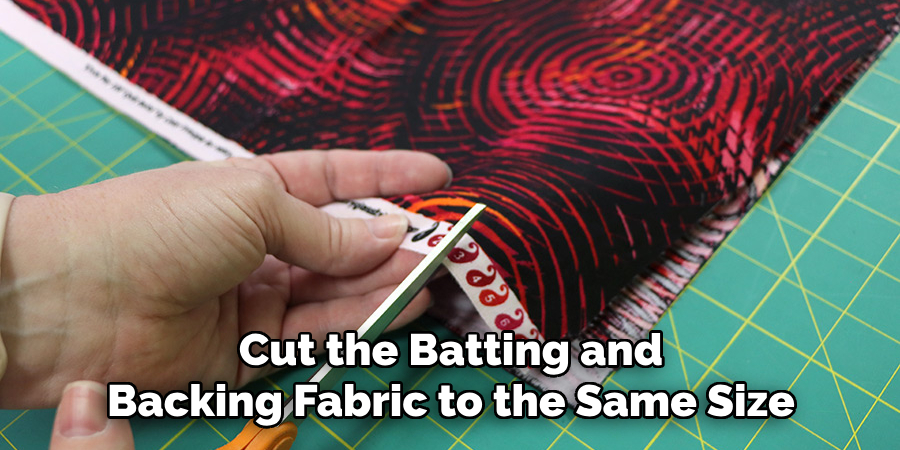
After completing the quilt top, it’s time to add batting and backing. Cut the batting and backing fabric to the same size as your quilt top. Layer them with the quilt top in between, making sure all edges are aligned. Pin or baste the layers together to keep everything in place. While adding batting and backing may seem like an extra step, it’s essential in giving your quilted wall hanging a more polished look.

Step 6: Quilt the Layers Together
Once your layers are pinned or basted together, it’s time to quilt them. You can use a simple stitch-in-the-ditch method, or get creative with different stitching patterns. This step may require some practice, so don’t be afraid to experiment and find what works best for you.
Step 7: Add a Hanging Sleeve
To hang your quilted wall hanging, you’ll need to add a hanging sleeve at the top. Cut a strip of fabric that is about 2 inches wide and the same width as your quilt top. Fold it in half lengthwise and stitch along the long edge. Then attach it to the top back of your quilted wall hanging with a 1/4-inch seam allowance.
Step 8: Finishing Touches
The last step is adding any finishing touches you desire, such as binding or embellishments. Binding will give your quilted wall hanging a clean and professional look, while embellishments can add a personal touch. And that’s it! Your quilted wall hanging is now ready to be hung and admired by all. Make sure to give it a final press with the iron before displaying it in your home.
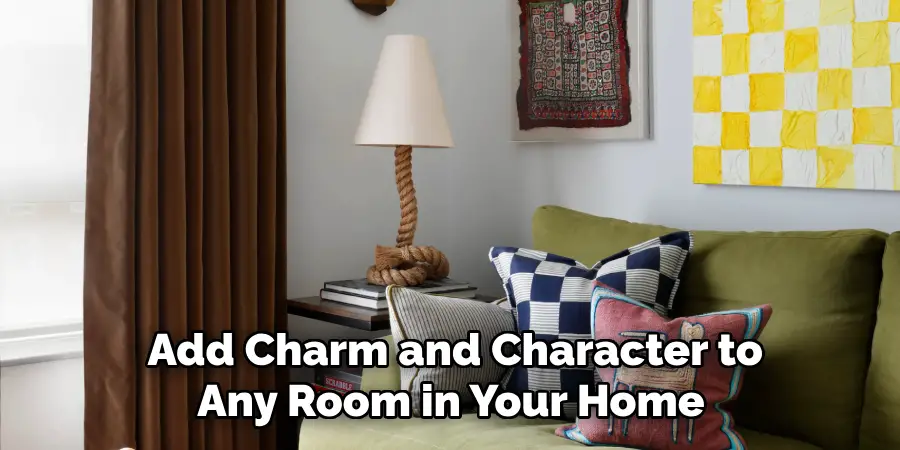
Following these step-by-step guidelines, you can create a beautiful and unique quilted wall hanging to add charm and character to any room in your home. Remember to have fun with the process and let your creativity shine! Happy quilting!

Additional Tips and Tricks to Make a Quilted Wall Hanging
1. If you’re new to quilting, consider starting with a simpler design to get the hang of things before moving on to more complex patterns.
2. Use a walking foot attachment on your sewing machine to help keep all the layers of fabric even and prevent puckering while quilting.
3. Instead of using traditional batting, you can try using fusible fleece for a lighter-weight wall hanging. Just make sure to follow the manufacturer’s instructions.
4. Add a label to your quilted wall hanging with your name and the date it was made. This will make it even more special and serve as a reminder of your creative journey.
5. Don’t be afraid to mix and match different fabric patterns and colors to create a one-of-a-kind quilted wall hanging.
6. Experiment with different quilting techniques, such as free-motion quilting or hand quilting, to add texture and depth to your wall hanging.
7. Don’t forget to have fun and enjoy the process of making your quilted wall hanging. It’s a labor of love that will bring joy for years to come!
Following these tips and tricks, you can take your quilted wall hanging to the next level and make it truly unique. Don’t be afraid to let your creativity run wild and have fun with this project! So gather your tools and materials, choose a design, and start creating your very own quilted wall hanging today. Happy quilting!
Precautions Need to Follow for Making a Quilted Wall Hanging
1. First and foremost, safety should be a top priority while making any quilted wall hanging. Use the necessary tools and equipment with caution, especially when working with sharp objects like scissors and needles.
2. Before starting to work on your quilted wall hanging, make sure you have a clear understanding of the design or pattern you want to create. This will help in minimizing mistakes and save time.
3. It is advisable to use high-quality fabric for your quilted wall hanging, as it will not only give a neat finish but also make the entire process easier.
4. Measure and cut your fabric precisely according to the design or pattern. This will ensure that all pieces fit together perfectly and result in a well-crafted quilted wall hanging.

5. Always start with a small piece of fabric and gradually work your way up to bigger pieces. This will help in avoiding any unnecessary wastage of material.
6. Pay attention to the direction of the fabric’s design or pattern while cutting and sewing, as it can greatly affect the overall appearance of your quilted wall hanging.
7. Use sharp needles and change them frequently, especially when working with thicker fabrics or multiple layers. This will prevent any uneven stitches or fabric damage.
8. Experiment with different quilting techniques and patterns to add unique touches to your quilted wall hanging. However, make sure to practice them beforehand on scrap fabric to avoid any mistakes on the final piece.
Following these precautions will not only ensure your safety but also help in creating a beautiful and well-made quilted wall hanging. Remember to take breaks when needed and enjoy the creative process! Happy quilting!
Frequently Asked Questions
What is a Quilted Wall Hanging?
A quilted wall hanging is an attractive piece of textile art that can be hung on the wall as a decorative element. It is created by quilting fabric pieces together into a specific design or pattern and then adding other embellishments such as buttons, ribbons, beads, or embroidery. Quilted wall hangings are a popular form of home decor and can be made in various sizes, shapes, and styles to suit different tastes and preferences.
How is a Quilted Wall Hanging different from a Traditional Quilt?
While both involve quilting fabric pieces together, the main difference between a quilted wall hanging and a traditional quilt lies in their purpose and size. A traditional quilt is typically used as a bed covering or for warmth, while a quilted wall hanging serves as an artistic piece of decor. Quilted wall hangings are also usually smaller in size and can be hung on the wall, while traditional quilts are larger and meant to be used on a bed.
Can I Make a Quilted Wall Hanging if I’m Not an Experienced Quilter?
Yes, you can definitely make a quilted wall hanging even if you have no limited experience in quilting. There are many beginner-friendly patterns and techniques available that are specifically designed for creating quilted wall hangings. Additionally, there are various resources such as online tutorials, workshops, and classes that can help you learn and master the necessary skills to make a quilted wall hanging.
Conclusion
Knowing how to make a quilted wall hanging is a fun and rewarding skill that allows you to create beautiful pieces of art for your home or as gifts for loved ones. With the right materials, tools, and techniques, anyone can learn to make a quilted wall hanging and add their unique touch to this traditional form of textile art. So why not give it a try and see where your creativity takes you? Happy quilting!


