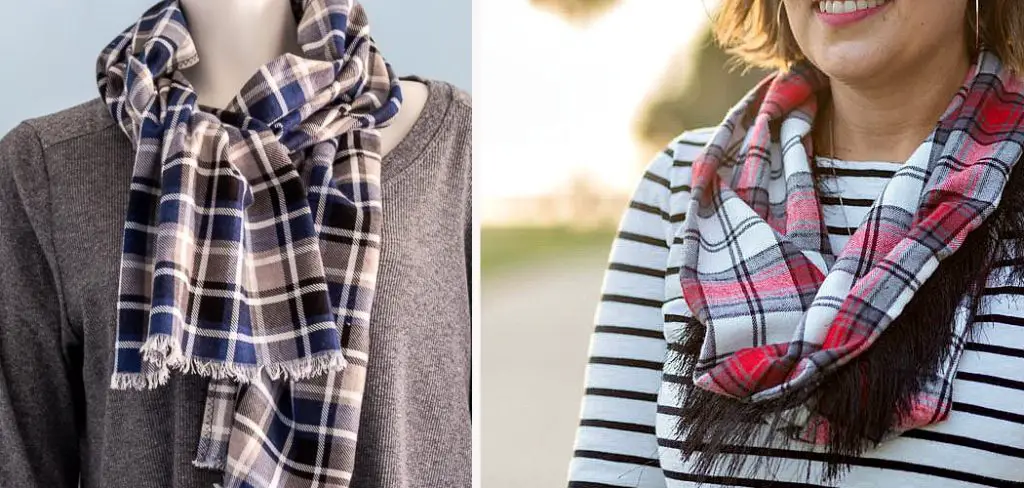
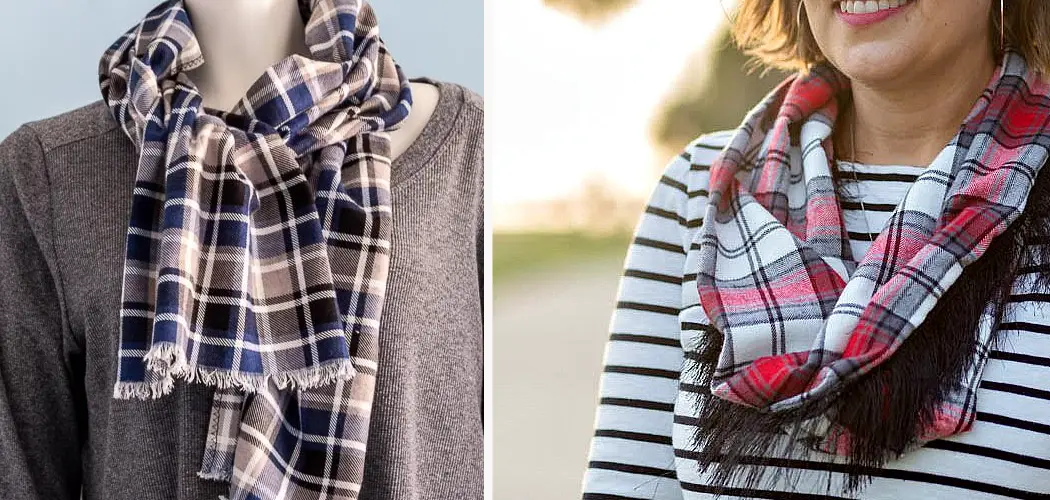
Do you love staying warm and cozy in the winter? Are you looking for a fun DIY project to take on this season? Making your own flannel scarf is such a great way to get creative while preparing for the colder months ahead. Not only are they comfortable, but flannel scarves also look super stylish and fashionable when bundled up around your neck.

If you want to learn how to make your own one-of-a-kind accessory, then keep reading as we guide you through all the steps on how to make a flannel scarf needed for creating this unique piece of winter gear!
Needed Materials
Given below is a list of materials that you’ll need before starting off with the process:
- Flannel Fabric
- Scissors
- Sewing Needle or Sewing Machine
- Thread
- Measuring Tape or Ruler
11 Step-by-step Guidelines on How to Make a Flannel Scarf
Step 1: Choose Your Fabric
The first step in making your own flannel scarf is to choose the perfect fabric. You can find flannel fabric at most craft or fabric stores.
There are many different patterns and colors to choose from, so take your time and find one that speaks to you. You can also recycle an old flannel shirt if you have one lying around. It’s a great way to give new life to old clothing!
Step 2: Wash and Dry the Fabric
Before you start working with your fabric, it’s important to wash and dry it. This will help prevent any shrinking or color bleeding later on in the process. But make sure to check the washing instructions on your fabric before doing so.
Otherwise, you may end up with a ruined piece of fabric. You could also opt to hand wash and air dry your fabric if you’re unsure. It’s always better to be safe than sorry!
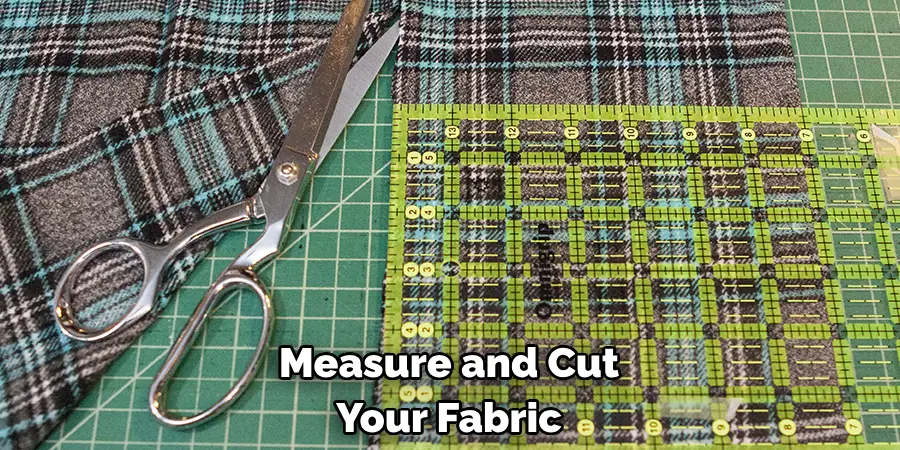
Step 3: Measure and Cut Your Fabric
Next, measure and cut your fabric to the desired length and width for your scarf. A standard size for scarves is around 60 inches long and 8-10 inches wide, but feel free to adjust according to your preferences. It’s always a good idea to use a measuring tape or ruler to get precise measurements. Also, make sure to cut your fabric in a straight line for the best result.

Step 3: Cut the Fabric
Once your fabric is dry, lay it out on a flat surface and use scissors to cut it into a rectangular shape. The dimensions of your scarf will depend on how long and wide you want it to be. A standard size for a scarf is around 60 inches long and 8-10 inches wide, but feel free to adjust according to your preferences. It’s always a good idea to use a measuring tape or ruler to get precise measurements. Also, make sure to cut your fabric in a straight line for the best result.
Step 4: Hem the Edges
Fold over each edge of the fabric about half an inch and then fold it over again. This will create a clean edge and give your scarf a finished look. You can use pins to hold the fabric in place before sewing. Alternatively, you could use fabric glue instead of sewing if you don’t have a needle or sewing machine available.
Step 5: Sew Along the Edges
Using a needle and thread or a sewing machine, sew along the edges to secure the hem. Make sure to remove any pins as you go and backstitch at the beginning and end of your stitching for extra strength. You can also use a different color thread to add some contrast or match it to the fabric for a sleek look. It’s all up to you! This step can also be done by hand if you don’t have a sewing machine available.
Step 6: Optional Frayed Edge
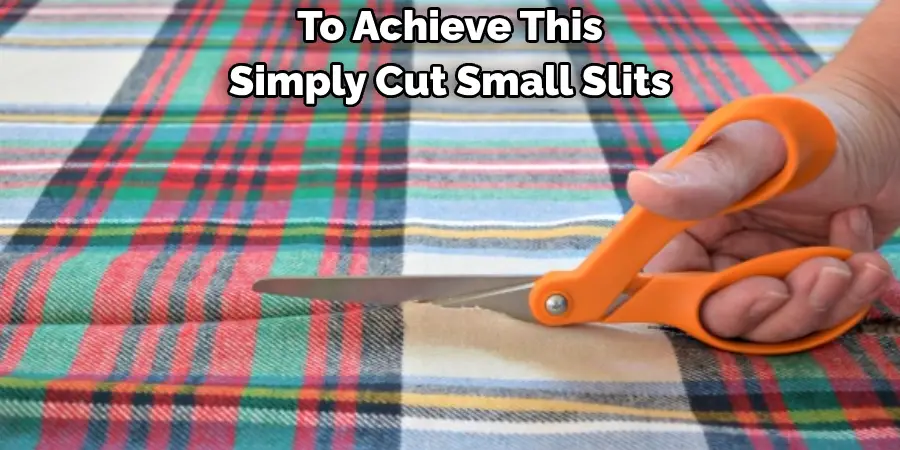
If you want a more rustic and casual look, you could opt for a frayed edge instead of hemming. To achieve this, simply cut small slits along the edges of your scarf and then pull at the loose threads to create a frayed effect. You could also use sandpaper to gently rub against the edges for a more controlled fraying. This step is completely optional and depends on your personal style.

Step 7: Iron Your Scarf
Before wearing or gifting your newly made flannel scarf, give it a quick ironing to make sure all the seams are flat and any wrinkles are removed. This will give your scarf a polished finish. You could also use steam to help relax the fabric and make it easier to iron. This step is especially important if you decide to go with the frayed edge option.
Step 8: Add Personal Touches
Now comes the fun part – adding personal touches! You can choose to leave your scarf as it is, or you could add some extra flair. You could attach a patch, sew on some buttons or beads, or even embroider a design onto your scarf. Get creative and make it truly your own! You could also add a tag with your name or initials to make it even more unique.
Step 9: Let Your Scarf Rest

Once you have completed all the steps, let your scarf rest for a day or two to allow the fabric to settle and any creases from stitching to relax. This will also give you time to admire and appreciate your new creation before wearing it. It’s always fulfilling to see your hard work come together in a beautiful finished product.
Step 10: Wear Your New Scarf!
Finally, it’s time to put on your new flannel scarf and show it off! You can wear it as is or experiment with different ways of tying it. You could also gift it to a friend or family member for a thoughtful homemade present. No matter what you choose, take pride in the fact that you made it yourself! This will give you a sense of accomplishment and add a special touch to your winter wardrobe.
Step 11: Care for Your Scarf
To ensure that your flannel scarf lasts for many winters to come, it’s important to take care of it properly. Avoid throwing it in the washing machine and instead, opt for hand washing with mild detergent and air drying. If needed, you can also gently iron it on low heat. By following these steps on how to make a flannel scarf, your scarf will continue to look and feel like new for a long time.

Frequently Asked Questions
Q1: Is It Necessary to Wash and Dry the Fabric Before Starting?
A1: Yes, it is important to wash and dry the fabric before starting to prevent any shrinking or color bleeding later on in the process. It’s always better to be safe than sorry. YOu can also hand wash and air dry the fabric if you’re unsure of the washing instructions.
Q2: Can I Use a Different Type of Fabric?
A2: Yes, you can use a different type of fabric for your scarf. However, keep in mind that flannel is a popular choice because it is soft, warm, and has a unique appearance. Make sure to choose a fabric that is suitable for winter wear and has similar properties to flannel.
Q3: Do I Need Special Sewing Skills?
A3: No, you do not need special sewing skills to make a flannel scarf. The steps are simple and can be done by hand if you don’t have a sewing machine available. You could also use fabric glue instead of sewing if you prefer. This project is suitable for beginners and experienced sewers alike.
Q4: How Long Does It Take to Make a Flannel Scarf?
A4: The time it takes to make a flannel scarf will depend on your skill level and the amount of personalization you choose to add. On average, it could take anywhere from 30 minutes to an hour. If you’re hand sewing or using special techniques, it could take longer.
Conclusion
To summarize, making a flannel scarf is a great way to stay warm and fashionable this winter. Not only is it incredibly satisfying to create something with your own two hands, but you can also tailor the size, shape and grass to your personal taste. Buy fabric in different colors and patterns for an eye-catching finish. And the best part about making a plaid scarf?
There is no need for sewing and it can be done within an hour! So if you’re looking for a quick weekend project that’ll keep you cozy on those colder days, why not give making a flannel scarf a try? This easy-to-follow tutorial offers all the steps on how to make a flannel scarf for creating a wonderful gift or special accessory – so don’t hold back – just grab some scissors, and some fabric and get started!

