Are you looking for a fun and creative way to turn your old, worn-out socks into something special? Making a blanket out of those unwanted hosiery items is easy and requires minimal effort. With just some scissors, glue, and an assortment of colorful socks, you can create a cozy handmade blanket that’s sure to be the perfect addition to any living space.
Not only will it look great when finished but the process itself can also be enjoyable! So why not give it a try today? Whether you’re an experienced crafter looking for another project or someone who’s never crafted before, this tutorial will show you step-by-step how to make a blanket out of old socks.
Why Use Socks to Make a Blanket?
Socks are usually made of soft and warm materials, making them an ideal choice for creating a comfy blanket. Plus, by using old socks that you no longer wear, you’re giving them a new purpose instead of just throwing them away. Not only is this eco-friendly but it also gives your beloved socks a second chance at being cherished.
Materials You’ll Need
Before we begin, make sure you have the following materials ready:
- Old Socks (as Many as You Want to Use)
- Scissors
- Fabric Glue or Needle and Thread (Optional)
- A Large Flat Surface to Work on
It’s best to use socks that are all similar in size and thickness. This will ensure that your blanket is level and doesn’t have any uneven areas.
11 Step-by-step Guidelines on How to Make a Blanket Out of Old Socks
Step 1: Prepare Your Workspace
To begin, clear a large flat surface to work on. Lay out all of your socks and make sure they’re clean and free of any holes or tears. If they have been washed recently, be sure to dry them completely before using. This will prevent any unwanted shrinkage or shape changes. It’s also a good idea to keep a trash bag nearby for any scraps or threads that may accumulate during the process.
Step 2: Sort Your Socks
Separate your socks into two piles – one pile for the ones you want to use, and another for those you don’t. This will make it easier to see what colors and patterns you have available to work with. You can also take this time to decide on a color scheme or theme for your blanket. It could be a rainbow of colors, shades of blue, or even holiday-themed socks.
Step 3: Choose Your Layout
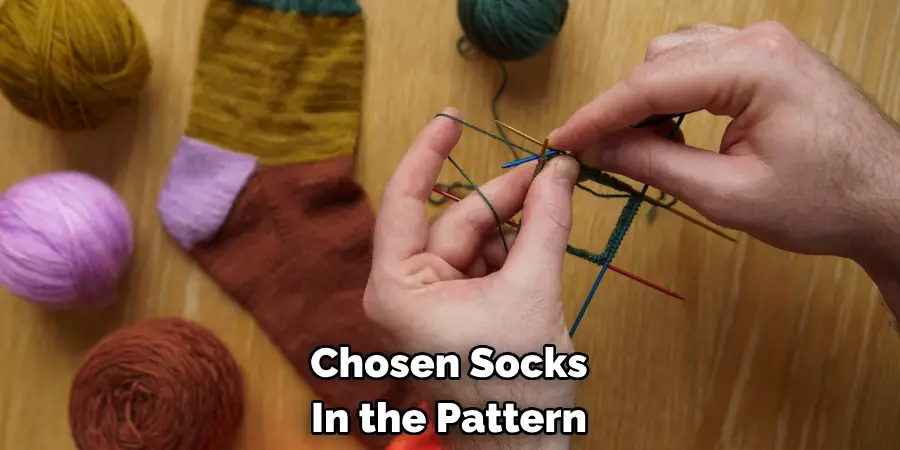
Lay out your chosen socks in the pattern and design you want for your blanket. This will give you an idea of how it will look when finished and allow you to make any changes before securing them in place. You can also opt for a totally random layout – the choice is yours! It’s best to have a rough idea of the size you want your blanket to be before moving on to the next step.
Step 4: Cut Socks into Strips
Using your scissors, cut each sock into strips approximately 1 inch wide and 8 inches long. The exact measurements don’t need to be perfect as this will add a unique and textured look to your blanket. Make sure to cut through both the front and back layers of the socks. Otherwise, the strips will not hold together when pulled.
Step 5: Tie Strips Together
Take two strips of different socks and tie them together at one end. Repeat this process until you have a chain of tied-together strips long enough to reach the desired length of your blanket. Again, it’s recommended to use socks that are similar in thickness to ensure an even and sturdy blanket. It’s also helpful to use a double knot to ensure the strips stay in place.
Step 6: Start Braiding
Once you have your chain of tied-together strips, start braiding them together. This will be the base of your blanket. Make sure to keep it tight and even as you braid so that it doesn’t become lumpy or uneven. If you’re uncertain how to braid, check out some helpful tutorials online or ask a friend for assistance. This is also a great opportunity to get someone else involved in the project with you.
Step 7: Secure Braid
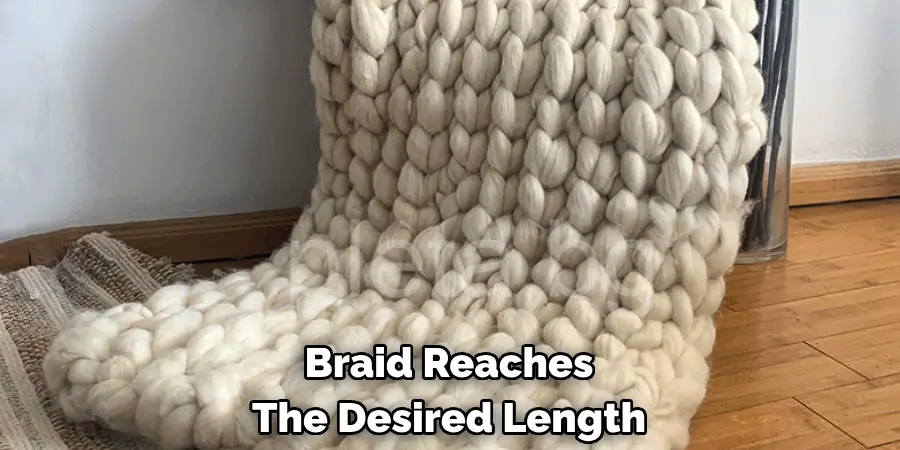
Once your braid reaches the desired length, secure it at the end with an extra knot. This will prevent it from coming apart when you add more braids later on. It’s up to you how many braids you want to create for your blanket – the more you have, the thicker and warmer it will be. It’s also a good idea to leave some extra space at the end of the braid for tying on additional braids.
Step 8: Create More Braids
Repeat steps 5-7 until you have enough braids to reach your desired blanket size. You can make all of your braids the same length or mix them up for a more unique look. Just make sure to keep them all a similar length to avoid any unevenness. It’s also a good idea to periodically lay out your braids on top of each other to ensure they’re all the same length and fit together well.
Step 9: Tie Braids Together
Once you have all of your braids, it’s time to tie them together. Lay out your base braid (from step 7) and place the other braids on top, making sure they’re aligned and the same length. Take one strip from the bottom braid and tie it to a strip from one of the other braids. Repeat this process until all of your braids are tied together.
Step 10: Glue or Sew Braids Together
To ensure your blanket stays together, you can use fabric glue or needle and thread to secure the tied strips in place. This will also give your blanket a cleaner and more finished look. If using fabric glue, make sure to let it dry completely before moving on to the final step. You can also opt to leave the braids untied for a more textured and rustic look.
Step 11: Enjoy Your New Blanket!
Congratulations, you have now successfully made a blanket out of old socks! It may not be perfect, but it’s unique, eco-friendly, and most importantly – warm and cozy. Feel free to add any additional touches or decorations to personalize it even more. Now you can snuggle up in your new blanket and enjoy its warmth, knowing you gave your old socks a new purpose and prevented them from ending up in a landfill. Happy crafting!
Following these step-by-step guidelines on how to make a blanket out of old socks will result in a unique and environmentally friendly blanket. Not only are you giving your old socks a new purpose, but you’re also reducing waste and contributing to a more sustainable lifestyle.
This DIY project is perfect for anyone who loves to upcycle and get creative with their crafts. So next time you find yourself with a pile of mismatched or worn-out socks, don’t throw them away – use them to make a cozy blanket instead! So, gather your materials and get ready to create something amazing that you can enjoy for years to come. Happy crafting!
Frequently Asked Questions
Q1: What Socks Are Best for Making a Blanket?
A: Thicker socks, such as winter or athletic socks, work best for making a sock blanket. They will provide more warmth and durability compared to thinner dress socks. It’s also recommended to use socks of similar thickness to create a more even blanket.
Q2: Do I Need to Sew or Glue the Braids Together?
A: While it’s not necessary, it is recommended to sew or glue the braids together for added durability and a cleaner look. This will also prevent the tied strips from coming undone over time. However, you can opt to leave the braids untied for a more rustic and textured look.
Q3: How Many Braids Do I Need?
A: The number of braids needed will depend on the desired size and thickness of your blanket. It’s recommended to have at least 8-10 braids, but feel free to make more for a thicker and warmer blanket. It’s always better to have extra braids than not enough. So, make sure to plan ahead and gather enough socks for your project.

Conclusion
In conclusion, making a blanket out of old socks is a fun and creative way to repurpose items that would otherwise go to waste. With just a few simple steps, you can turn old, unused socks into a beautiful and functional blanket. Not only is this a great DIY project to do on your own, but it’s also an excellent activity to involve friends or family in.
So next trinket out of old socks provides an excellent alternative to traditional blankets. Not only is it easy and relatively inexpensive, but you can also get creative with patterns and colors. Furthermore, you can choose to make the blanket any size, personalized for even the most specific cuddling needs.
Best of all, this crafty upcycle project is both fun and rewarding — your unique creation will be the envy of many! So why not give it a try? With your now-gathered materials and knowledge on how to make a blanket out of old socks, you have all that you need to begin crafting an awesome blanket made of old socks!

