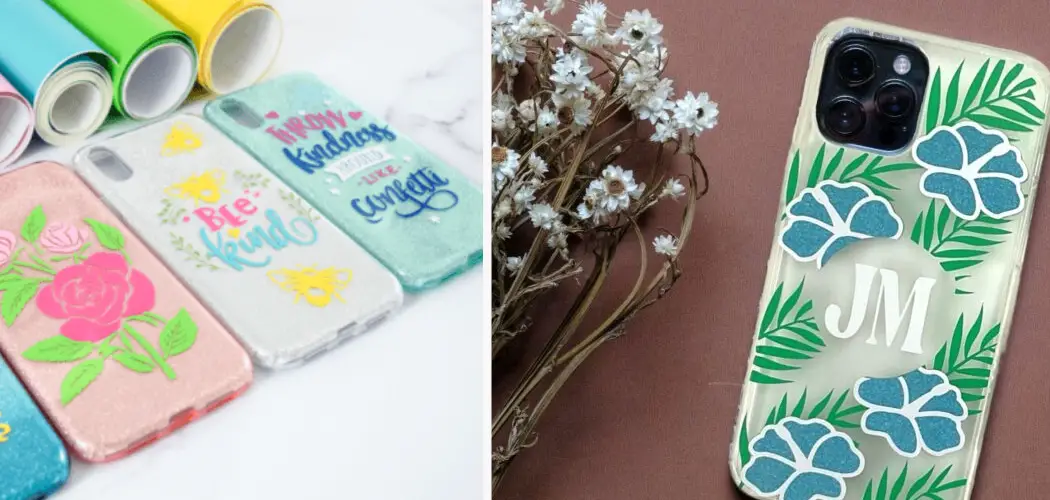
Are you tired of spending money on off-the-shelf phone cases that don’t quite express your personality? Do you want a unique way to customize your look and protect your device at the same time? Look no further! With Cricut, you can make your own stylish homemade phone case for any model or brand—in no time at all.
In this blog post on how to make phone cases with cricut, we’ll share step-by-step instructions on how to create beautiful personalized phone cases with Cricut so everyone will be envious when they see yours! Whether you already have a design in mind or need some inspiration, keep reading to find out more about crafting creative cell phone covers with Cricut.
Why Do It Yourself?
With so many phone case design options available in stores, you may be wondering why you should bother making your own. Here are a few reasons to consider:
Personalization:
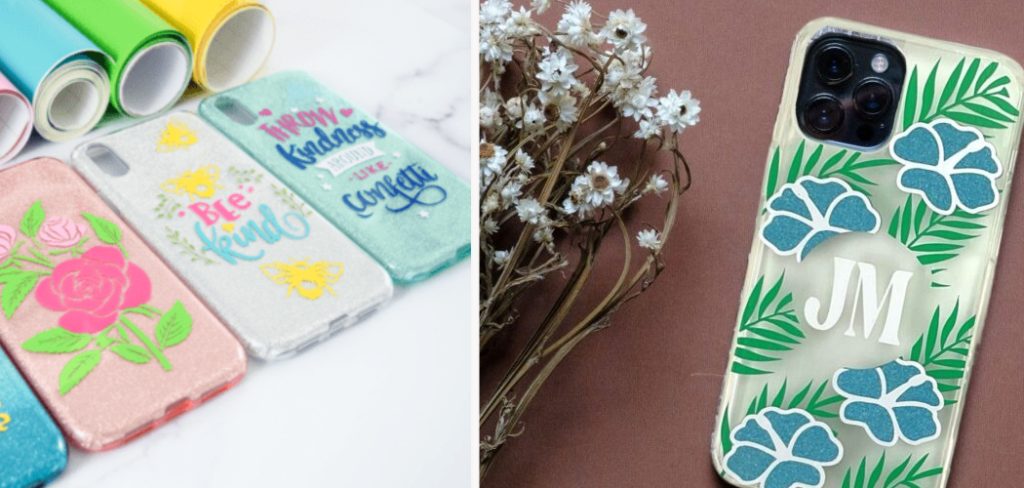
The best thing about DIY phone cases is that you can truly make them your own. From choosing the design to selecting materials and colors, you have complete creative control.
Cost-Effective:
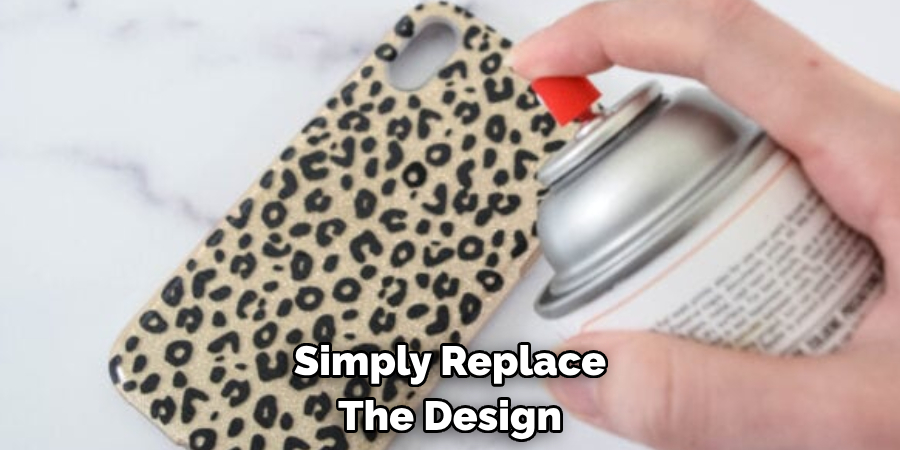
Making your own phone case can save you money in the long run. Instead of constantly buying new ones, you can simply replace the design on your custom-made case.
Custom-Fit:
Cricut allows you to create a phone case that is tailored to your specific device, ensuring a perfect fit every time. You’ll no longer have to worry about cases that are too loose or too tight.
Unique Gifts:
Homemade phone cases make great gifts for friends and family. You can even personalize them with initials, names, or special dates to make them extra special.
What You’ll Need
Before we get into the steps on how to make phone cases with Cricut, let’s first gather all the necessary materials. Here’s what you’ll need:
- A Cricut Cutting Machine
- A Phone Case Blank (Available for Different Models and Brands)
- Adhesive Vinyl Sheets in Your Desired Colors/patterns
- Transfer Tape
- Scissors or Paper Trimmer
- Weeding Tools (Optional)
10 Step-by-step Guidelines on How to Make Phone Cases With Cricut
Step 1: Prepare Your Design
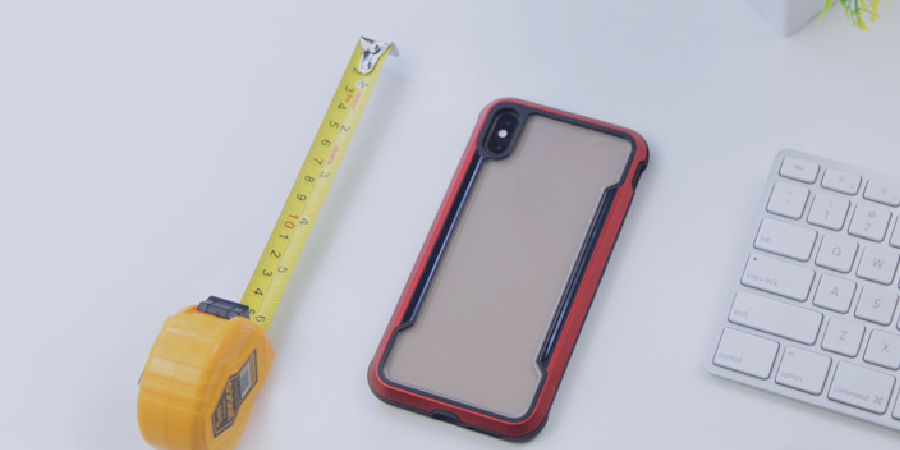
Before you start creating your phone case, it’s essential to have a design in mind. You can either use a pre-made design from Cricut Design Space or create your own using graphics software. Make sure to accurately measure the dimensions of your phone case so that the design fits perfectly. It’s always a good idea to have a few backup designs in case something goes wrong during the cutting process.
Step 2: Setup Your Cricut Machine
Once you have your design ready, turn on your Cricut machine and connect it to your computer or mobile device. Open up Cricut Design Space or use the app for mobile devices. Follow the prompts to connect your device and select the type of material you’ll be using (in this case, adhesive vinyl). But if you’re using a phone case blank, choose the material type accordingly.
Step 3: Load Your Design into Cricut Design Space
Upload your design onto Cricut Design Space by clicking on the “Upload” button and selecting your file. Once uploaded, you can resize or adjust the design as needed to fit your phone case’s dimensions. Make sure to mirror your design before cutting if it contains any text or graphics. Otherwise, they will be backward when applied to the case.
Step 4: Cut Your Design
Place your adhesive vinyl sheet onto a cutting mat and load it into your Cricut machine. Follow the instructions on the software to start cutting your design. Once done, carefully remove the vinyl from the cutting mat, making sure not to tear or bend any intricate parts of the design. The Cricut machine will automatically cut the adhesive vinyl according to your design.
Step 5: Weed Your Design
Weeding is the process of removing excess material from your design. Use a weeding tool or scissors to carefully remove any unwanted parts, leaving only the design behind on the vinyl sheet. You may also want to weed out any small pieces of vinyl that may have stuck between letters or shapes.
Step 6: Transfer Your Design
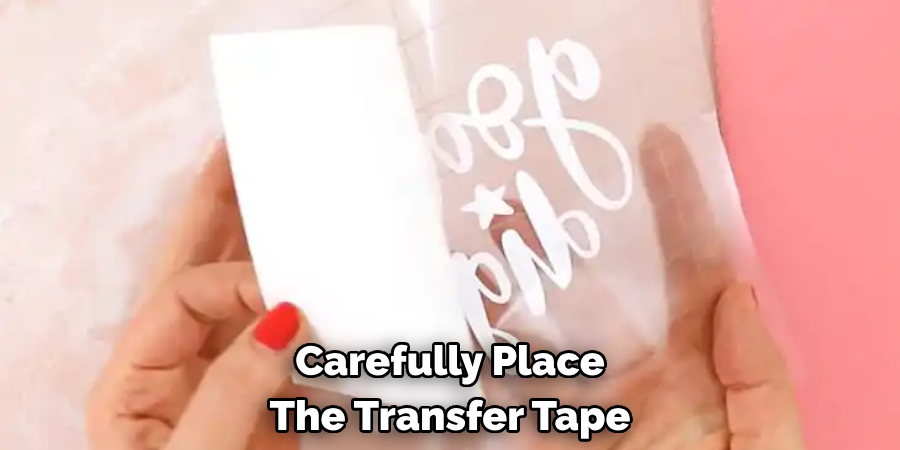
Once you have your design weeded, use transfer tape to transfer it onto the phone case blank. Carefully place the transfer tape on top of your design and use a scraper tool to rub over it, ensuring that all parts adhere to the tape. It will act as a guide when transferring the design onto the phone case. But if you don’t have transfer tape, you can use masking or painter’s tape as an alternative.
Step 7: Apply Your Design
Remove the backing from your phone case blank and carefully place it on a flat surface. Then, using the transfer tape as a guide, place your design onto the phone case. Once in position, gently press down on the design with your fingers or a scraper tool to ensure it adheres well. This step may require some patience and a steady hand, so take your time.
Step 8: Remove Transfer Tape
After you have applied your design to the phone case, carefully remove the transfer tape. Hold down on the edge of the case to prevent it from lifting off with the tape. If any parts of the design do not stick properly, gently press them down again with your fingers or a scraper tool. You can also use a heat gun or hairdryer to help the design adhere better.
Step 9: Trim Excess Vinyl
Once your design is successfully transferred onto the phone case, trim off any excess vinyl with scissors or a paper trimmer. Be careful not to cut into the actual design of the case. You may also want to go over any edges with a scraper tool to ensure everything is secure and smooth. But be gentle to avoid damaging the design or phone case. This step is optional, but it helps give the phone case a polished look.
Step 10: Let It Set and Enjoy!
Allow your new custom-made phone case to set for at least 24 hours before using it. This will ensure that the design is well adhered to the case and won’t peel off easily. After that, your phone case should be ready for use! Show off your unique and personalized phone case to your friends and family.
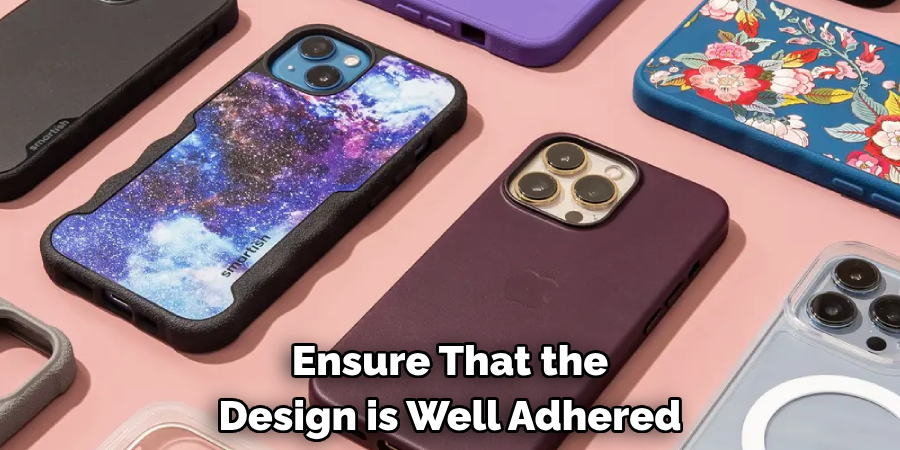
You can even make more designs for different occasions or seasons, giving you endless possibilities for a customized phone case. How to Make Phone Cases With Cricut is a fun and easy DIY project that anyone can do. So, gather your materials, follow these steps, and start creating your own personalized phone cases today!
Frequently Asked Questions
Q1. Can I Use Any Type of Adhesive Vinyl for This Project?
You can use any adhesive vinyl that is compatible with Cricut machines. However, it’s best to choose high-quality vinyl to ensure a long-lasting design on your phone case. It’s also essential to select the right type of adhesive vinyl for the specific phone case you are using to ensure a perfect fit.
Q2. Do I Need a Heat Press or Iron for This Project?
No, you do not need any heat-pressing equipment for this project. The transfer tape and gentle pressure from your fingers or scraper tool are enough to adhere the design to the phone case. However, using a heat gun or hairdryer can help with any areas that may not stick well.
Q3. Can I Make Phone Cases for Different Types of Phones?
Yes, you can make custom phone cases for almost any type of phone using this method. Just make sure to accurately measure the dimensions of the case and adjust your design accordingly in Cricut Design Space. Additionally, you may need to purchase different phone case blanks for each type of phone.
Q4. Can I Use this Method for Other DIY Projects?
Absolutely! This method is not limited to just phone cases. You can use it to make custom designs on other items such as laptop cases, water bottles, mugs, and more. Just make sure to adjust your design and materials accordingly for the specific item you are decorating. The possibilities are endless with a little creativity and the help of Cricut Design Space.
Conclusion
In conclusion, making phone cases with Cricut is a great way to make customizable cases for yourself that reflect your individual style. The process is simple and straightforward and can easily be completed in the comfort of your own home. This project can also be used as a bonding activity with friends or family if you choose to make multiple cases together.
So why wait? Jump on this creative journey today! Decide what design speaks to you and replicate it using Cricut’s user-friendly machines. Make your phone case stand out against the rest while also preserving its quality and structure, all along having fun! Thanks for reading this article on how to make phone cases with cricut.

