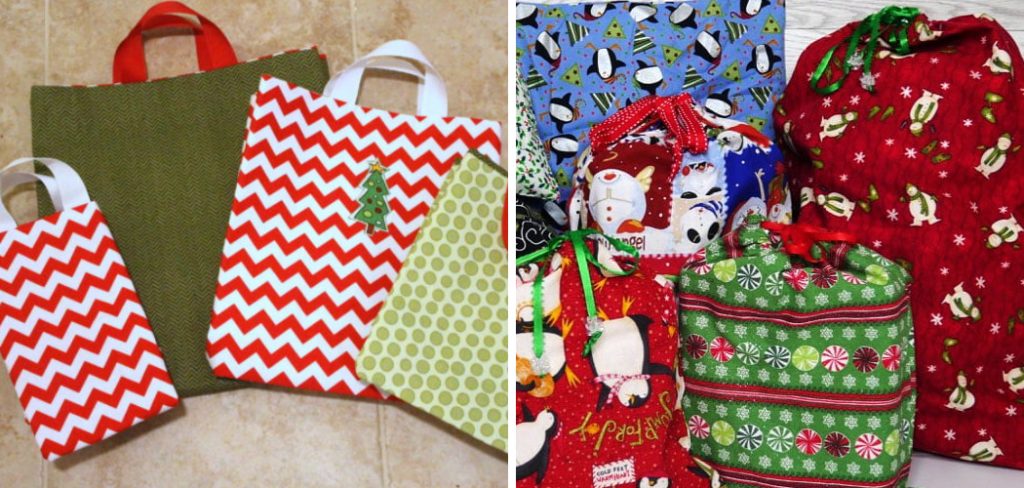
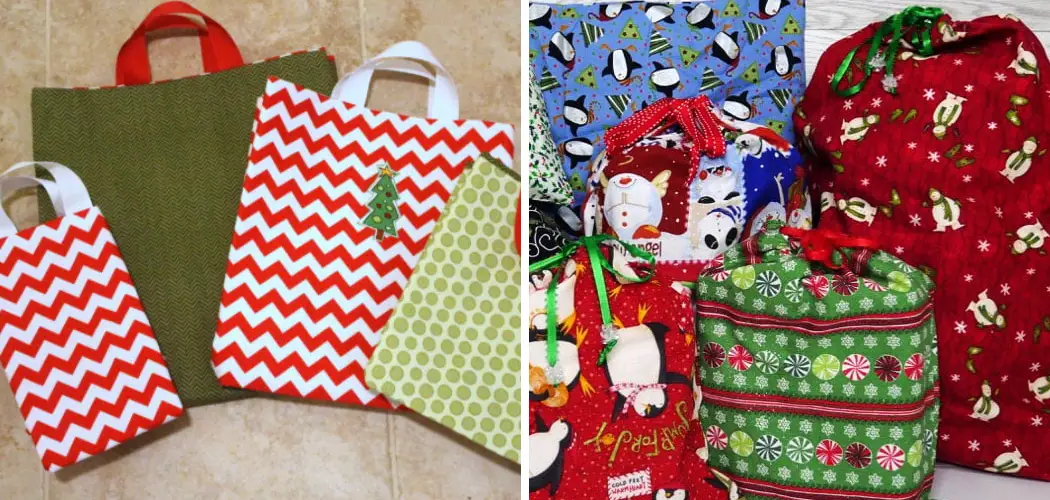
Do you have a knack for creating things? Are you the crafty type who loves to make handmade items? When it comes to gift-giving, fabric bags of all shapes and sizes can be lovely entrances to your gifts. Gift-giving can be taken to the next level with handmade gifts that show you put in the extra effort.
Homemade projects like lined fabric gift bags offer a creative and special touch, allowing your loved one to feel both appreciated and inspired. Express yourself creatively through these custom-made lined gift bags that are perfect for any special occasion!

With just a few easy steps on how to make lined fabric gift bags, you can learn how to make these beautiful little keepsake holders at home, enabling more meaningful gift-giving for any occasion. Learn how to make line fabric gift bags in no time with this step-by-step guide. Whether they’re used as birthday presents or holiday gifts, these customized creations show off your creativity with style.
Is It Difficult to Make Lined Fabric Gift Bags?
No, making lined fabric gift bags is surprisingly easy and won’t take too much time. All you need to make your own fabric bags are some simple materials: a piece of cotton or linen for the outer layer, another piece for the lining, and a few other supplies like scissors and thread. Depending on the size of the bag you want to make, you may also need a zipper closure for the top.
Things to Consider Before Starting
Before you begin making your lined fabric bags, there are a few things to take into consideration. First, decide what type of material you want to use for the outer layer and lining. Cotton or linen are both popular choices as they’re quite durable and come in multiple colors and patterns.
You should also think about the size of the bag you want to make. This will determine how much fabric you need and how long the seams should be. Finally, consider whether you want the bag to have a zipper closure or not.
Choosing the Right Fabric
Once you’ve decided on the materials and size of your lined fabric bag, it’s time to get started! Begin by selecting the right fabrics for your project. Look for lightweight fabrics that will be easy to work with and sew together well.
Linen is a great choice as it has a natural stiffness that helps hold the shape of the bag. If you’re using a zipper closure, make sure to select a fabric that will accommodate it.
Required Items
Cotton or linen fabric for the outer layer and lining:
Pick a lightweight fabric that is easy to work with and comes in the desired color or pattern.
Scissors:
Make sure you have a sharp pair of fabric scissors to cut the material cleanly and accurately.
Thread:
Choose a thread that is sturdy enough to hold the bag together but also matches or complements the fabric colors.
Zipper closure (optional):
For bags with a zipper closure, make sure to select one that is long enough for your desired bag size.
Sewing Machine (optional):
While it is possible to hand-sew the bag, having a sewing machine can make the process faster and more efficient.
10 Tips on How to Make Lined Fabric Gift Bags
1. Measurement
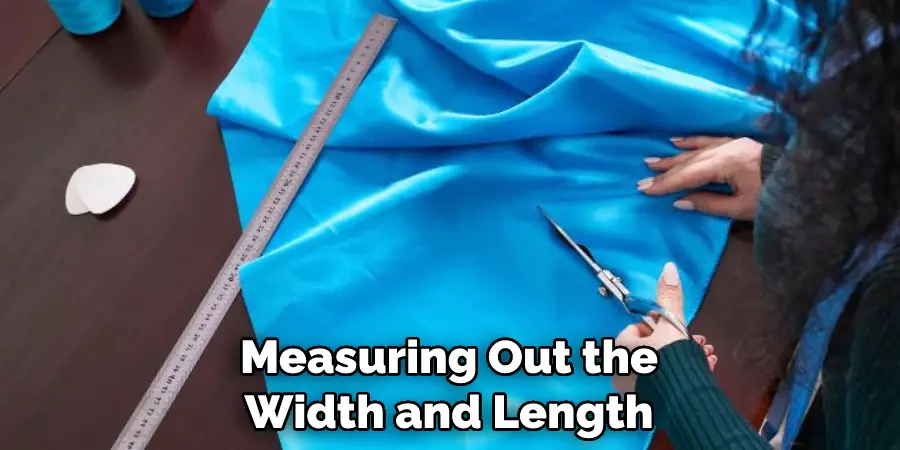
Start off by measuring out the width and length of both your outer fabric and lining. The right measurement will depend on the size of the bag you want to make. To ensure a secure fit, add about an inch for the seams. You should also measure and cut a small section for the bag’s bottom.

It’s always better to have extra fabric than to end up with a bag that is too small. You can always trim off any excess later. The length of the fabric should be twice the size of your desired bag height, plus an extra inch for seams.
2. Cut Fabrics
Once your fabric is cut to size, it’s time to start sewing. Make sure both pieces are laid out in the same direction before starting. While cutting, make sure the edges are parallel and that all measurements are exact.
This will ensure that the bag comes out neat and symmetrical, making it look more professional. Make any necessary adjustments before sewing.
3. Sewing Machine
If you have a sewing machine, you can use it to stitch up the sides of the bag. Be sure to sew a straight line from top to bottom so that your seams look neat and even. If you don’t have a sewing machine, you can also hand-sew the sides with a needle and thread.
However, using a sewing machine will make the process much faster and more efficient. You can also use the machine to hem the edges of the bag for a cleaner finish.
4. Attaching the Lining
Once both sides of the outer fabric are sewn together, it’s time to attach the lining. Place the lining piece on top of the outer fabric so that the right sides face each other. Sew along the edges using a straight stitch to secure them together. It’s important to leave a small opening at the bottom for turning the bag inside out.
There should be two openings on either side of the bottom seam. This is where you will insert the fabric for the bag’s bottom.
5. Folding and Pressing
Fold the fabric in half so that the seams are aligned, then press it with an iron on low heat to make sure it stays in place. This will create the basic shape of your bag, giving you something to work with while stitching up the top. You can also use pins to keep the fabric in place.
It’s important to press the fabric carefully so that it retains its shape and doesn’t become wrinkled or distorted. The more precise you are at this stage, the better your bag will turn out.
6. Sealing the Top
To seal off the top of the bag, you can either hand-sew a running stitch or use a sewing machine and zig-zag stitch to secure it in place. If you’re using a zipper closure, make sure to install it before stitching up the top. But if you prefer a simpler look, you can also leave the top open and use ribbon ties to close it.
You can also add additional decorations such as buttons, bows or fabric flowers to personalize your bag even more. The possibilities are endless!
7. Finishing Touches
To neaten up the edges, you can use a zig-zag stitch or an overlock stitch around the perimeter of the bag. This will give it a professional and polished look. You can also trim off any excess fabric or threads. It’s important to do this carefully, as you don’t want to accidentally cut into the seams and create holes.
You can also iron the edges of the bag on low heat to make sure they lay flat and straight. This will give your bag a more refined appearance.
8. Press Again
Once you’ve finished stitching, press the lining and outer fabric with an iron on low heat to make sure everything is secure. Pressing will specifically help with any areas that are bulky or have a lot of fabric. The heat from the iron will help flatten and smooth out any rough spots.
It’s important to be careful while pressing, as you don’t want to accidentally burn or melt the fabric. Always use a low heat setting and test it on a small, inconspicuous area first.
9. Trim Excess Threads
For the final step, trim away any excess threads from your stitches and around the seams. This will help keep everything looking neat and tidy. The excess fabric can be used to make straps or other decorations. It’s always good to save scraps for future projects.
But be sure to keep the thread and fabric colors consistent to maintain a cohesive look for your bag. This attention to detail will make your bag look more professional and well-crafted. You can also use a lint shaver to remove any stray fibers or lint from the fabric.
10. Enjoy Your Finished Product!
You’re now ready to enjoy your finished product! Fill the bag with goodies and give it away as a gift – your recipient will love it! Lined fabric bags are perfect for birthdays, anniversaries, weddings, baby showers, and more.
Make sure to experiment with different fabrics, patterns, and sizes to create unique and personalized bags for any occasion. With these simple tips, you can easily make your own lined fabric gift bags that will impress anyone who receives them.
You can also find plenty of tutorials online to help you with the process, including information on how to attach a zipper and how to sew a running stitch. With the right materials and tools, making lined fabric bags is an easy project that can be completed in just a few hours.
Have fun with it, and don’t be afraid to experiment with different fabrics and patterns! There are plenty of creative ways to make these useful gifts.
8 Tips to Make the Fabric Gift Bag Special
1. Add an Applique
Appliques can be purchased online or in craft stores and are a great way to make the fabric gift bag more personal. Choose something that reflects the recipient’s interests for an added touch of thoughtfulness.
2. Embellish With Paint
A few strokes of paint can turn a plain fabric gift bag into something truly special. Use high-quality acrylic paints for best results, and consider using stencils or stamps to create eye-catching designs.

3. Choose Personalized Fabric
Personalizing the fabric used to make the bag is a great way to show extra thoughtfulness. If possible, choose material printed with the recipient’s initials or favorite colors. It will add an extra-special touch.
4. Include a Special Note
Just like gift wrapping, adding a special note to the fabric gift bag is something that can make the recipient feel extra special. Write something heartfelt and meaningful in beautiful calligraphy for an extra element of surprise.
5. Embellish With Buttons or Beads
Buttons and beads are a great way to add some extra sparkle and color to the fabric gift bag. Choose buttons or beads in colors that match the fabric, or mix and match for an eclectic look. Choose unique buttons or beads for an added touch of fun.
6. Add Some Lace
Lace is a timeless addition to any gift bag, no matter what material it is made from. Use lace trim or ribbon to make the bag look more polished and elegant. Lace will brighten up any fabric gift bag and add a classic touch.
7. Make a Special Hanger
Adding a special hanger to the fabric gift bag will give it an extra bit of charm. Choose something whimsical – like colorful ribbons, felt shapes, or mini-flowers – for a fanciful touch.
8. Use Unique Closures
Choose interesting closures to make the fabric gift bag truly unique. Try using ribbon and buttons, metal snaps, or even Velcro closures for an unexpected touch. IT will make the bag stand out from the rest.

These eight tips on how to make lined fabric gift bags are sure to help you create a truly special fabric gift bag that will bring joy to any recipient. Whether you embellish with appliques and paint or choose personalized fabric and unique closures, making your own fabric gift bags is a great way to show someone how much they mean to you.
How Much Will It Cost?
Making your own fabric gift bags can be a very budget-friendly option. The cost will vary depending on the materials you choose to use, such as the type of fabric and embellishments. However, compared to buying pre-made gift bags or wrapping paper every time you need to give a gift, making your own bags can save you money in the long run.
Furthermore, if you are an avid crafter or enjoy sewing as a hobby, you may already have many of the necessary materials at home. This means your cost could be even lower.
Frequently Asked Questions:
Q: Can I Use Any Type of Fabric to Make a Lined Gift Bag?
A: Yes, you can use any type of fabric as long as it is strong enough to withstand the weight of the contents. However, cotton or linen fabrics are recommended for their durability and easiness to work with. It is also important to consider the pattern and print of the fabric for a more visually appealing bag.
Q: Do I Need a Sewing Machine to Make a Lined Fabric Gift Bag?
A: While a sewing machine can make the process faster and easier, it is not necessary. A lined fabric gift bag can also be hand-sewn with needle and thread. It may take longer, but the end result will be just as beautiful.
Q: How Do I Determine the Size of My Fabric Gift Bag?
A: The size of your fabric gift bag will depend on the size of your lining and outer fabric pieces. To determine the size, measure the length and width of the items you want to put inside the bag and add a few inches for seam allowance and room to close the bag. It is also helpful to make a mock-up or template with scrap fabric before cutting into your main fabric pieces.
Q: Can I Add Pockets to My Fabric Gift Bag?
A: Yes, you can add pockets to your lined fabric gift bag by sewing them onto the lining before assembling the bag. This will provide extra storage for small items and make the bag more functional. Just make sure to leave enough room for the contents of the bag when adding pockets.
Q: Where Can I Find More Inspiration for Making Lined Fabric Gift Bags?
A: There are many resources available online for inspiration and tutorials on making lined fabric gift bags. Pinterest, YouTube, and crafting blogs are great places to start. You can also find patterns and project ideas in sewing books or magazines. Don’t be afraid to get creative and try new ideas with your fabric gift bags! So go ahead start making you unique and special fabric gift bags now! Happy crafting!
Conclusion
Making these lined fabric gift bags is a fun and easy craft that anyone can take on. With the help of this guide on how to make lined fabric gift bags, you now have the skills to create the perfect bag for any occasion. Not only will the recipient be delighted with your handcrafted work, but so too will you be proud of your skillful sewing abilities.
Who knows, maybe this simple project will spark an interest in other crafts and allow you to explore more creative activities. Regardless of whether or not it does, one thing is certain: these little bags are sure to make someone’s day and put a smile on their face. So, get ready to thread your needle and begin making your own unique lined fabric gift bags!


