
Whether it’s a sweater, curtain, or car seat – dealing with loose threads can be frustrating! Not to mention the feeling of dread when you realize how much work may need to be done to repair your beloved item.

What if we told you that repairing these small imperfections is simpler than you think? We’re here today with our comprehensive guide on how to fix loose thread in no time! Read on for some helpful tips and tricks so you can quickly get back to what matters most – enjoying life without worrying about repairs.
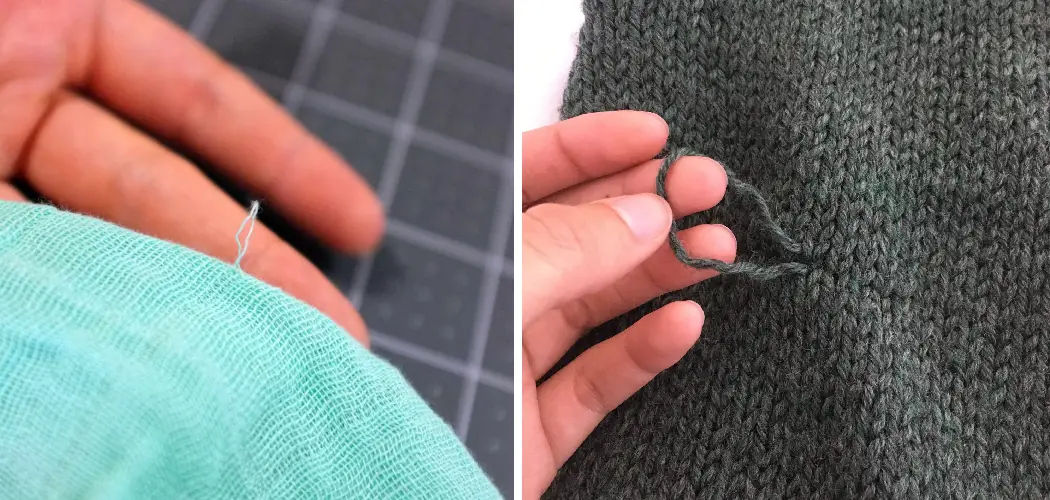
Do you have an item of clothing that has suddenly sprouted a wayward thread? Has the loose strand been there long enough to cause embarrassment when caught on something or someone during your travels outside of the house?
If so, fear not! It can be easy to return your favorite garment back to its former glory with a few simple steps. In this blog post, we’ll show you how to quickly and effectively fix those loose threads without having to resort to throwing away your beloved piece of clothing.
Why May You Want to Fix Loose Thread?
1 . Fabric damage
Loose thread can be a sign of fabric damage, which can lead to further wear and tear. It’s important to spot the loose thread quickly and deal with it before it affects the integrity of the fabric.
2 . Aesthetics
Loose threads may also detract from the overall aesthetic of your garment or upholstery. You want your clothes or furniture to look their best, and fixing loose thread can help you achieve this.
3 . Comfort
Loose thread can be irritating when worn against the skin or when sitting down on an upholstered piece of furniture. Fixing loose thread is important for comfort as well as aesthetics.

How to Fix Loose Thread in 6 Easy Steps
Step 1: Gather All The Tools
The very first step is to gather all the tools that you will need for fixing your loose thread. These include scissors, a needle, and matching thread. Make sure that the thread matches the color of your fabric so that it does not stand out too much when you have finished making your repairs.
Step 2: Cut Off The Loose Threads
Once you have all the tools you need to fix your loose threads, use the scissors to cut off any excess thread that is not attached. Make sure that you do this carefully so as not to damage the fabric around it.
Step 3: Thread The Needle
Now, take your needle and thread it with the matching color of thread. Once you have done this, make sure to knot the end of the thread. This will ensure that it is secure and will not come loose when you are working with it.
Step 4: Sew Up The Loose Threads
Once everything is prepared, start sewing up the loose threads with the needle and thread. Make sure to go in a straight line and keep your stitches small so that the repair does not stand out.
Step 5: Knot The Thread & Trim Excess Threads
When you have finished sewing up the loose threads, knot the thread and trim off any excess threads with the scissors. This will ensure that your fabric remains neat and tidy once you are done with your repairs.
Step 6: Remove All Excess Threads
Finally, use the tweezers to remove any excess threads that are left behind. This will help to make sure that your fabric looks neat and tidy after you have made your repairs.

And there you have it! With these steps, you should now know how to fix loose thread in just a few easy steps. Now, you can go ahead and enjoy wearing your favorite fabric for years to come!
Some Extra Tips to Fix Loose Thread
Here are a few tips that will help you take better care of fabrics that have loose threads:
1 . Don’t Pull on the Thread
Whenever you come across a loose thread, it is important that you do not pull on it. This can cause more damage to your fabric and may even lead to more loose threads in the future.
2 . Spot Cleaning Is Best
When you notice that there is a loose thread, try spot cleaning the area rather than washing the entire fabric. This will help to prevent any further damage to your fabric and will also ensure that the loose thread is removed properly.
3 . Use Appropriate Stitches
When you are fixing a loose thread, it is important to use an appropriate stitch for the job. A running stitch or a backstitch can both be used for fixing a loose thread, however, make sure that you do not use an overlocking stitch as this can damage the fabric.
4 . Use a Matching Thread
When you are fixing a loose thread, always use a matching color of thread. This will ensure that the repairs are not too noticeable and your fabric will look good as new once you have finished making your fixes.

5 . Keep Your Scissors Sharp
Using sharp scissors when dealing with loose threads is important as it helps to prevent any further damage to the fabric. Dull scissors can cause snags and pulls in the fabric, which can lead to further wear and tear.
With these extra tips in mind, you should now have all the information needed to take better care of fabrics with loose threads. Now, go ahead and enjoy wearing your favorite fabrics without any worry!
Frequently Asked Questions
What Precautions Should I Take When Fixing Loose Threads?
When fixing a loose thread, it is important to take the following precautions: Always use a matching thread. Don’t pull on the threads as this can lead to further damage. Spot clean the area around where the loose thread is located, rather than washing the entire fabric
What Is The Best Stitch To Use When Fixing Loose Threads?
The best stitch to use when fixing a loose thread is either a running stitch or a backstitch. Both of these stitches can be used effectively to fix loose threads and will not damage the fabric in any way. Do not use an overlocking stitch as this could cause further damage to your fabric.
Can I Use Any Thread To Fix A Loose Thread?
No, it is important that you use a matching thread when fixing a loose thread. This will ensure that the repair does not stand out too much and will also help to protect the fabric from further damage.
Make sure to knot the ends of the thread once it is threaded through the needle. Fixing loose threads can be tricky, but with these tips and tricks, you should now have all the information needed to take better care of your fabrics. Now go ahead and enjoy wearing your favorite fabric for years to come!
What Are Some Additional Tips To Help Prevent Loose Threads?
There are several tips that can help to prevent loose threads from occurring in the first place. Make sure to always secure your thread ends when sewing, and use a knot on both sides of your fabric before you start stitching. Additionally, make sure to cut excess threads as soon as possible to avoid any tangling and knotting.

Additionally, use appropriate stitches for the fabric you are working with – a running stitch or a backstitch is recommended for most fabrics. Taking these precautions can help to prevent loose threads from occurring in the first place.
Can I Fix A Loose Thread Without A Needle?
It is possible to fix a loose thread without using a needle and thread. You can use an adhesive such as fabric glue, or a patch of the same color fabric to cover up the hole and make it less noticeable.
However, it is important to note that this will not be as secure as sewing with a needle and thread. Also, make sure that you test a small area of the fabric with your chosen adhesive before using it on the entire area.
By following these steps and taking some extra precautions to prevent loose threads from occurring in the first place, you should be able to easily fix any loose threads that occur in your fabrics without too much difficulty.
Conclusion
By following the simple steps on how to fix loose thread outlined in this blog post, you can confidently take on the issue of loose thread and fix it with little effort. Taking a few minutes to check your garments for exposed threads is an important part of keeping them looking new and maintaining their longevity.
Have extra loose thread? Don’t be afraid to be creative and use that piece of string as a trend! Tie it around your wrist or ankle and make a statement. Be sure to also check out other easy tutorials when you find yourself with sewing woes. Need some inspiration? Follow along with us on our journey as we share more tips and tricks for staying stylish while conquering garment repairs!