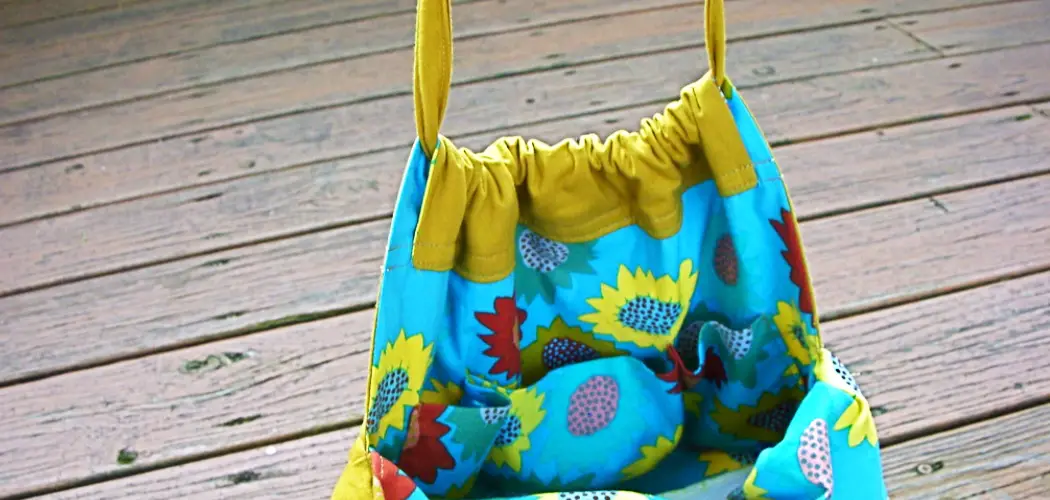
Are you tired of lugging around a heavy backpack or purse? Want something lightweight and easy to carry for your daily essentials? A cinch bag might be the perfect solution!
Creating your own cinch bag is a fun and rewarding DIY project that’s both simple and practical. Whether you require a lightweight option for running errands, a convenient carryall for your workout gear, or just searching for a custom accessory to express your style, making a cinch bag can be tailored to suit your needs and taste.
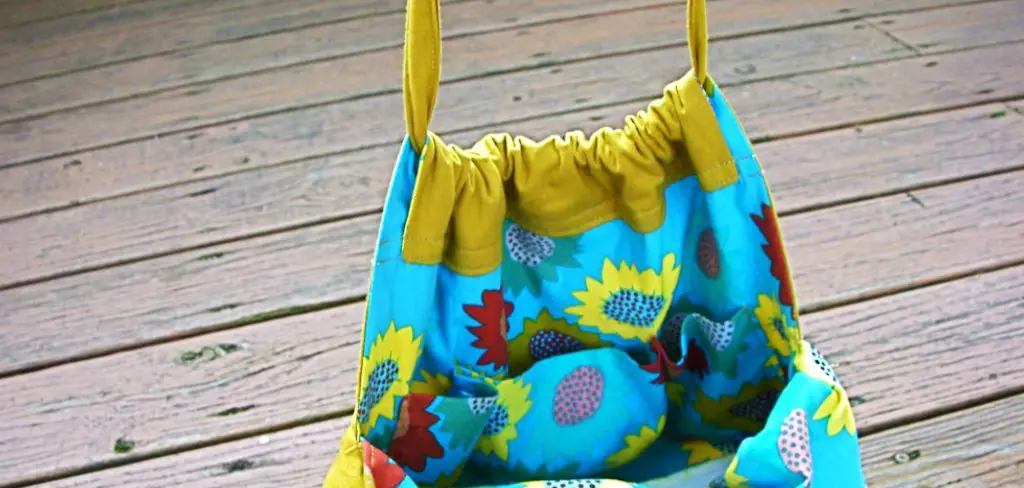
With just a few materials and some basic sewing knowledge, you’ll be on your way how to make a cinch bag. In the following sections, we’ll guide you through each step to ensure that your homemade cinch bag is durable and fashionable.
What Will You Need?
To make your own cinch bag, you’ll need some essential materials to get started. These include:
- Fabric of your choice (cotton, canvas, or nylon are all good options)
- Matching thread
- Scissors
- Sewing machine or needle and thread for hand sewing
- Measuring tape or ruler
- Pins
- Cord or ribbon for the drawstring
- Safety pin (optional)
- Iron (optional)
Once you have these materials on hand, you can get started on creating your unique cinch bag.
10 Easy Steps on How to Make a Cinch Bag
Step 1: Choose Your Fabric
The first step in creating your custom cinch bag is selecting the suitable fabric. As previously noted, choices such as cotton, canvas, or nylon are excellent for their durability and ease of sewing. When choosing your material, take into account the fabric’s weight and thickness because these factors will influence the strength and look of your finished bag.
Cotton or nylon fabrics are ideal for a bag that is lighter and perfect for casual use, whereas canvas is the go-to option for a more durable and sturdy cinch bag that can withstand heavier items. Choose a color or pattern that reflects your style or intended use for the bag.

Step 2: Cut the Fabric to Size
Before you can start sewing, you must cut your chosen fabric to the appropriate dimensions. For a standard-sized cinch bag, cut two rectangles of fabric measuring about 17 inches by 20 inches each. If you want a smaller or larger bag, adjust these measurements accordingly.
Always include an additional inch on each side for seam allowance. Use your measuring tape or ruler to ensure your cuts are straight and even to prevent any lopsidedness in your final product. Pin the fabric pieces together along the edges to prepare them for sewing.
Step 3: Sew the Sides and Bottom of the Bag
After cutting your fabric, it’s time to begin sewing. Start with the two large rectangles of fabric you’ve cut. Place the pieces together with the right sides facing each other and pin them along the edges to keep them aligned. Using your sewing machine or hand-sewing techniques, stitch along both sides and the bottom of the fabric, remembering to leave the top open.
Be sure to maintain a straight seam and keep the standard seam allowance that you included in your cutting. Backstitch at the beginning and end of each seam to ensure the stitches are secure and will hold up to regular use.
Step 4: Create a Channel for the Drawstring
The next step is to create a channel at the top of the bag for your drawstring, which will allow the bag to be easily closed and carried. To do this, first, iron the top edge of the bag down 1/2 inch to create a clean and even fold. Then, fold the top edge over again about 1 1/2 inches to form the channel for the drawstring and pin it into place.
Sew around the bottom edge of the fold, close to the edge, leaving enough space for your cord or ribbon to pass through. Remember to leave a small opening to thread your drawstring through later. Backstitch at the start and end of your sewing to secure the channel.
Step 5: Thread the Drawstring
Attach a safety pin to one end of your cord or ribbon to thread the drawstring through the channel you’ve created at the top of the bag. This will serve as a guide to help you quickly pull the drawstring through the channel. Beginning at the opening you’ve left in the track, insert the safety pin and gently work it all the way around until it comes out the other side.
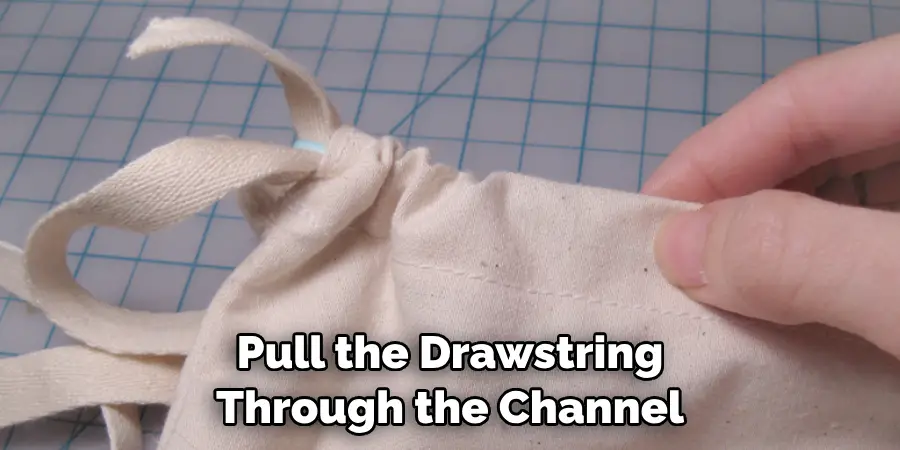
Make sure there’s an equal length of drawstring on both sides of the bag for easy closure. Remove the safety pin once the drawstring is in place. Then, tie the ends of the drawstring in knots to prevent them from slipping back through the channel.
Step 6: Secure the Bottom Corners
You can secure the corners to give your cinch bag a more defined shape and create a flat bottom. To do this, flatten the bottom corners of the bag, forming a triangle. Measure about 2 to 3 inches from the tip of the triangle along the seam, marking this spot on both sides of each corner.
Sew across the corner at the marked points and cut off the excess fabric, leaving about a half-inch seam allowance. This step stabilizes the bottom of your cinch bag and allows it to stand upright when set down.
Step 7: Reinforce the Drawstring Holes
To ensure that the holes through which the drawstring passes do not fray over time, reinforcing them is necessary. This can be done by hand or with the sewing machine. To reinforce by sewing, fold a small piece of fabric over the hole’s edges or sew around the holes with a tight zigzag stitch for extra durability.
This step adds strength to the high-tension areas and gives your bag a more finished look. If you decide to use grommets, insert them now according to the manufacturer’s instructions, ensuring they are placed evenly on both sides of the bag opening.
Step 8: Add Personal Touches
Customizing your cinch bag can add a touch of personality and uniqueness. Consider adding pockets, patches, embroidery, or fabric paint for a creative flair. If adding a pocket, choose a matching or contrasting fabric piece to the size you desire, fold the edges under for a clean finish, and sew the pocket onto one side of the bag before you assemble the main parts.
Attach these before sewing the sides of the bag for embroidery or patches to avoid closing the channel or sewing through both layers of fabric. This is the moment to let your creativity shine and make your cinch bag unique.

Step 9: Final Inspection and Finishing Touches
Once you have added all your personal touches, it’s time to inspect your cinch bag. Examine the seams, drawstring, corners, and any added embellishments to ensure everything is securely attached and there are no loose threads.
Trim any excess threads and iron the bag to remove any wrinkles, giving it a crisply finished look. This is also the time to verify that the drawstring functions smoothly and that the pack sits evenly when filled. Your handmade cinch bag is now completed, ready for use, or to be given as a thoughtful, personalized gift.
Step 10: Care and Maintenance
Proper care and maintenance are essential to ensure your cinch bag remains in excellent condition. Wash the bag by hand or on a gentle cycle in cold water to preserve the fabric’s integrity and any custom embellishments. Avoid using bleach and instead opt for mild detergents. When drying, lay the bag flat or hang it to prevent any distortion of its shape.
For ironing, use a suitable heat setting for the fabric type to avoid potential damage. Regularly check the condition of the drawstring and seams to catch any wear and tear early. With these simple care steps, your cinch bag will stay durable and vibrant for years to come.
By following these simple steps, you can create a practical and stylish cinch bag that can be used for various purposes.
5 Additional Tips and Tricks
- Pre-Wash Your Fabrics: Before getting started, pre-wash your chosen fabrics. This will prevent any future shrinkage after your cinch bag is made and eliminate any excess dyes that can potentially stain belongings inside your bag.
- Reinforce Stress Points: For added durability, reinforce the stitch at each side of the channel where the drawstring exits the bag. This will help prevent tearing when the bag is cinched repeatedly.
- Use Interfacing for Structure: If you prefer a cinch bag with more structure, consider adding lightweight interfacing to your fabric pieces before assembly. This will allow your bag to maintain its shape and stand up independently.
- Double Up on Drawstrings: For more secure and comfortable wear, use two drawstrings instead of one. Thread each drawstring in the opposite directions around the channel and out the same hole they started from. This method makes for easy cinching and keeps the bag balanced.
- Accessorize with Functionality: Add a loop inside your cinch bag to hold a keyring or attach a small carabiner to the outside for additional hanging options. These small features can significantly enhance the user’s practicality of the bag.

With these additional tips and tricks, you can take your cinch bag-making skills to the next level and create a truly unique and functional piece.
5 Things You Should Avoid
- Avoid Overloading the Bag: While cinch bags are convenient, they aren’t designed to carry heavy loads. Overloading can strain the seams, drawstrings, and fabric, leading to premature wear and potential breakage.
- Steer Clear of Complicated Fabrics: As a beginner, it’s best to avoid using fabrics that are slippery, stretchy, or fray easily. These materials can be challenging and may result in a less-than-satisfactory finished product.
- Remember Seam Allowances: Be mindful of seam allowances when cutting and sewing your fabric pieces. Failing to include a proper seam allowance can lead to a cinch bag smaller than anticipated and may not hold all intended items.
- Resist the Urge to Skip Steps: Each step in the construction process is essential. Skipping steps, like reinforcing the drawstring holes or securing the bottom corners, can lead to a less durable bag that wears out quickly.
- Avoid Harsh Cleaners and High Heat: When caring for your cinch bag, avoid using bleach or other harsh chemicals that can degrade the fabric and ruin any decorative elements. Also, be cautious with the heat setting when ironing to prevent scorching or melting, primarily if synthetic materials are used.
Once you have mastered the basics of making a cinch bag, feel free to experiment with different fabrics, sizes, and designs.
5 Different Design Ideas
- Color-blocked Cinch Bag: Use different colored fabric pieces to create a unique color-blocked effect on your cinch bag. Choose colors that complement each other, or use bold, contrasting colors for a statement piece.
- Denim and Leather Cinch Bag: Combine two durable materials, denim and leather, for a trendy and sturdy cinch bag. Experiment with different shades of denim and types of leather to personalize the bag even further.
- Quilted Cinch Bag: Add a cozy touch to your cinch bag by quilting the fabric before assembly. This will give the bag more structure and a soft feel, perfect for everyday use or as a gift.
- Fringe Detail Cinch Bag: Add a boho touch to your cinch bag by attaching fringe or tassel trim along the bottom edge. This is a fun and playful way to elevate an otherwise simple design.
- Patchwork Cinch Bag: Use scrap fabrics, old t-shirts, or bandanas to create a patchwork-style cinch bag. This not only adds a unique design element but also uses materials that may have otherwise been discarded.
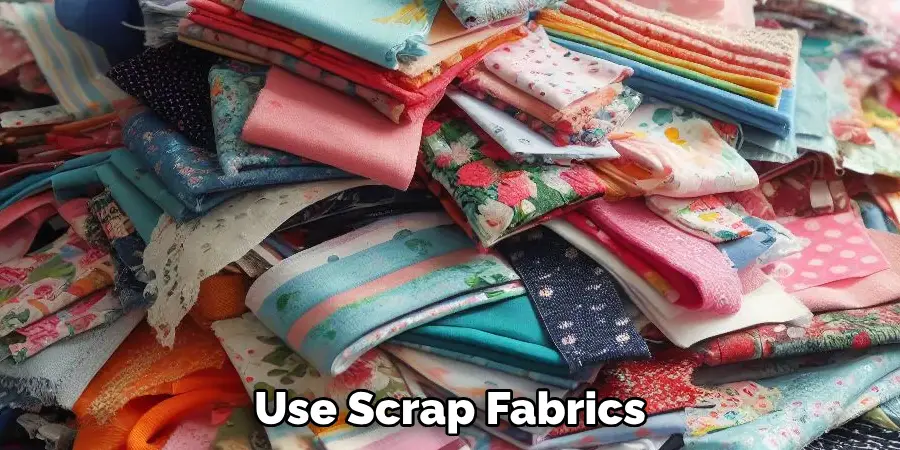
With these different design ideas, you can make a cinch bag that reflects your style and creativity. Get creative and have fun with it!
5 Different Uses for Your Handmade Cinch Bag
- Everyday Carry-All: With its convenient design and customizable options, a handmade cinch bag is perfect for everyday use. Whether going to the gym, running errands, or heading to work or school, this bag can easily hold all your essentials.
- Travel Companion: A cinch bag is also ideal for traveling. Pack it with your travel essentials like a water bottle, snacks, and a change of clothes, and it can serve as your carry-on or day pack.
- Beach Bag: The lightweight yet durable design of a cinch bag makes it perfect to take to the beach. It can hold your sunscreen, towel, sunglasses, and other beach essentials while keeping sand and water out.
- Toy Storage: Encourage kids to clean up their toys by using a cinch bag as storage. The drawstring closure makes it easy for them to access their favorite toys, and the bag can be hung on a hook or doorknob for easy cleanup.
- Gift Bag Alternative: Skip the traditional gift bag and use a cinch bag to hold your presents. You can customize the fabric and add a personalized touch, making it a unique and reusable option for gifting occasions.
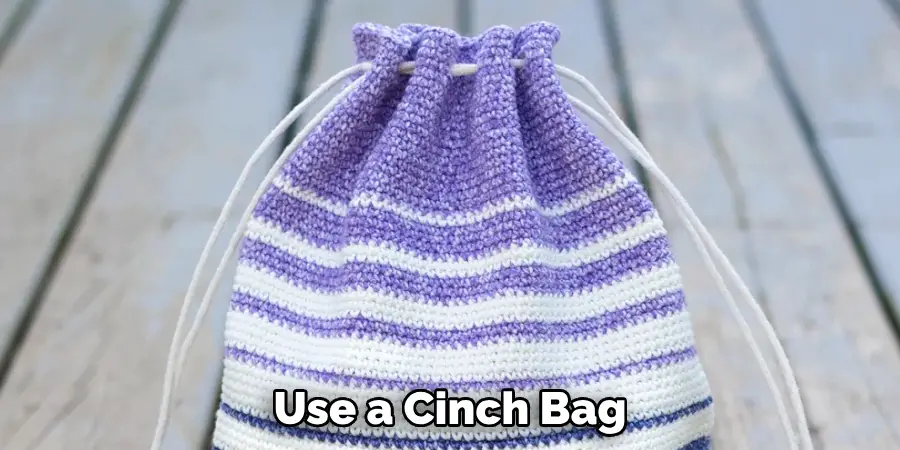
With its versatility and practicality, a handmade cinch bag is a must-have item in any household. So grab some fabric, follow these steps, and start creating your cinch bags today!
How Can You Wash Cinch Bags?
Proper care and maintenance are essential for ensuring the longevity of your handmade cinch bag. Here are a few tips on how to wash and care for your cinch bag:
- Machine Wash: Most cinch bags can be safely machine washed in cold water on a gentle cycle.
- Air Dry: To prevent any shrinkage or damage, it’s best to air dry your cinch bag rather than using a dryer.
- Spot Clean Stains: For minor stains, spot cleaning may be sufficient. Use a mild detergent and gently scrub the affected area with a soft cloth.
- Avoid Harsh Chemicals: Avoid using bleach or other harsh chemicals on your cinch bag, as they can damage the fabric and any decorative elements.
- Iron with Caution: If ironing is necessary, use a low heat setting or place a cloth between the iron and bag to prevent any scorching or melting.

By following these care instructions, your cinch bag will stay looking great for years to come!
Conclusion
Crafting your own cinch bag is not only a practical venture but also an opportunity to express your creative flair.
By adhering to these fundamental steps and helpful tips for both construction and maintenance, novice and experienced sewers alike can produce functional and fashionable cinch bags tailored to individual tastes and needs. Whether it’s for daily carry, travel, or unique gifting, these versatile bags are sure to be a staple in any collection.
Hopefully, this guide on how to make a cinch bag has inspired you to start making your own cinch bags. Keep in mind the advice provided, allow your creativity to guide you, and you’ll be well on your way to creating your very own collection of personalized cinch bags. Happy sewing!

