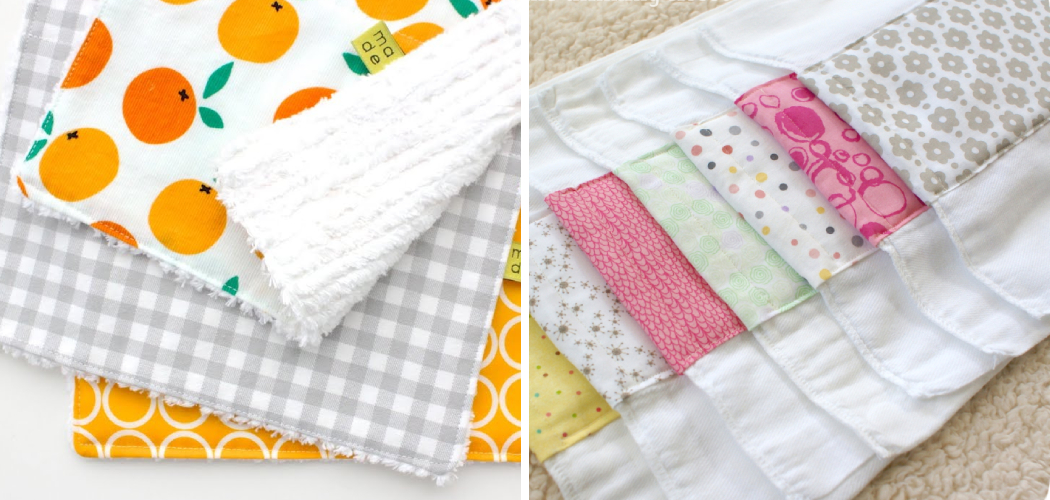
Making your own burp rags is a practical and enjoyable way to prepare for a new baby or create a thoughtful gift for expectant parents. Burp rags, also known as burp cloths or burp pads, are essential items for every parent as they provide a convenient and absorbent solution for baby spit-up and messes. In this article, we will guide you through the process of how to make burp rags from scratch.
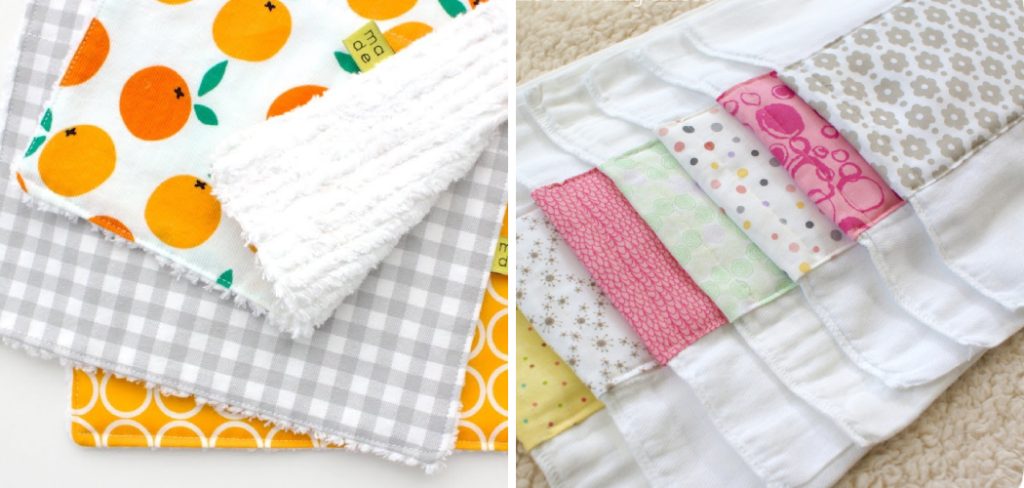
From selecting the right materials and measurements to sewing the rags and adding personal touches, we will cover all the essential steps. Whether you’re a beginner or an experienced sewer, making burp rags is a simple and rewarding project that allows you to create practical and customized items for the little ones in your life.
Get ready to embark on a fun and creative journey of making burp rags that are both functional and adorable.
Benefits of Homemade Burp Rags
Making your own burp rags is an economical and convenient way to keep baby clean. With homemade burp rags, you can save money by reusing the fabric for each new set and avoid wasting disposable items like paper towels or cloth wipes. Homemade burp rags also provide a more comfortable experience for your baby.
The soft fabric used in burp rags is more gentle on their skin than disposable materials, so they won’t get irritated or uncomfortable from using them. It’s also easy to customize homemade burp rags with different colors and patterns to suit your style preferences or complement the décor of any room in your house.
Additionally, when made correctly, these rags are durable and can be washed and reused multiple times. Finally, homemade burp rags are better for the environment since they don’t create any waste that will end up in a landfill. By making your own burp rags, you can help reduce your environmental footprint while providing a gentle and comfortable experience for your baby.
Factors to Consider Before Making Burp Rags
Before you start making burp rags, there are a few factors to consider in order to make sure you’re creating a safe and effective product. First of all, choose fabrics that are soft and absorbent, such as cotton or flannel. Also, it’s important that the fabric is breathable so air can circulate around the baby’s skin. Additionally, use multiple layers of fabric for extra absorbency.

Another factor to think about is size; burp rags need to be big enough to cover your shoulder while also being small enough not to drag on the floor. Consider how thick each layer of fabric will be before deciding on the final size of your rag.
Lastly, make sure that all of the seams are secure and sturdy.
Use a serger or zigzag stitch to ensure that the edges won’t unravel, even when washed multiple times. This will help your burp rags last for a long time. Now you know what factors to consider before making burp rags. With these tips in mind, you can create practical and comfortable products that will make life easier for parents!
Choosing Soft and Absorbent Materials
When making burp rags, it is important to choose a material that will not only be comfortable for baby’s skin but also absorbent enough to catch the drool. Common materials used in burp rags are cotton, muslin, and terrycloth. Cotton is a lightweight fabric that is soft and breathable – perfect for those extra sensitive babies.
Muslin provides more absorption than cotton and its open weave allows air to circulate and keep baby cool. Terrycloth is heavyweight towel material known for its strength and absorbency – great for really heavy spitters! If using terrycloth, make sure you choose one with a softer feel as some can be quite stiff.
Additionally, if you plan on adding decorative features such as appliqués, embroidery or ribbon, make sure your chosen fabric can hold up to the extra wear and tear. With so many materials available, it’s important to consider what will work best for you and your baby – only then can you start creating burp rags that are both comfortable and functional!
10 Steps on How to Make Burp Rags
Step 1: Gather Materials:
Start by gathering the necessary materials for making burp rags. You’ll need soft and absorbent fabric such as flannel or cotton, scissors, a sewing machine or needle and thread, pins, and optional decorative elements like ribbons or appliques. If you want to get creative, you can also use other materials such as felt or fleece.

Step 2: Pre-Wash the Fabric:
Before cutting and sewing, pre-wash the fabric to prevent shrinkage and remove any potential chemicals. Follow the fabric’s care instructions and allow it to dry completely. If using a cotton blend fabric, it’s also recommended to pre-shrink the fabric. However, be sure to read the care instructions before doing so.
Step 3: Determine Size and Shape:
Decide on the desired size and shape for your burp rags. A common size is around 18 inches by 12 inches, but you can adjust it based on your preference. You can also opt for a rectangle shape, or use a template to create your own unique shape. When it comes to burp rags, the possibilities are endless!
Step 4: Cut the Fabric:
Using the measurements from the previous step, cut the fabric into rectangular shapes. Use sharp scissors and ensure the edges are straight and even. Once the fabric is cut, lay it flat with the wrong side up. Then, place the burp cloths on top and pin in place. While pinning the burp cloths, take care to ensure that they are snugly secured and will not move during the next steps.
Step 5: Pin the Layers:
Place two fabric pieces together with the right sides facing each other. Pin them along the edges, leaving a small opening for turning the fabric right-side out. Make sure to place your pins along the edges of the fabric, not through the layers of material.
This will help ensure that your burp rag is free of any pin holes. Although it may take a few extra minutes, taking the time to pin your edges will result in a better-looking finished product.
Step 6: Sew the Edges:
Using a sewing machine or needle and thread, sew along the pinned edges of the fabric, leaving a small gap for turning. Use a 1/4 inch or 1/2 inch seam allowance, and reinforce the beginning and end of the stitches.
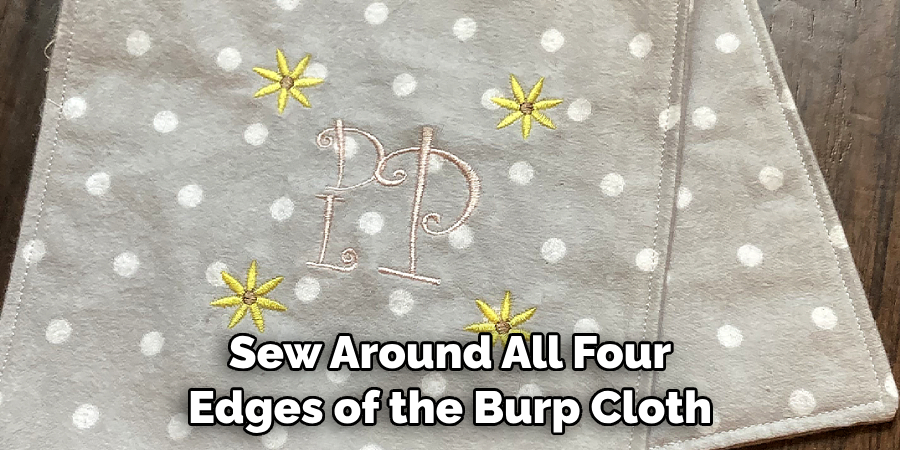
Turn the rag right-side out through the gap, and press with an iron. Sew around all four edges of the burp cloth to fully enclose the edges. Finally, close the gap with small stitches or a machine zig-zag stitch to finish off the rag. You now have a finished burp cloth!
Step 7: Trim the Corners:
Trim the excess fabric from the corners, being careful not to cut through the stitches. This step helps achieve crisp corners when turning the fabric right-side out. After trimming all the corners, turn the fabric right-side out. Use a blunt object such as a knitting needle or eraser end of a pencil to push out the corners.
Step 8: Turn the Fabric Right-Side Out:
Carefully turn the fabric right-side out through the opening. Gently push out the corners using a blunt tool or your fingers. Press the fabric flat with an iron, ensuring the edges are neatly aligned. Although it is not necessary to stitch the opening closed, you may choose to do so. Finally, gently press the burp rag on both sides. Your burp rag is now ready to be used!
Step 9: Sew the Opening:
Fold the raw edges of the opening inward and pin them closed. Sew along the edge to close the opening, either using a machine or hand stitching. Ensure the stitches blend with the rest of the edges.
Step 10: Add Decorative Touches:
If desired, personalize the burp rags by adding decorative elements. You can sew on ribbons, appliques, or even embroider the baby’s name or a cute design onto the fabric. Be creative and make the burp rags unique.
Things to Consider When Making Burp Rags
When making your own burp rags, there are a few things to consider. First, you’ll need to choose the right fabric. Cotton, muslin, and terrycloth are all good options for burp rags and can be found at most craft or fabric stores.
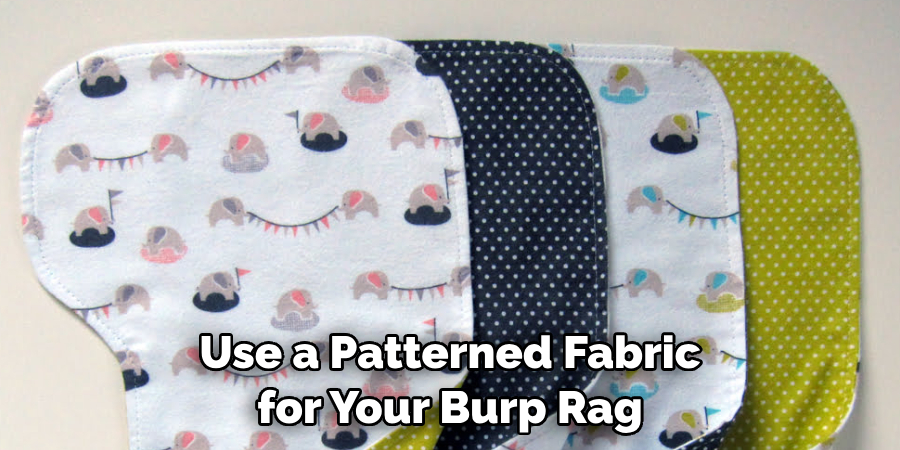
You’ll also want to consider the size of your burp rag when selecting fabric. Most baby bibs measure around 10×12 inches, so if you plan to use a patterned fabric for your burp rag, look for something that is approximately that size.
You’ll also need thread and a needle to sew the pieces together. Choose a color of thread that matches your fabric so it doesn’t stand out too much. If you plan on adding embellishments like ribbons or buttons, make sure they won’t cause any choking hazards or skin irritation for your baby.
Conclusion
Making burp rags can be quick, easy, and cost-efficient. Not only is it incredibly comfortable for both you and your baby, but it also adds a special touch to an everyday essential item of your baby’s clothing. You can use these rags to match your own style or give them away as gifts to friends and family.
With so many creative options and possibilities, there really is no limit to what one could achieve with this useful project. Be sure to refer back here for some basic tips—and check out our website for more ingenious ideas!
So the next time around you’ll know how to make burp rags that will surely make both you and your little one happy in the end. Plus, if you craft these bibs yourself there’s going to be no stopping you from astonishing your loved ones with such a practical present they are sure to treasure and never forget.

