
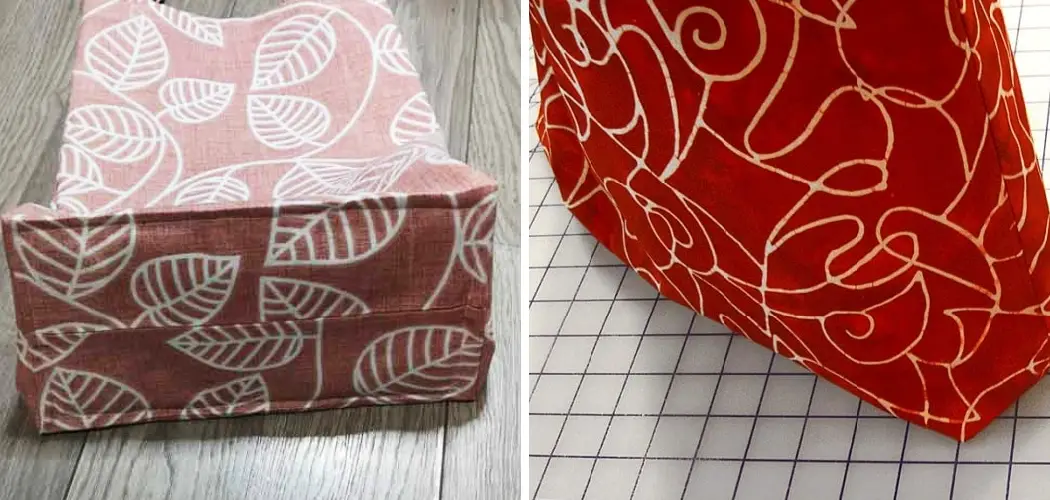
Do you want to learn the stylish skill of sewing a flat-bottom bag? With just some basic materials and tools, you can create an attractive accessory that’s perfect for showing off at events or giving as gifts. It might seem daunting at first, but with clear instructions and lots of patience, anyone can understand the basics of bag-making.

Through this post on how to sew a flat bottom bag, we’ll take a detailed look at everything involved in creating your own beautiful flat-bottom bag!
Necessary Tools and Materials
Given below are the items you’ll need to make a basic flat-bottom bag:
- Fabric of Your Choice (at Least 1/2 Yard)
- Matching Thread
- Sewing Machine and Accessories
- Needle and Pins
- Ruler or Measuring Tape
- Scissors
- Iron (Optional)
11 Step-by-step Guides on How to Sew a Flat Bottom Bag
Step 1: Prepare the Fabric
Before you can begin sewing your flat-bottom bag, you’ll need to prepare the fabric. Start by cutting your chosen fabric piece into two rectangular pieces – one for the bag’s top and bottom, and one for its sides. The size of each rectangle will depend on the desired size of your finished bag.
Once you’ve cut the fabric, make sure to press each piece with an iron (or by steam) to get rid of any wrinkles. This will help your bag maintain its shape and look its best.
Step 2: Sew the Top and Bottom Together
Now that your fabric pieces are prepped, it’s time to begin sewing! Begin by taking the two pieces of fabric meant for the top and bottom of your bag, and lay them out on a flat surface. Line up all four corners so that they form a rectangle shape with straight edges.
Next, use pins to secure the two pieces together at each corner – this will make it easier to sew them together once you get started.
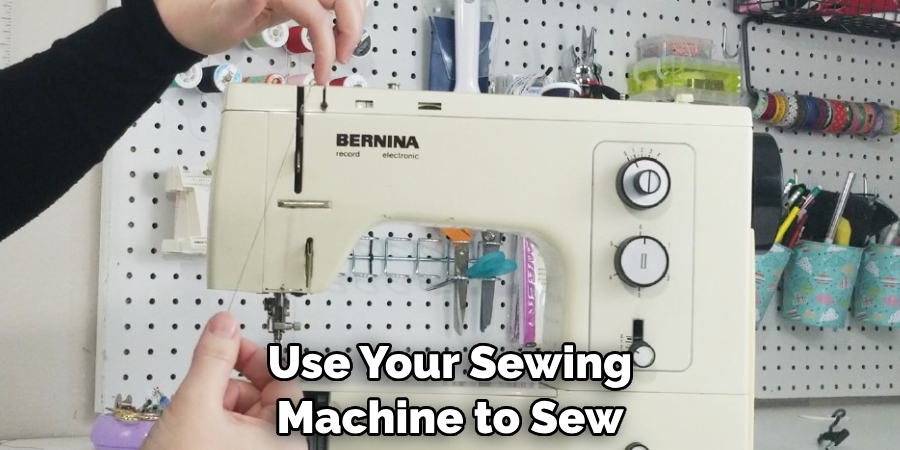
Once the two pieces are pinned, use your sewing machine to sew around all four edges. Make sure to backstitch at each corner and also at either end of your line of stitching. This will help ensure that your bag remains secure even after prolonged use.
Step 3: Sew the Sides Together
Now it’s time to sew the sides of your bag together. Take the two pieces of fabric meant for the sides and place them right sides together, aligning all four corners. Secure the edges with pins and then use your sewing machine to stitch along both sides – again, make sure to backstitch at each corner and either end of your line of stitching.
Once you’ve finished the sides, turn the pieces right-side out and press them with an iron to make sure the seams are nice and crisp.
Step 4: Attach the Handles
At this point, you’ll need to attach handles to your bag in order for it to be functional. To do this, take a piece of webbing or fabric (depending on your preference) and fold it in half lengthwise. Then, use pins to secure the folded edge of the webbing to one side of your bag’s top rectangle.
Once that’s done, stitch along all four edges with a zigzag stitch. This will help ensure that the handles are securely attached to your bag.
Step 5: Attach the Bottom
Now it’s time to attach the bottom of your bag. Take the side pieces and line them up with the top rectangle, making sure that all four corners are aligned. Secure with pins before stitching along all four edges using a zigzag stitch – this will help make sure that the bottom is securely attached to your bag.
Step 6: Sew the Seams
Now it’s time to sew the seams of your flat-bottom bag. Start by laying out the bottom rectangle and side pieces so that they form a rectangle shape with straight edges. Make sure to pin each corner together before stitching along all four edges with a zigzag stitch – again, don’t forget to backstitch at each corner and either end of your line of stitching.
Step 7: Sew the Lining
Now that the outer shell of your bag is complete, it’s time to add a lining for added protection. To do this, take two pieces of fabric (the same size as your bag) and lay them out on a flat surface. Pin the edges together at each corner, and then use your sewing machine to stitch along all four sides – make sure to backstitch at each corner and either end of your line of stitching.
Once you’ve done that, turn the pieces right-side out and press it with an iron to get rid of any wrinkles.

Step 8: Attach the Lining
Now it’s time to attach the lining to your bag. Start by taking the outer shell and laying it down on a flat surface right-side out, then take the lining and place it inside (right-sides together). Line up all four corners so that they form a rectangle shape with straight edges, and then pin the edges together – this will make it easier to sew the lining in place.
Once you’ve done that, use a zigzag stitch to sew around all four edges of your bag. Make sure to backstitch at each corner and either end of your line of stitching.
Step 9: Sew the Opening
Now that your lining is attached, you’ll need to sew a small opening at the top of the bag (this will be where you insert items). To do this, start by folding down the top edge of your bag about 1/2 inch. Then stitch along the fold with a straight stitch – make sure to backstitch at either end of your line of stitching.
But be sure not to stitch all the way around – leave a gap of about 4 inches in the middle of your line of stitching. This will leave you with an opening that can easily be opened and closed.
Step 10: Reinforce the Seams
Now it’s time to reinforce the seams to make sure that your bag is as sturdy as possible. Start by trimming any excess fabric and then using a zigzag stitch to sew around all four edges of the bag – this will help prevent fraying and ensure that the edges stay secure.
You can also choose to add a decorative stitch along the top edge of your bag if you like. However, this step is completely optional. It’s purely for aesthetics.
Step 11: Attach the Label
The last step is to attach a label to your bag. To do this, take a piece of fabric or ribbon and sew it on one side of the bag with a zigzag stitch – again, make sure to backstitch at either end of your line of stitching. Then, use a fabric marker to write the label on the other side of the bag. This is a great way to personalize your bag and make it unique.
And that’s it! You’ve now completed your very own flat-bottom bag. Congratulations! Show off your finished product with pride – you’ve earned it.

Following these steps on how to sew a flat bottom bag should give you a sturdy and stylish flat-bottom bag that will last for years to come. Whether you plan on using it as an everyday carryall or giving it away as a gift, this stitchable project is sure to be a hit! For more sewing tips and tricks, make sure to check out our other tutorials. Happy crafting!
Frequently Asked Questions
Q: What Materials Do I Need for This Project?
A: You will need fabric, thread, scissors, pins, and a sewing machine. Depending on the type of bag you are making, you may also need additional materials such as ribbon, interfacing, and zipper.
Q: What Kind of Fabric Should I Use?
A: It is best to choose heavier fabrics like denim or canvas for this project. These materials will help create a sturdy bag that will last. You can also choose to use lighter fabrics such as cotton or linen for a softer, more casual look.
Q: What Is the Best Way to Cut Fabric?
A: It is always best to use sharp scissors when cutting fabric, and be sure to cut on an even surface. For accuracy, you should measure out your fabric using yardsticks or clear rulers before cutting. Once you have made your measurements, draw a line with a pencil and make sure to cut along that line.
Q: How Do I Sew the Seams?
A: To sew the seams of your bag, use a straight stitch on your sewing machine. Start by folding the fabric in half so that any desired seams are together. Pin the sides of the fabric together, then sew along the edges with a straight stitch. Be sure to backstitch at the start and end of each seam for added strength.

Conclusion
Congratulations! If you’ve followed the steps mentioned in this post, you should now have a beautiful flat-bottom bag that is bold and stylish. Whether you make it for yourself or as a gift for someone else, this bag is sure to be appreciated.
Now that you have all of the essentials down pat, get creative with fabrics and embellishments to give your project a truly unique look. With many different color combinations, fabric textures, trims and finishing touches, the possibilities are truly endless.
With just a few simple materials and some solid sewing skills on how to sew a flat bottom bag, you can create something truly special. So have fun exploring your creations—happy crafting!