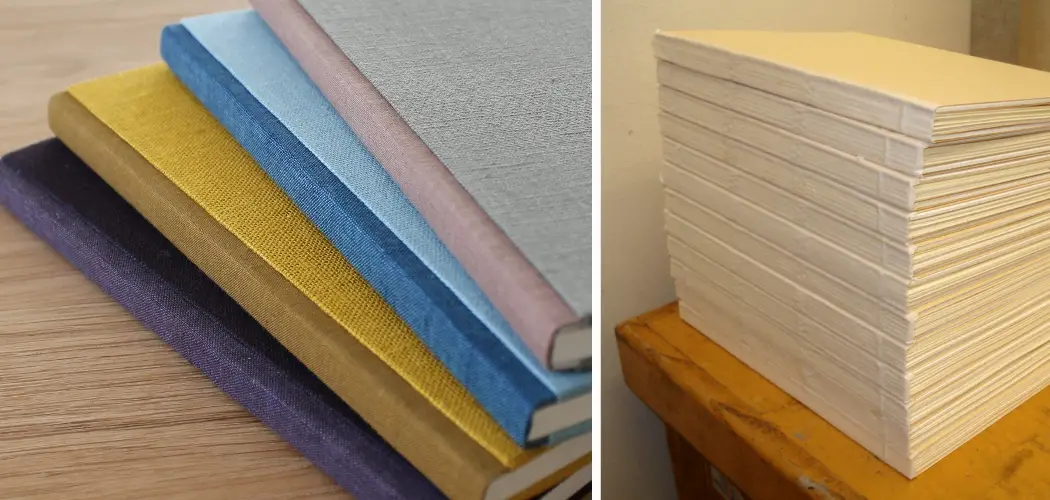
Are you looking for the perfect way to store and display all of your favorite scrapbook projects? If so, then making a binding board might be just what you need! Not only does a binding board provide an elegant yet stylish way to archive your work, but it also serves both as a reference tool and a source of inspiration.
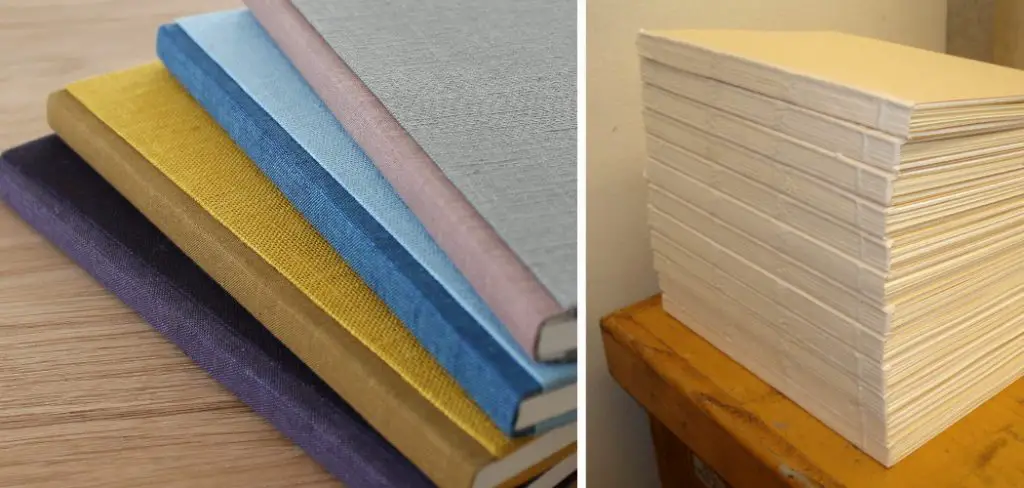
In this post, we’ll show you how easy it is to create your own binding board with just a few simple supplies. With our step-by-step instructions on how to make a binding board, you can have a stunning display ready to go in no time at all!
Why May You Want to Make a Binding Board?
1 . To Create a Personalized Gift
Are you tired of giving store-bought gifts? Making a binding board is a great way to show someone how much you care. You can personalize your board by choosing their favorite colors, and patterns, or even incorporating photos.
2 . To Save Money
Purchasing a pre-made binding board from the store can be quite expensive. By making your own, you can save money and still have a high-quality product.
3 . To Customize Your Art Projects
Using a binding board for art projects such as scrapbooking or photo albums allows you to customize the size and shape of your project. You can also choose from various materials like fabric or paper to match the theme of your artwork.
4 . To Practice Your Craft Skills
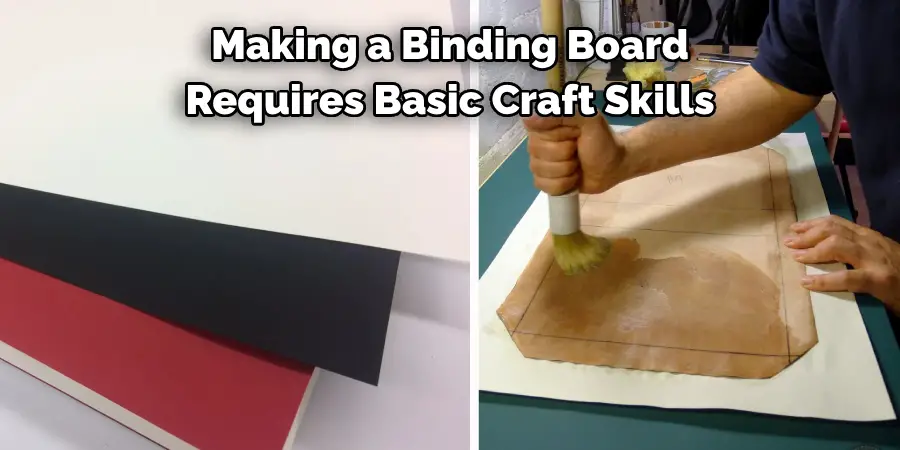
Making a binding board requires basic craft skills such as measuring, cutting, and gluing. It’s a great way to practice and improve these skills while creating something useful. Also, you can experiment with different techniques and create a unique board every time.
5 . To Pass Time
In today’s fast-paced world, it can be difficult to find the time to relax and do something creative. Making a binding board is a great way to unwind and pass time while creating something beautiful. You can listen to music or watch your favorite show while working on your board. It’s a fun and therapeutic activity.
How to Make a Binding Board in 6 Easy Steps
Now that you know the reasons why you may want to make a binding board, let’s get into the steps of actually making one. Here is a simple guide on how to make a binding board:
Step 1: Gather Your Materials
To make a binding board, you will need a chipboard or cardboard, decorative paper or fabric, glue, scissors or a cutting tool, and a ruler. You can also add embellishments like ribbons or buttons to decorate your board.
Step 2: Measure and Cut the Chipboard
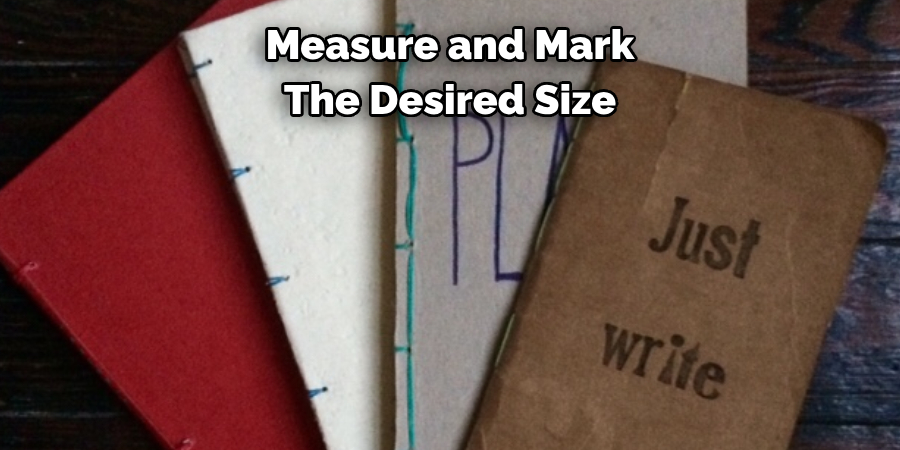
Measure and mark the desired size of your binding board on the chipboard or cardboard. Using a ruler and scissors or a cutting tool, carefully cut out the board according to your measurements.
Step 3: Cover the Board with Decorative Paper or Fabric
Cut out a piece of decorative paper or fabric slightly larger than your binding board. Apply glue on one side of the board and carefully place it on top of the paper/fabric. Smooth out any wrinkles or air bubbles using a ruler or your fingers. Repeat this process on the other side of the board.
Step 4: Fold and Glue the Edges
Fold in the edges of the paper/fabric on each side of the board and glue them down to create a neat border. Make sure there are no excess materials hanging over the edges.
Step 5: Add Embellishments (Optional)
If you want to add embellishments, now is the time to do so. You can glue on ribbons, buttons, or any other decorations to personalize your binding board.
Step 6: Let it Dry
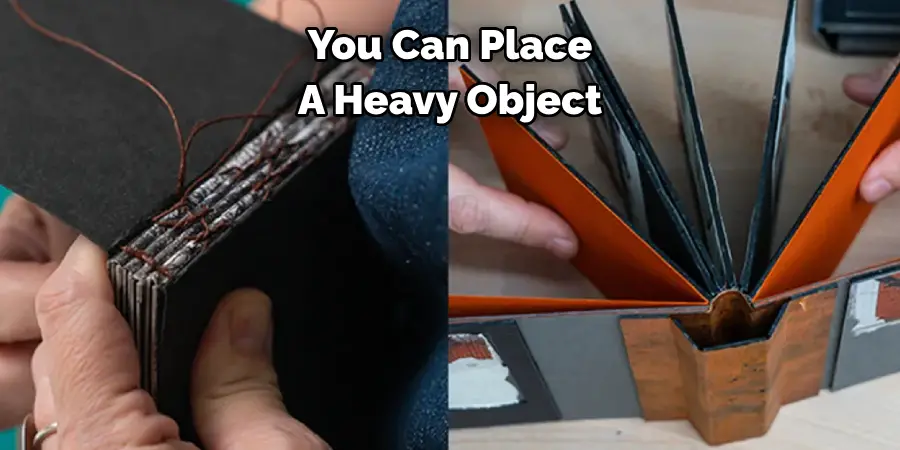
Let your binding board dry completely before using it. You can place a heavy object on top of it to ensure the edges are glued down properly. Also, make sure the glue is completely dry before moving on to your next project.
Some Extra Tips to Make a Binding Board
1 . Choose the Right Materials
When making a binding board, it is important to choose the right materials that will provide strength and durability while also allowing for flexibility. Some popular choices include chipboard, cardboard, and bookbinding boards.
2. Consider Size and Shaping
The size of your binding board will depend on the intended use of your project. If you are making a book cover, you will need to measure the size of your book and add an extra inch on all sides for the binding. If you are making a portfolio, you may want to consider shaping your board to fit standard paper sizes.
3. Preparing the Board
Before starting your project, it is important to prepare your board by cutting it to the desired size and shape. You can use a utility knife or scissors to cut through most binding board materials. Make sure to measure and mark your cuts accurately, as any misalignment can affect the integrity of your final product.
4. Adding Decorative Elements
Once you have prepared your binding board, you can add decorative elements if desired. This could include covering the board with fabric, paper, or decorative tape. Use adhesive glue or double-sided tape to secure the material to the board.
5. Let it Dry
After you have finished adding any decorative elements, allow your binding board to dry completely before proceeding with your project. This will ensure that all materials are properly adhered and will prevent any warping or damage once in use.
Tips for Creating a Strong Binding
1. Use Good Quality Adhesive
To create a strong binding, it is important to use a good quality adhesive that will securely hold your pages together. This could include bookbinding glue, double-sided tape, or even hot glue. Also, make sure to use enough adhesive to cover the entire binding edge of your pages.
2. Apply Pressure and Allow Drying Time
After applying your adhesive, it is important to apply pressure evenly along the binding edge and allow for sufficient drying time. This will ensure that the pages are firmly secured together and will prevent any shifting or loosening of the binding once in use.
3. Consider Reinforcing the Binding
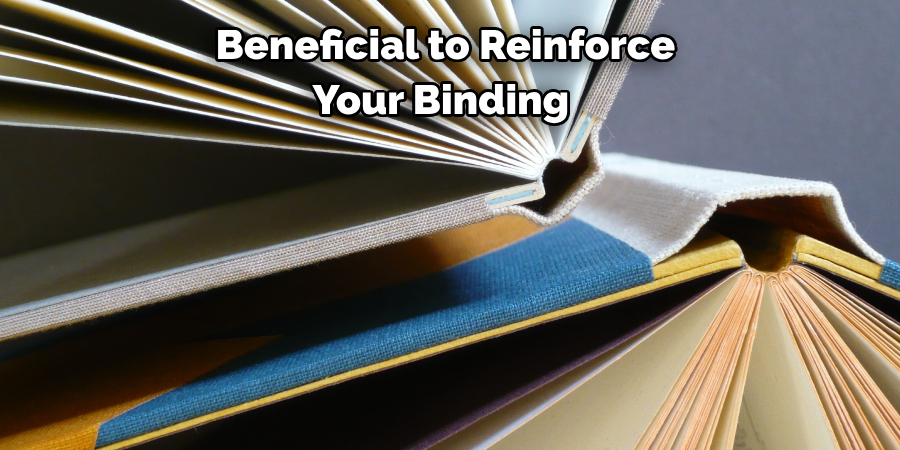
If you are creating a binding for a frequently used book or project, it may be beneficial to reinforce your binding with additional materials such as tape or cloth. This will add extra strength and durability to your binding, ensuring that it withstands frequent handling and use.
Frequently Asked Questions
What Precautions Should Be Taken When Making a Binding Board?
When making a binding board, there are a few important precautions that you should take to ensure the safety and effectiveness of your end product: Always work in a well-ventilated area: The process of making a binding board can involve the use of strong chemicals such as adhesives and sealants. To avoid exposure to these potentially harmful substances, it’s important to work in a well-ventilated area with plenty of fresh air.
Wear protective gear: To further protect yourself from any potential hazards, it’s recommended to wear appropriate safety gear such as gloves and eye protection. Be careful when handling sharp tools: Some steps in the binding board-making process may require the use of sharp tools such as scissors or utility knives. Always handle these tools with caution to avoid injury. Follow instructions carefully: Whether you’re using a pre-made binding board kit or creating your own from scratch, be sure to follow all instructions carefully to ensure the best results.
Can I Make a Binding Board Without Using Adhesives?
In some cases, it is possible to make a binding board without using adhesives. One option is to use screws or nails to secure the binding strips to the board. Another alternative is to use a fabric cover that can be tightened and secured with buttons or ties instead of gluing it onto the board. However, keep in mind that these methods may not provide as strong of a hold as traditional adhesive methods and may not be suitable for heavy or frequent use.
What Types of Projects are Binding Boards Suitable For?
Binding boards are commonly used for a variety of projects, including bookbinding, scrapbooking, and even as a base for art canvases. They can also be used to create custom notebooks or journals. Essentially, any project that requires securely binding pages together can benefit from the use of a binding board. With the right materials and techniques, you can even create custom-sized boards for specific projects.
Conclusion
Making a binding board is not only a practical skill but also a fun and creative activity. With just a few materials and easy steps, you can create a personalized and unique board for various purposes. So why not give it a try and see how it adds value to your arts and crafts projects? So go ahead and make your own binding board today.
Now you know how to make a binding board! However, the possibilities of using a binding board are not limited to just these reasons. You can also use it as a vision board for goal setting, a recipe holder in the kitchen, or even as a jewelry display stand. The key is to let your imagination run wild and use your binding board in any way that suits your needs. Get creative and have fun with it!

