
Making your own ironing board cover is a practical and cost-effective solution to update and personalize your ironing setup. A well-fitting and durable ironing board cover can enhance your ironing experience by providing a smooth and padded surface for wrinkle-free clothes. In this article, we will guide you through the process of how to make an ironing board cover from scratch.

From selecting the right materials and measuring your ironing board to sewing the cover and adding finishing touches, we will cover all the essential steps. Whether you want to replace a worn-out cover or create a customized design, making your own ironing board cover allows you to tailor it to your preferences while ensuring a snug fit and optimal ironing performance.
Get ready to transform your ironing routine with a homemade cover that is both functional and stylish.
Benefits of a Homemade Ironing Board Cover
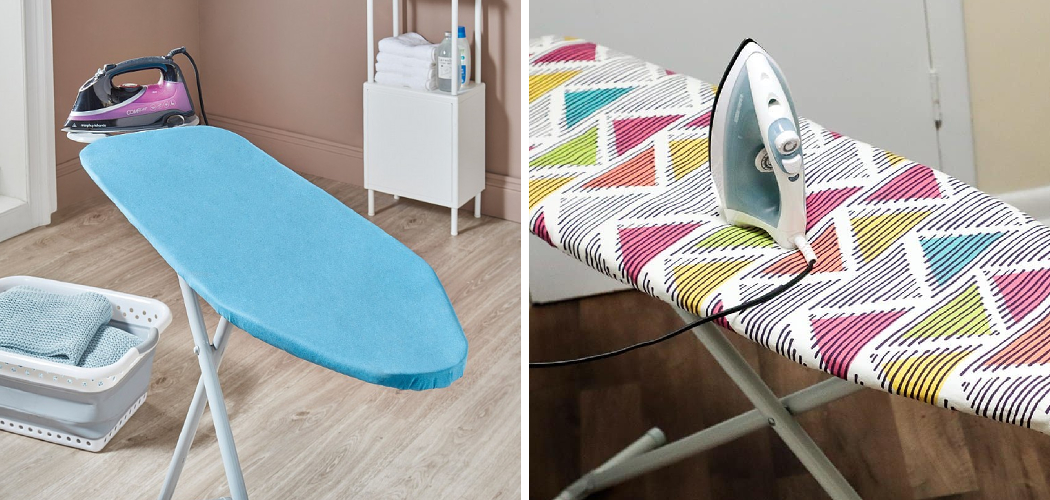
Making your own ironing board cover is not only less expensive than buying one, but it also allows you to customize the design to match your home decor. You can choose fabric in an array of colors and patterns to make a fun and unique statement. Not only will your ironing board look great, it will be protected from any potential damage that could occur from hot irons.
The cover will also provide a cushion to make ironing smoother and more comfortable. With proper care and maintenance, your homemade ironing board cover can last for many years.
Additionally, the process of making your own cover is enjoyable and satisfying as you get to watch the project come together step by step. Making a handmade ironing board cover may be just the creative outlet you need!
No matter what kind of fabric or design you choose, having a personalized cover on your ironing board will make it look stylish and inviting so that you actually want to fold laundry! Homemade covers are much easier to take off and clean than store-bought covers, which means they’ll stay looking great for longer periods of time.

Factors to Consider Before Making a Cover
When making an ironing board cover, it is important to consider a few key factors before beginning the project. These include the size of your ironing board and the fabric you will use for the cover. Understanding these two components will ensure that your finished product is perfect and lasts for many years to come.
The size of your ironing board should be accurate when selecting fabric as it is important to have enough material for a secure fit. Measure the length and width of your board including any protrusions or notches at each end.
Multiply both numbers by 2 and add them together to get the total measurement. This measurement should match or exceed that of the fabric purchased when accounting for seam allowances.
Identifying the Shape and Design of the Board
Before you set off to find the supplies needed for your ironing board cover, take a few minutes to identify the shape and design of your board. Measure the length and width of the top surface as well as any curves or edges that make up its shape.
Determine whether your board has a rounded end or flat sides. Knowing this information will help you select the right fabric and size for your cover. Additionally, you may want to take a look at the underside of the board to make sure that any foam or padding is in good condition. If not, this should be replaced before you begin to make your ironing board cover.
Once you have identified the shape and design of your board, you can start thinking about how you would like to decorate it. Consider colors, prints, appliques, or embroidery that match the style of your home. Having an idea of what you would like on your cover will help when it comes time to pick out fabric at the store.

10 Ways How to Make an Ironing Board Cover
1. Measure Your Ironing Board:
Begin by measuring the length, width, and thickness of your ironing board. These measurements will determine the size of your cover and ensure a proper fit. While measuring, look for any other features that must be accounted for in the cover, such as drawers or hinges.
Record your measurements with a pen and paper. While it’s not necessary, you may want to sketch a diagram of the ironing board and any features that need to be included in the cover.
2. Select the Fabric:
Choose a suitable fabric for your ironing board cover. Look for heat-resistant and durable options such as cotton, linen, or a heat-reflective material specifically designed for ironing board covers. Avoid flammable fabrics such as nylon, polyester, or rayon.
While these fabrics may resist heat, they are also more likely to catch fire if they come into contact with a hot iron. To get the best performance from your cover, pick a fabric that is slightly thicker than quilting cotton. This will provide extra padding and insulation for better ironing results.
3. Prepare the Padding:
Decide on the padding for your cover to provide a smooth ironing surface. You can use a heat-resistant felt or a thick foam padding. Cut it to match the size of your ironing board. Consider using a piece of double-sided adhesive tape to secure the padding.
Place it in the center of your ironing board and smooth out any wrinkles or creases before attaching the cover. While you can use batting or even a folded quilt for padding, these materials will not provide as much heat protection.
4. Cut the Fabric:
Using your measurements, cut the fabric for the cover. Leave an extra inch or two on all sides for seam allowances. If you are using an iron-on adhesive, cut a piece for the backside of the fabric as well. Though not necessary, it is a good idea to use pinking shears to prevent fraying of the edges.
However, if you decide to serge the edges, then regular scissors will do just fine. Make sure that you have a large enough piece of fabric to cover the entire ironing board.

5. Create a Casing:
To secure the cover on your ironing board, create a casing along the edges. Fold the edges of the fabric under and sew a narrow hem, leaving an opening for elastic insertion. Make sure the opening is large enough for the elastic to easily fit through. Step back and look at your cover, ensuring that there are no puckers or tucks along the seam. If there are any, adjust them before continuing.
6. Insert the Elastic:
Measure and cut a piece of elastic that fits around the perimeter of your ironing board. Thread the elastic through the casing, ensuring it is evenly distributed. Secure the ends of the elastic together with a strong knot.
Sew the ends of the elastic into place with a sewing machine or by hand. Although it is not necessary, you can also sew a bar tack to keep the elastic in place. Give your project one last check to make sure that the elastic is firmly secured and the cover fits snugly around your ironing board. If all looks good, you are ready to iron with your new homemade cover!
7. Fit the Padding:
Place the padding on the ironing board, aligning it with the edges. Ensure it covers the entire ironing surface, including the tapered ends. Secure the padding with staples, using a staple gun. Firmly press each staple into place, making sure it is securely attached to the board.
8. Attach the Cover:
Lay the fabric cover over the padding, ensuring it is centered and aligned with the ironing board. Smooth out any wrinkles or creases. Starting at one corner, secure the fabric to the board using a staple gun.
Continue stapling in a tight pattern around the perimeter of the cover, ensuring the fabric is pulled taut. Make sure the staples are inserted at least one to two inches apart. Secure all of the folds and corners with a double staple. Trim any excess fabric from the edges of the board, using scissors.
9. Secure the Cover:
With the fabric cover in place, fold the edges under the ironing board and use clips or pins to secure it tightly. This will prevent the cover from shifting during ironing. Make sure the clips do not stick out of the sides of the ironing board.

It’s also important to make sure that all fabric is tucked in securely so that it won’t get caught in the moving parts of the ironing board. If needed, use a damp cloth to make sure all fabric is lying flat against the surface of the board.
10. Sew the Cover:
Working from one end to the other, sew the fabric cover to the elastic casing, removing the clips or pins as you go. Use a straight or zigzag stitch to ensure a strong and secure attachment. When you reach the end, be sure to backstitch and tie off. If you are using bias tape, sew it along the inner edges of the elastic casing.
Conclusion
Overall, making a DIY ironing board cover is easy and an affordable way to spruce up your laundry room. By following these five steps, you’ll be able to customize the color and pattern of any ironing board you already own in no time at all. Don’t be intimidated by the thought of creating something from scratch, it’s entirely possible for anyone who takes it one step at a time.
With patience and inspiration you can create the perfect ironing board cover that everyone will admire. Why not give it a try today? With this information you have all the tools necessary to get started, so don’t wait! Give it a go and show off your skills with How to Make an Ironing Board Cover!
You Can Also Check This Out To How to Make Cushion Covers