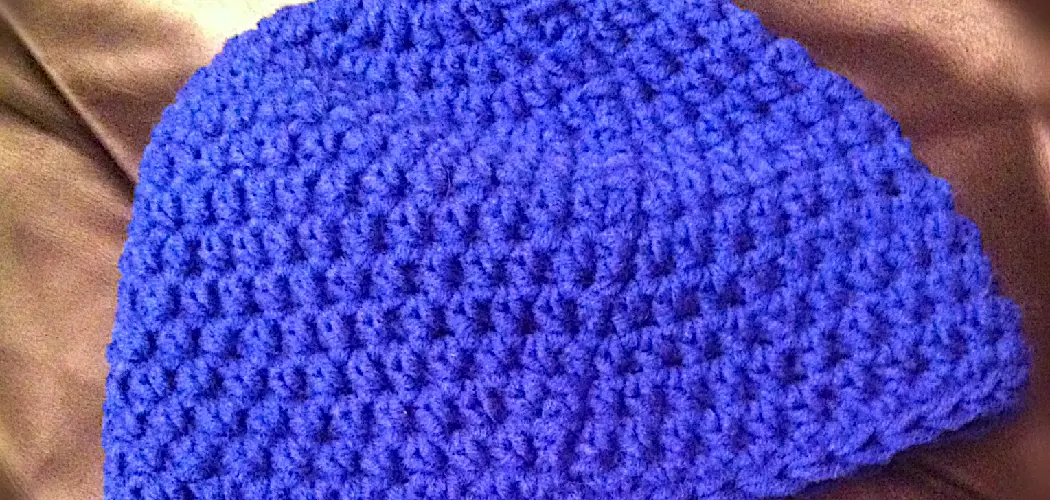
Adding a lining to your crochet hat may not seem necessary, but it can provide added warmth and comfort, as well as give your hat a more professional and finished look. A lining can also help prevent any loose stitches or gaps in the crochet from showing through. Plus, with many different lining materials and patterns available, you can personalize your hat even further.
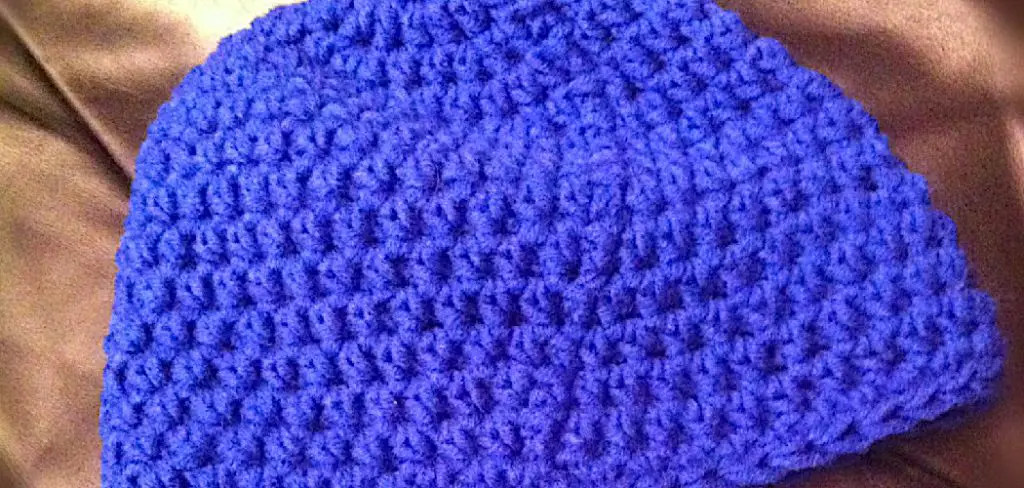
The main advantage of knowing to line a crochet hat is that it allows you to make your hats more durable, warm and comfortable. By adding a lining, you are creating an extra layer of protection for the wearer’s head, which can be particularly beneficial in cold weather. In this blog post, You will learn in detail how to line a crochet hat.
Step-by-step Instructions for How to Line a Crochet Hat
Step 1: Inspect the Crochet Hat
Before you begin lining your crochet hat, it’s important to inspect it for any imperfections or loose threads. Make sure there are no holes or tears in the hat that could affect the lining process.
When choosing a fabric for your lining, consider the climate and purpose of the crochet hat. For colder climates, a thick and warm fabric like fleece or flannel would be ideal. For warmer climates, a lightweight cotton fabric may be more suitable.
Step 2: Prepare the Lining Fabric
Once you have chosen your lining fabric, wash and dry it according to its care instructions. This will ensure that the fabric is clean and won’t shrink after being sewn into the hat.
Measure the circumference of your crochet hat and add an extra inch for seam allowance. Then, measure the height of the hat from brim to crown. Use these measurements to cut a rectangle out of your lining fabric.
Step 3: Sew the Side Seam
Fold the rectangle in half, right sides together, and sew the side seam using a 1/2 inch seam allowance. This will create a tube-like shape. Next, fold one end of the tube in half and sew along the edge with a 1/2 inch seam allowance. This will create a rounded top for your lining.
Step 4: Turn Right Side Out
Turn the lining right side out by pulling it through the bottom of the tube. Adjust the fabric so that the seam is on one side and the rounded top is on the other. Place your crochet hat inside the lining, with right sides together. Match up the seams and pin around the opening of the hat, leaving a small gap for turning.

Step 5: Sew Lining to Hat
Carefully sew the lining to the hat, removing pins as you go. Make sure to leave the small gap open for turning. Once you have finished sewing the lining to the hat, turn it right side out through the gap. Use a needle and thread to hand stitch the gap closed.
Enjoy your beautifully lined crochet hat! You can now wear it with confidence, knowing that it will be warm and comfortable all day long. Also, feel free to experiment with different lining fabrics and colors to add a personalized touch to your crochet hats.
Safety Tips for How to Line a Crochet Hat
- Avoid using slippery yarns when creating hats meant for wearing in the winter. Slippery materials can be dangerous, especially if the hat is intended for children or elderly individuals.
- Always test the stitch tension before starting to crochet a hat. This will ensure that the hat fits properly and does not become too loose or tight as you work on it.
- Use a smaller hook size for the brim of the hat to ensure a snug fit. This is especially important if you are making a beanie style hat.
- To prevent accidental injuries, avoid using sharp or pointed objects when adding decorations to your crochet hats.
- Make sure to leave enough space at the top of the hat for proper ventilation. This will prevent overheating and discomfort while wearing the hat.
- Consider using reflective materials or adding reflective elements to the hat if it will be worn in low light conditions, such as during nighttime outdoor activities.
- Always follow the pattern instructions carefully and make sure to secure any loose ends of yarn to prevent them from unraveling and causing potential hazards.
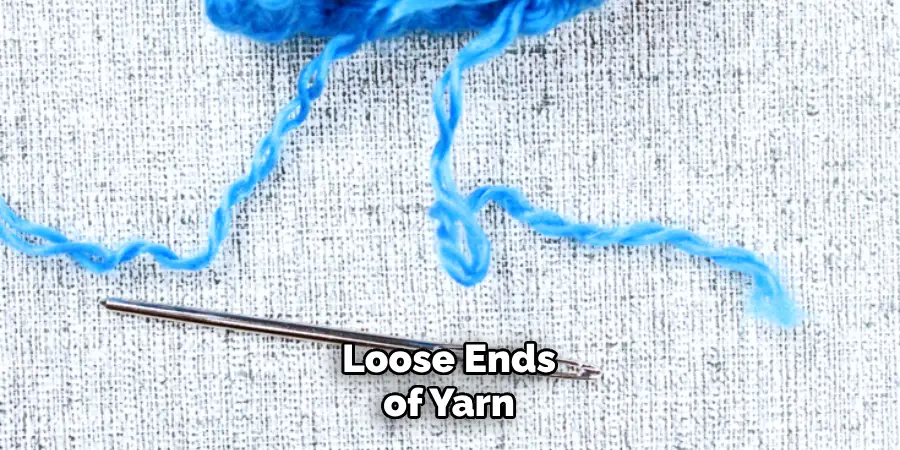
By following these safety tips, you can ensure that the crochet hats you create are safe for wearers of all ages and suitable for a variety of weather conditions. Remember to also use your best judgement when choosing materials and decorations for your hats, as some may pose potential hazards if not used properly.
Are There Any Specific Techniques or Stitches Required for Lining a Crochet Hat?
When it comes to lining a crochet hat, there are a few techniques and stitches that can be helpful in creating a smooth and professional finish. While it may seem intimidating at first, with these tips and tricks, you’ll be able to add a lining to your crochet hats with ease. One of the most important things to remember when lining a crochet hat is to choose the right fabric. You will want to choose a lightweight, breathable fabric that won’t add too much bulk to the hat. Cotton or cotton blends are great options as they are soft and comfortable against the skin.
In terms of techniques, one popular method for lining a crochet hat is called “whip stitching.” This involves using a needle and thread to hand sew the lining onto the inside of the hat. It’s important to use a matching thread color and make small stitches along the edge of the lining, being careful not to pull too tight and distort the shape of the hat.
Another technique is using fabric glue or fusible webbing to adhere the lining to the inside of the hat. This method is great for those who don’t want to sew, but it’s important to test the glue or webbing on a small section first to make sure it doesn’t leave any residue or damage the yarn.
How Do You Care for a Crochet Hat With Lining?
Caring for your crochet hat with lining is essential to keep it in good condition and ensure that it lasts a long time. Here are some tips on how to properly care for your crochet hat with lining.
1. Cleaning
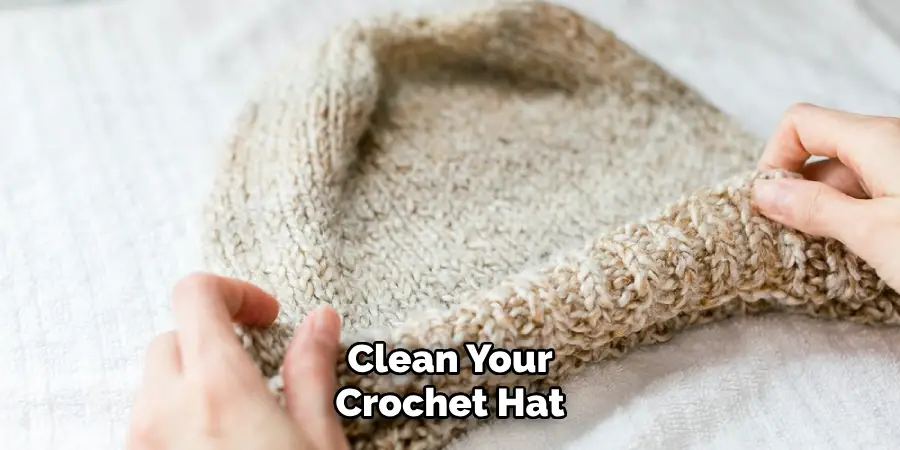
It’s important to regularly clean your crochet hat with lining, especially if you wear it often. To clean the exterior of your hat, gently hand wash it with a mild detergent and lukewarm water. Avoid using harsh chemicals or bleach, as they can damage the fibers of the crochet and lining.
For tougher stains, spot clean the affected area with a gentle stain remover or white vinegar diluted in water. Make sure to test any cleaning agent on a small, inconspicuous area first before applying it to the entire hat.
2. Drying
After cleaning your crochet hat, let it air dry naturally. Avoid using a dryer or direct sunlight, as they can cause the hat to shrink or lose its shape. Lay the hat flat on a towel and reshape it to its original size and form. Allow it to dry completely before wearing or storing.
3. Storage
Proper storage is also important in caring for your crochet hat with lining. When not in use, store it in a cool and dry place to prevent moisture build-up and mold growth. It’s best to use a breathable container or bag to protect the hat from dust and dirt.
To help maintain the shape of your hat, stuff it with tissue paper or a clean cloth before storing. This will also help absorb any excess moisture and keep the hat fresh.
4. Maintenance
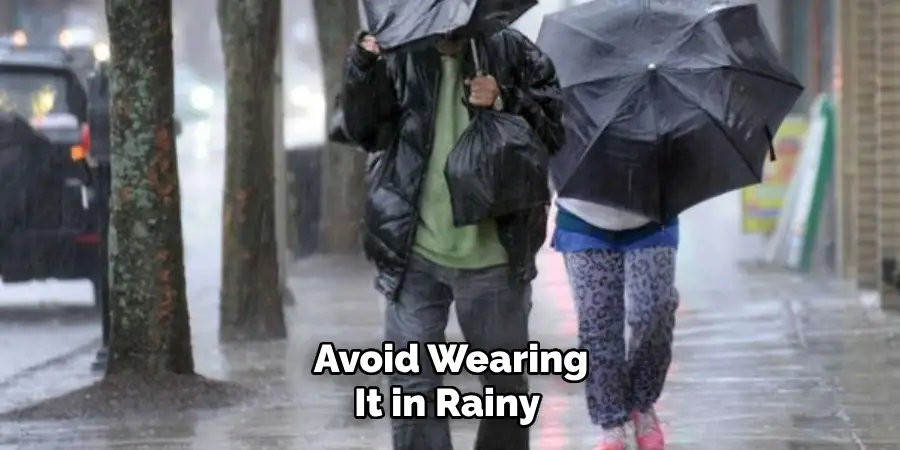
In addition to regular cleaning, there are a few things you can do to maintain your crochet hat with lining. Avoid wearing it in rainy or humid weather, as the moisture can cause the fibers to stretch or become misshapen. If your hat gets wet, gently blot it with a towel and reshape it before allowing it to air dry.
You can also use a soft-bristled brush to remove any dust or lint that may accumulate on your hat. Be gentle and avoid pulling on the fibers, as this can cause damage.
Caring for your crochet hat with lining is a simple task that can greatly extend its lifespan. By following these tips, you can keep your hat looking its best and enjoy wearing it for many seasons to come. Remember to always handle your hat with care and avoid using any harsh chemicals or excessive heat.
Conclusion
In conclusion, lining a crochet hat is an important step in ensuring comfort and warmth for the wearer. By following the steps outlined in this blog, you can easily line your own crochet hats and take your creations to the next level. Not only does lining add practical benefits, but it also adds a professional touch to your crocheted hats. It gives them a finished look and makes them more durable.
Furthermore, lining also allows you to incorporate different colors and patterns into your hats, giving them a unique and personalized touch. You can use fun fabrics like flannel or fleece for added warmth in the colder months, or lightweight cotton for breathability during warmer weather. I hope reading this post has helped you learn how to line a crochet hat. Make sure the safety precautions are carried out in the order listed.

