
Are you looking for a new crocheting technique to add interest to your work? You must know how to whip stitch in crochet. The whip stitch is an easy-to-learn method that can be used in creating all kinds of crafts, from hats and scarves to toys and garments.

Whip stitching enables the user to quickly assemble projects without creating bulky seams like those produced by other joining methods. With just basic crochet supplies and a few simple instructions, you’ll be able to create beautiful haberdashery with this versatile stitching style!
Read on for step-by-step instructions on how to make whip stitches in crochet.
Tools You Will Need
- Crochet hook
- Yarn (any type)
6 Steps Guide on How to Whip Stitch in Crochet
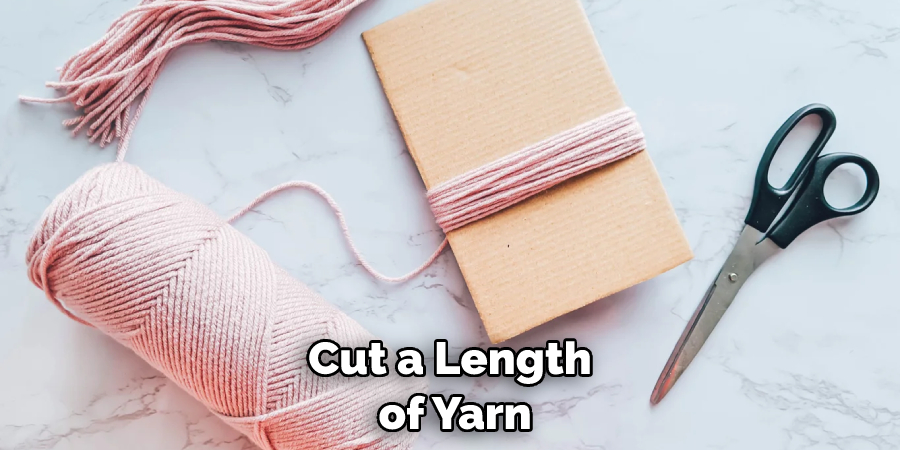
1. Cut a Length of Yarn
Thread your crochet hook with the yarn, leaving a tail at least 2” long on one side.
To begin your Whip Stitch project, the first step is to measure the length of yarn you will need. Make sure it is several inches longer than the distance of the space you are looking to stitch across.
Thread your crochet hook with one side of the yarn and leave a tail that is at least two inches long-this will be useful later when you seal up the ends of your crocheted piece. Once this is done, you are ready to start your project!
Whipstitch projects involve stitching pieces together and making excellent joins for cushions and soft toys.
They also add an interesting finish or frill to crocheted garments or accessories. With a few simple steps and some patience, you’ll soon have created a beautiful project using the whip stitch technique!
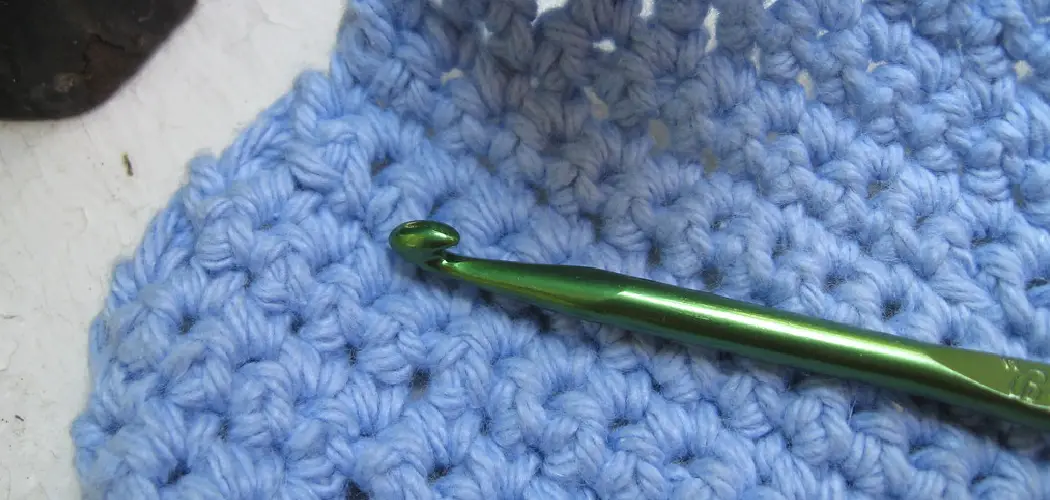
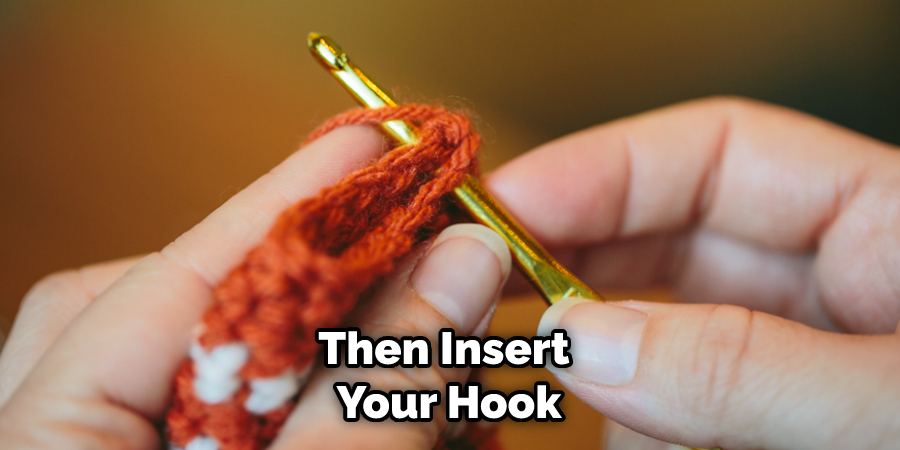
2. Insert Your Hook
Knowing to whip stitch in crochet is an important technique to learn. It is the perfect solution when you need to join two pieces of your crocheted fabric together, such as mittens or a scarf. To begin, insert your hook into the first piece of fabric from front to back and draw up a loop.
Do the same for the second piece of fabric but this time it requires you to insert your hook from back to front, obtaining another loop to have both sides joined together in one movement. This creates a neat seam without adding extra bulk. With a bit of practice, it won’t be long before you’re whip-stitching your projects with ease!
3. Yarn Over and Pull Through Both Loops
When learning to crochet, one of the most essential stitches in your arsenal is the whip stitch. This all-purpose stitch is foundational for creating basic, flat pieces, and can also be used to join two pieces of fabric together.
To complete a whip stitch, you need only yarn over the hook and then pull through both loops on the hook at once. Though it may seem tricky at first, with some practice you’ll have this craft down pat! After all, mastering the whip stitch is just the beginning of your crocheting journey.
4. Continue Inserting Your Hook
Crocheting can be a great way to make beautiful fabric creations, such as garments and accessories. Whip Stitching your projects together can add a professional look, as it’s an invisible seam that looks seamless. The trick is to practice the stitch beforehand so you can easily re-create it when attaching two pieces of crochet fabric.
Insert your hook in the edge of one piece from front to back, draw up a loop from the other piece, and then chain one. Sounds simple? It isn’t the process that requires attention to detail and persistence but with enough patience and skill, you will learn how to whip stitch successfully.
Keep going back and forth along the edges of your pieces until they are sewn together securely and then tie off your yarn to finish off the project.
5. Complete the Final Whip Stitch
Completing a whip stitch in crochet is easier than ever! Once you have made the stitches along your edge to the final spot, simply yarn over and pull through both loops on the hook as you normally would.
As the last step, you have now completed a whip stitch. This simple stitching process can be used in many projects across different levels of crochet, so pat yourself on the back for mastering this technique!
6. Secure It in Place Before Clipping
Finishing off your crochet project can be intimidating, even for experienced crafters. To ensure your project is secure, draw the yarn tail through the last stitch of the row and then pull tight to fasten it in place. Cut the yarn close to the work using scissors, making sure not to clip too close or this could weaken the stitch and create holes in your project.
Finally, use a whip stitch by looping the yarn around itself to form a knot. This will reinforce your work and provide an extra secure finish. With these tips, you’ll be able to complete your projects with ease!
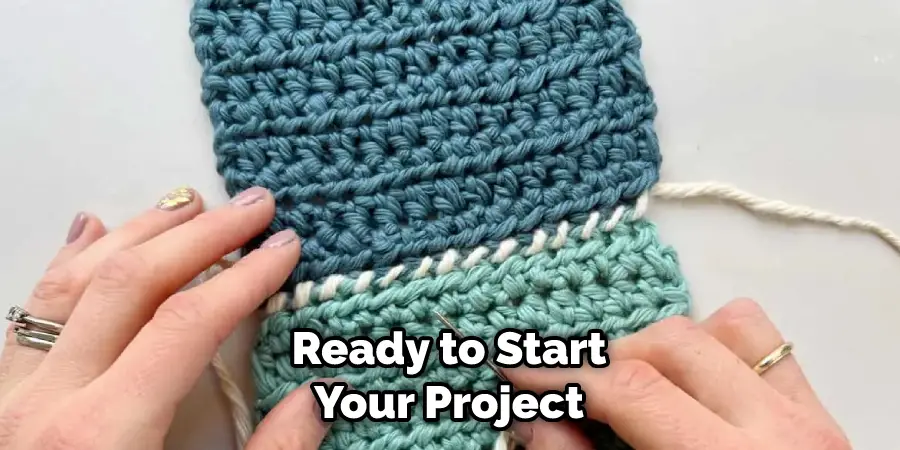
And you’re done! You should now have a neat seam that sits flat and looks great. Whip stitching is an incredibly versatile method for joining crochet pieces together – try experimenting with different colors and textures of yarn to further customize your projects! Have fun!
Tips to Whip Stitch in Crochet
- Gather Your Supplies: To whip stitch in crochet, you will need a crochet hook, a tapestry needle, and some yarn.
- Cut a Length of Yarn: The length of the yarn will depend on the project you are working on. For small projects, a length of about 18 inches should be sufficient. For larger projects, you may need a longer length of yarn.
- Thread the Yarn Through the Tapestry Needle: Once you have cut the yarn to the appropriate length, thread it through the tapestry needle. Make sure that the end of the yarn is securely tied to the needle so that it does not come undone while you are working.
- Insert the Needle Into the First Stitc: Insert the needle into the first stitch on one side of the piece you are working on. The needle should go through the front loop only of the stitch (the loop that is closest to you).
- Pull the Needle Through the Stitch: After inserting the needle into the first stitch, pull it through until there is only a small loop of yarn remaining on the needle.
- Insert the Needle Into the Next Stitch: Insert the needle into the next stitch on the other side of the piece (the second stitch from where you started). Again, insert the needle through only the front loop of this second stitch.
- Pull the Needle Through Both Stitches: After inserting the needle into this second stitch, pull it through until there is only a small loop of yarn remaining on the needle again. You should now have two stitches on your needle.
How to Achieve a Professional Finish with the Whip Stitch in Crochet?
The whip stitch is one of the most important tools in a crocheter’s arsenal when it comes to achieving a professional look. The combination of combining an invisible join and neat finish makes this technique invaluable for making beautiful, finished crochet items.
To achieve a perfect whip stitch, start by identifying the two loops you will join together, then insert your hook through both loops. Next, with your crochet hook still in place, wrap the yarn around and draw through both loops before pulling to tighten the joining knot completely.
With practice, you’ll find that whipping stitches start to become natural as you gain confidence in knowing how much pressure to apply while working them. So keep practicing and before you know it you’ll be able to master any project with a strong, durable whip-stitch finish.
Unlocking the Secrets of How to Perfectly Whip Stitch In Crochet
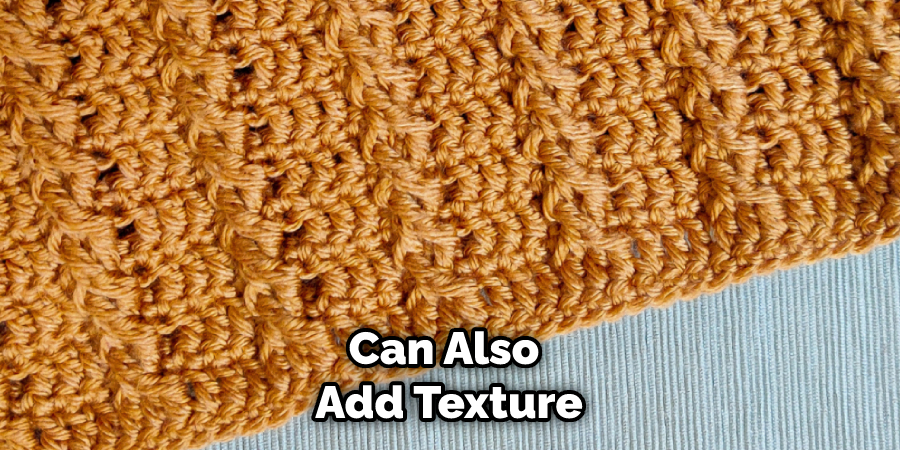
If you want to create sharp turns and expertly join different pieces of crocheted fabric in a modern, polished finish, look no further than the whip stitch. This simple technique is an easy way to add texture and interest to any project.
To master the whip stitch, begin by looping the yarn over one end of the crochet hook; then insert it into the corresponding stitches on both pieces that need to be connected. Once they’re joined together, wrap the yarn around and back through those same two stitches, drawing them closer together until they are completely interlocked.
Practice this technique on something simple like pot holders or scarves until you get it right! With a little patience and practice, soon enough you’ll be stitching like a pro!
How To Make The Most Out Of Your Projects?
Taking on crochet projects can be daunting, but with just a few know-how tips everyone can become a whiz in the craft. One of the most important stitches to mastering crochet is the Whip Stitch. This stitch has many functions, ranging from seaming pieces together to adding decorative details.
The stitch is also essential for amigurumi – pieces created from crocheted fabric usually in the form of stuffed animals and other toys. With practice and dedication, you can create projects that are sure to impress your family and friends. Learn how to master the Whip Stitch and watch as your crochet prowess blossoms!
Frequently Asked Questions
When Making the Whip Stitch, What Should You Do?
When making the whip stitch, start by identifying the two loops you will join together. Then insert your hook through both of these loops and wrap the yarn around and draw through both loops before pulling to tighten the joining knot completely.
If you practice, you’ll eventually gain confidence in knowing how much pressure to apply while working on them. With a little patience and practice, soon enough you’ll be stitching like a pro!
How is the Whip Stitch Used When Making Amigurumi?
The whip stitch is an essential stitch for creating amigurumi. This type of stitch is used to join pieces together and can also add texture and interest to the project. To make an amigurumi with a whip stitch, begin by looping the yarn over one end of the crochet hook; then insert it into the corresponding stitches on both pieces that need to be connected.
Once they’re joined together, wrap the yarn around and back through those same two stitches, drawing them closer together until they are completely interlocked. With a little patience and practice, you’ll be able to create beautiful amigurumi pieces that will astound your family and friends.
Conclusion
The whip stitch is a very versatile and easy-to-learn crochet stitch. You should carefully determine how to whip stitch in crochet. It can be used for seaming, joining pieces together, or even decorative purposes.
With a little practice, you’ll be able to master the whip stitch in no time. Once you’ve learned how to do the basic whip stitch, try mixing things up by using different yarns or stitches. Experimenting is half the fun of crocheting!