
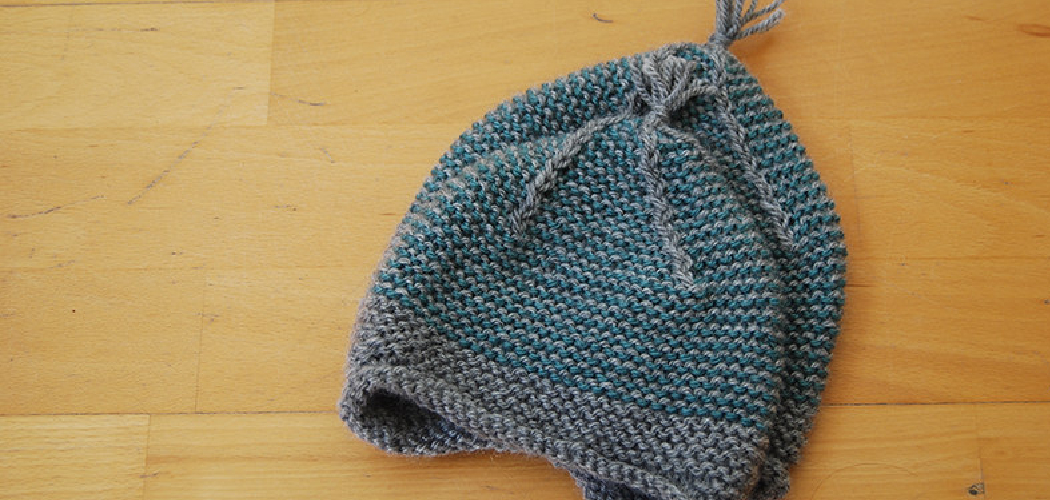
Making your own crochet hat can be immensely rewarding. Nothing compares to the feeling of accomplishment when you’ve finished your project, plus the added bonus of being able to wear it around proudly! But finishing a crochet hat isn’t always easy, and knowing where to start can oftentimes seem intimidating.

In this blog post, we’ll go over all of the steps on how to finish a crochet hat involved in finishing a crochet hat from stitching up the sides to weaving in any loose ends, so that you’ll have a beautiful handmade creation for yourself or someone you love. So you’ll have everything you need to know to smoothly work up your very own stylish accessory. So whether you’re new to crochet or just looking for some helpful advice on finishing off your piece, read on if you’re ready to take on your very first (or next) crochet hat challenge!
Is Making Crochet Hat Difficult?
The truth is that the difficulty level of making a crochet hat mostly depends on the pattern you choose. Depending on the stitches used and how much shaping is involved, some hats can be quite complex to make. But if you work with an easy pattern and use basic stitches, then it shouldn’t be too hard at all! The most important thing is to choose a pattern that you are comfortable with, and don’t be intimidated by more complex patterns. If you take things one step at a time, then you’ll be able to complete your hat in no time.
What is the Best Yarn for a Hat?
As mentioned above, the best yarn for crocheting a hat will depend on what kind of hat you are making. For most hats, worsted-weight cotton or acrylic yarn is best as it provides some structure and warmth without being too heavy. For slouchy beanies or cloches, try using wool or alpaca blend yarns for a softer, more luxurious look and feel. How to Begin
Once you have all of your materials ready, it’s time to get started on the actual crochet work! Depending on the type of hat you are making, there are a few different ways you can begin. Most hats (like beanies or slouchy beanies) begin with a foundation chain that is then single crocheted into. This creates the base of the hat and sets up the pattern for all of your subsequent stitches.
Needed Materials
Before you get started, you will need to make sure that you have the right materials for your project. You’ll need a crochet hook in the size recommended by your pattern, a pair of scissors, and some yarn. The type of yarn used usually depends on what kind of hat you are making. If it’s a beanie or cap, then any worsted-weight yarn should do the trick. If it’s a slouchy beanie or cloche, then try using some more luxurious yarn like silk or cashmere.
10 Instructions on How to Finish a Crochet Hat
1. Secure the Last Stitch
Once you have finished all of your rows, make sure to secure your last stitch. This will ensure that it doesn’t unravel when you are wearing the hat. It will minimize the chance of it coming apart when you are wearing it.
2. Weave in Loose Ends
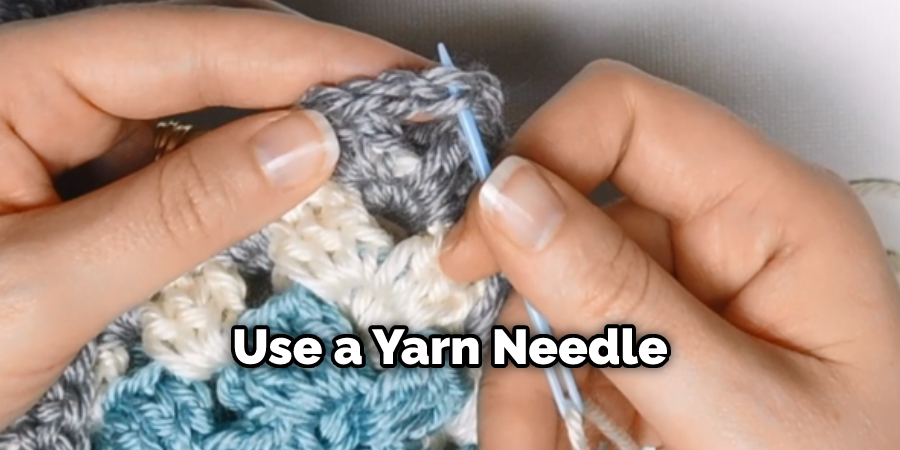
Once your last stitch is secured, it’s important to weave in any loose ends that you may have. This will keep them from unraveling or getting caught on anything and make sure that your hat looks neat and tidy. You can do this by threading the loose ends through a yarn needle and then backstitching them into the work.
3. Fold Up the Brim
If you have been making a beanie or cloche, then it’s time to fold up the brim. This will give the hat more structure and help it to stay in place on your head better. To do this, find the last row of stitches and fold them up to meet the first row. Then, use a yarn needle to sew them together.
4. Gather the Top Of The Hat
Once you have folded up the brim, it’s time to gather the top of the hat. You can do this by threading a yarn needle with a length of yarn and then gathering the stitches up at the top of the hat. Once you have secured them, tie off the yarn and trim any excess.
5. Add Some Optional Embellishments
If you want to give your hat a more personal touch, try adding some optional embellishments. This can include anything from pom-poms to flowers. You can attach these with a yarn needle and some more yarn. Just make sure to secure them tightly, so they don’t come off when you are wearing the hat.
6. Block the Hat
Blocking is an important step in finishing your crochet hat as it will help the stitches to stay in place and give the hat a more professional look. To do this, simply fill a bowl or sink with lukewarm water and a small amount of detergent. Then, submerge your finished hat in the water for about 10-15 minutes before taking it out and laying it flat on some towels to dry.
7. Sew A Label On the Inside Of the Hat
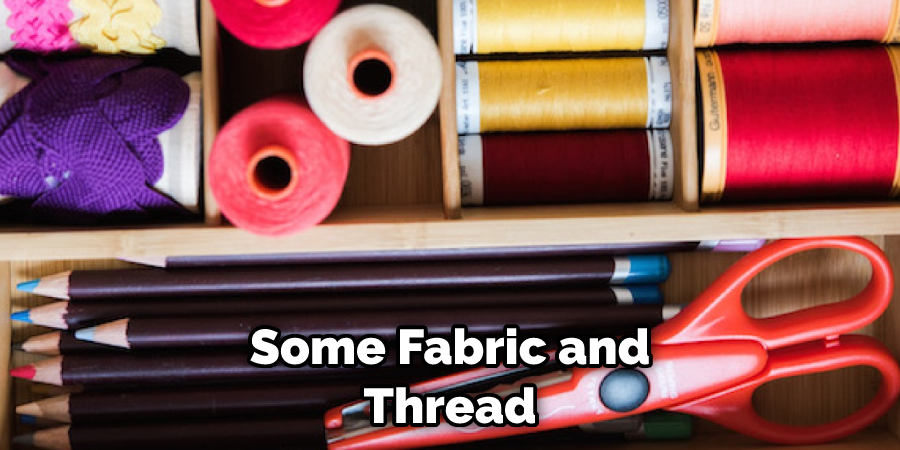
If you want to add a personal touch to your hat, try sewing on a label. You can either buy ready-made labels or make one yourself with some fabric and thread. Once you have the label ready, simply sew it onto the inside of the hat with a yarn needle and some more yarn.
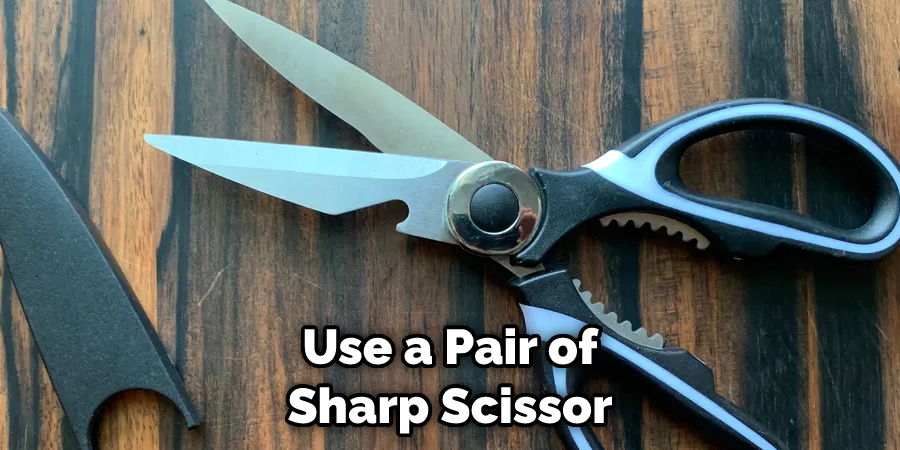
8. Trim the Excess Yarn
Once you have finished all of your sewings, it’s time to trim off any excess yarn. This will help to keep the hat from unraveling and make sure that it looks neat and tidy. Just use a pair of sharp scissors to trim away any extra yarn you may have used in the construction of the hat.
9. Enjoy Your Finished Hat
Once you are finished, it’s time to enjoy your new creation! Put on your hat and show off your hard work to all of your friends and family. You can even wear it out in public to show off just how proud you are of yourself for finishing a crochet project.
10. Keep Crocheting
After you have finished your hat, keep crocheting more projects. You can make anything from blankets to scarves and even hats for all of your friends and family. Once you get the hang of it, there is no limit to what you can create with crochet! Have fun and enjoy the process.
By following the above instructions, you now know how to finish a crochet hat. With some practice and patience, you’ll be able to make beautiful crocheted hats in no time!
5 Maintenance Tips for the Crochet Hat
- Secure any loose ends by weaving them into the hat with a yarn needle. If you don’t have a yarn needle, use the blunt end of a crochet hook to tuck them away. It will take some patience, but it will be worth it in the end.
- Block your hat to help even out any imperfections. Use a spray bottle filled with water and lightly mist the hat before pinning it into shape on a blocking board or towel-covered surface. Let it dry completely before removing it from the pins.
- Carefully remove the hat from the hook without stretching it out. Make sure to do so gently, and don’t pull too tightly. If you do, it can cause the edges of your hat to curl.
- To ensure a long-lasting hat, hand-wash and lay flat to dry. If you must use a washing machine, use the delicate cycle and cold water setting with mild detergent.
- Accessorize! Add ribbon or buttons for a unique look that really stands out. You can even add pom-poms or tassels to make the hat extra special. Have fun and be creative!
Following these tips will help keep your crochet hat looking beautiful for years to come. With good care, you’ll have a stylish accessory that will last for many wearing seasons. So don’t forget to take the time to properly finish your crochet hat – it will be worth it in the end.
Conclusion
Finishing a crochet hat is an incredibly satisfying project that allows you to express your creativity. Before you know it, you’ll have learned the basic elements of crochet and be able to confidently make all kinds of colorful creations. Plus, crocheting can not only save you money by creating hand-crafted accessories but also lift your spirits through meditative stitching.
With practice and this guide on how to finish a crochet hat, your projects will look more intricate, and handmade hats make great gifts for friends and family. So while finishing a crochet hat may seem difficult at first, don’t be discouraged by the learning process–embrace it so that you can enjoy the full potential of this timeless craft!