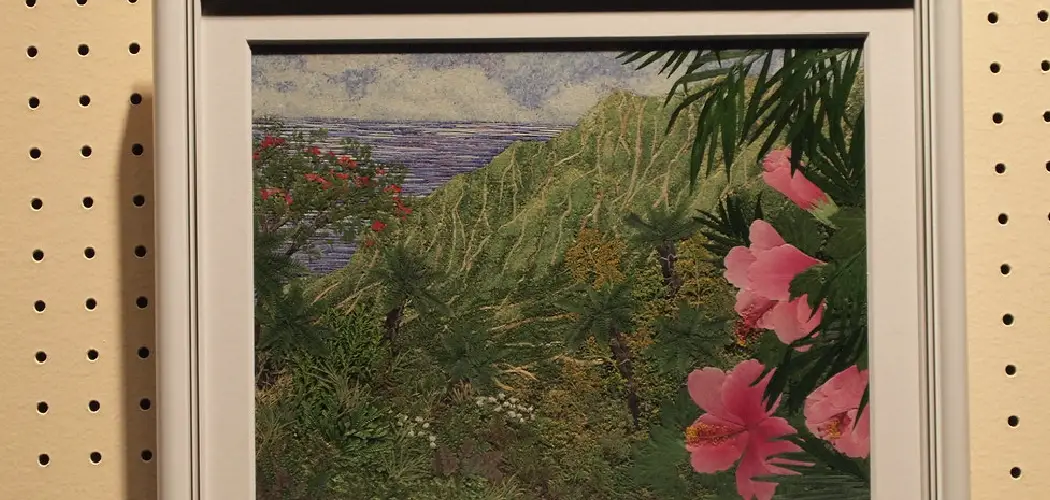
Preserving the beauty of nature in an artful, timeless way is a rewarding experience. A popular form of this creative endeavor? Framing pressed flowers. Whether they’re from your favorite park or meadow or gathered during a special occasion like a wedding, pressed flowers are undeniably beautiful and serve as unforgettable mementos commemorating our lives and treasured moments.
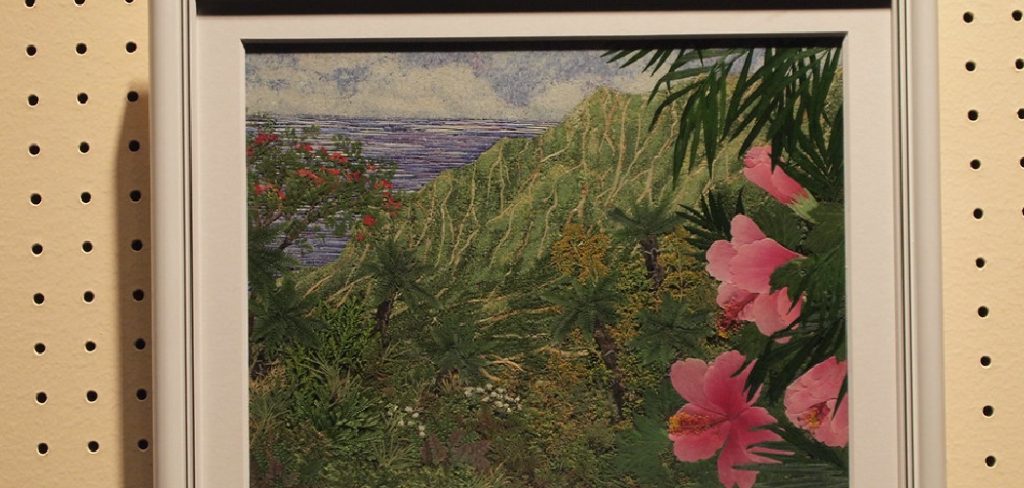
From understanding why pressing is important to learn how to frame a pressed flower, framing pressed flowers can be simple with just a few supplies and expert tips! Read on to learn more about bringing petals forevermore into your home or office decoration scheme.
Can I Put Pressed Flowers in a Frame?
Yes, you can put pressed flowers in a frame. Framing your pressed flowers is an excellent way to preserve them and create beautiful artwork. Pressed flowers make great decorations for any wall or space, but they need to be framed properly to ensure they last a long time. However, framing pressed flowers is not as easy as it sounds. It requires one to have the right materials, tools, and techniques.
But if done correctly, your framed pressed flowers will look gorgeous and last for many years.
How Long Do Pressed Flowers in a Frame Last?
Pressed flowers can last a long time when framed properly. With the right conditions, you could have your beautiful pressed flower display for many years. To ensure a longer lifespan for your frames, try to keep them away from direct sunlight and in an area with low humidity. The framing glass should be UV-protected if possible. Additionally, avoid high temperatures and keep the frames away from moisture.
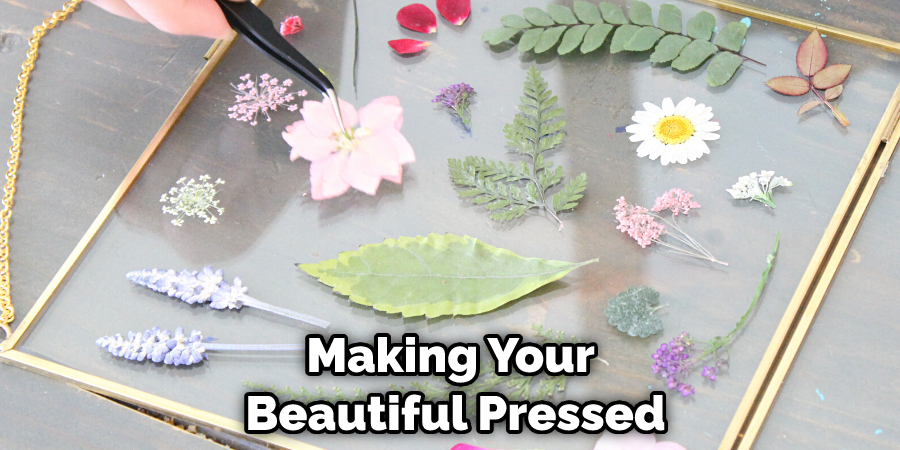
With care, a pressed flower frame can last for decades! It is possible that some of the petals may fade in color over time, but so long as the petals are kept dry, they should remain preserved for many years to come. To maximize longevity, it’s best to replace the backing paper every 5-10 years. This allows the frame to remain sealed and prevents dust build-up and other damage.
If you’re looking for a creative way to enjoy a pressed flower display in your home, framing is an excellent option! With proper care, your frames can last for many years and brighten up any space. Enjoy the beauty of nature while preserving its delicate gifts.
You Can Check It Out To Make Flower Bracelet
To Frame a Pressed Flower, You Will Need the Following Supplies
- Pressed flowers
- A piece of cardboard or Bristol board
- A sharp knife
- A ruler or measuring tape
- A pencil
- Scissors
- Glue
- A frame
10 Methods How to Frame a Pressed Flower
1. Picking the Right Flowers
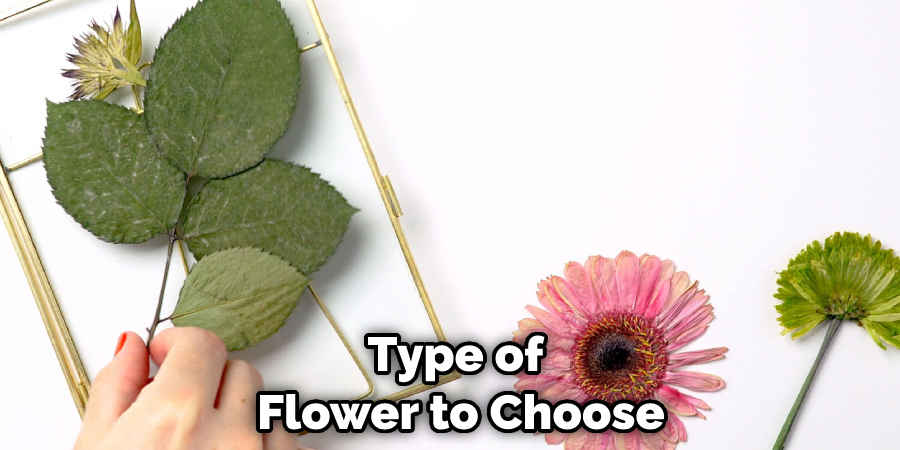
The first step in creating a pressed flower frame is to pick the right flowers. Look for flowers that are flat and have minimal pedals. The best flowers for pressing are daisies, roses, and carnations. Avoid picking flowers that are thick or have a lot of pedals, as these will be more difficult to press. If you’re unsure what type of flower to choose, consult a local florist for advice. However, it’s best to pick flowers that are in season for the most vibrant colors.
2. Picking the Right Time of Day
It is also important to pick the right time of day to pick your flowers. The best time to pick flowers for pressing is early in the morning before the sun has had a chance to dry them out. Avoid picking flowers that have been in the sun for a long period of time, as they will be more difficult to press.
Make sure to pick flowers that are mature and still have some moisture in them. Do not pick wilted or dried-out flowers, as they will not press well. Be sure to pick the flowers and place them in a book or newspaper as soon as possible so that they don’t dry out.
3. Using the Right Materials
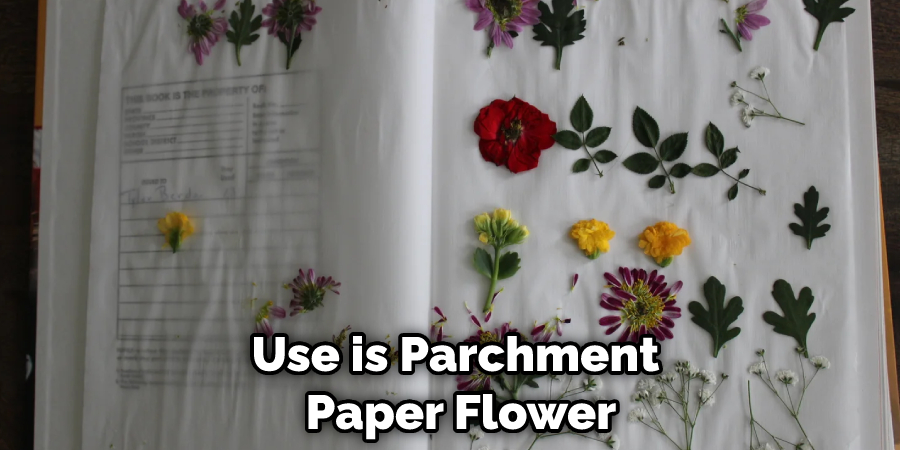
Once you have picked your flowers, it is important to use the right materials to press them. The best material to use is parchment paper, as it will absorb the moisture from the flowers without damaging them. Place the parchment paper on top of a cutting board or another firm surface, then place your flowers on top of the parchment paper. Make sure the flowers are arranged in a way that will allow them to fit within the frame.
4. Pressing the Flowers
Once you have your materials ready, it is time to start pressing your flowers. Begin by placing a heavy book on top of your cutting board or another firm surface. Place something heavy on top of the book, such as a pot or pan, to weigh it down. Allow the flowers to sit overnight so that they can fully dry out and be pressed flat. If you want, you can place wax paper or parchment paper over the flowers before placing the book on top of them.
This will help protect them from staining the book. Although it isn’t necessary, you can also place something heavy on top of the book to help weigh it down and speed up the pressing process.
5. Removing the Flowers
After 24 hours have passed, remove the heavy book and objects from atop your cutting board or another firm surface. Carefully peel back the parchment paper to reveal your pressed flowers. If any of the pedals are still attached to the stem, gently remove them with a pair of tweezers. If the flowers still have some moisture, allow them to dry for another 24 hours before framing.
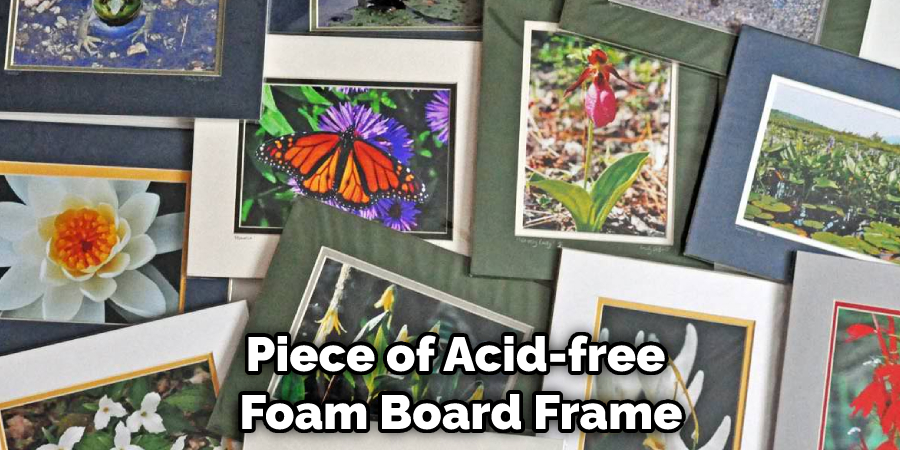
When you’re ready to frame, use scissors to trim away any excess parchment paper. For best results, choose a frame and mat that won’t overwhelm the delicate beauty of your pressed flowers. Place the flowers face-down on a piece of acid-free foam board, and then place the mat over them. Finally, put it all in the frame to complete your beautiful pressed flower wall art. You can also use a deep shadow box to add extra dimension and depth.
6. Mounting the Flowers
Once you have removed all of the pedals from the stems, it is time to mount your pressed flowers onto whatever backing you have chosen. You can use glue, tape, or even staples to attach your pressed flowers to their backing. Make sure that you allow enough space between each flower so that they do not overlap when viewed from behind glass.
If necessary, you can use a ruler to measure out the exact spacing between your flowers. However, you should generally allow a few centimeters between each flower for the best aesthetic. Finally, once all of your flowers are mounted securely to the backing, you can mount your pressed flower artwork into a picture frame.
7 . Adding Embellishments (optional)
If desired, you can add embellishments to your pressed flower frame before attaching the glass front. Some ideas for embellishments include beads, sequins, ribbons, or even small pieces of fabric. Be creative and have fun with it. Make sure to attach your embellishments securely to the frame so that they don’t come off when handling. Once you are finished, place your glass front onto the frame and secure it with glue.
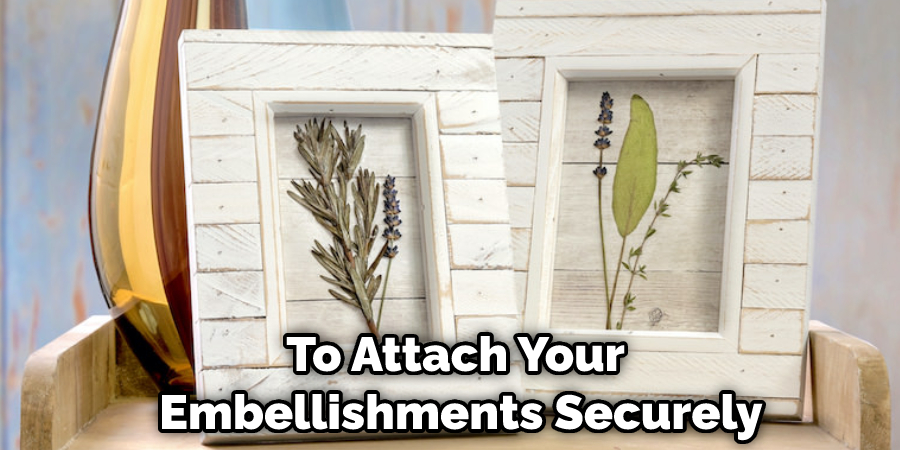
Now you have a beautiful, unique pressed flower frame to hang up and admire! While it may seem like a difficult task, framing pressed flowers is actually quite simple. With the right supplies and a bit of creativity, you can create an eye-catching, one-of-a-kind framed pressed flower masterpiece for your home or to give as a gift.
8 . Attaching the Glass Front (Optional)
If you choose to add a glass front to your pressed flower frame, do so now by using glue, tape, or staples. Make sure that you attach the glass front securely so that it does not fall off when hung on a wall or placed on a table. Be careful not to damage the pressed flower when attaching the glass front.
You may also choose to skip this step and forgo adding a glass front. This is a personal preference and will depend on your desired aesthetic for the finished product.
With the glass front securely in place, your pressed flower frame is now ready to be hung or placed wherever you choose!
9 . Hanging Your Frame (Optional)
If desired, you can hang your pressed flower frame on a wall using nails, screws, tacks, or adhesive strips. If you choose not to hang your frame, simply place it on a table or shelf. Either way, you’ll be able to admire your beautiful pressed flower frame for years to come! However, do keep in mind that hanging your frame on a wall or other vertical surface may reduce the risk of damage to the pressed flowers since they will be less likely to be knocked over or disturbed.
For those specifically looking to preserve their pressed flowers and frame long-term, it is recommended that they hang their frame, as opposed to placing it on a table or shelf.
10 . Enjoying Your Pressed Flower Frame!
Now that you have completed your pressed flower frame step back and enjoy your handiwork! Depending on the frame and flower choices, you can tailor your pressed flower for any home décor style. With a little bit of creativity and patience, you can create a beautiful piece of art that will brighten up any room. Plus, these unique frames make great gifts for friends and family!
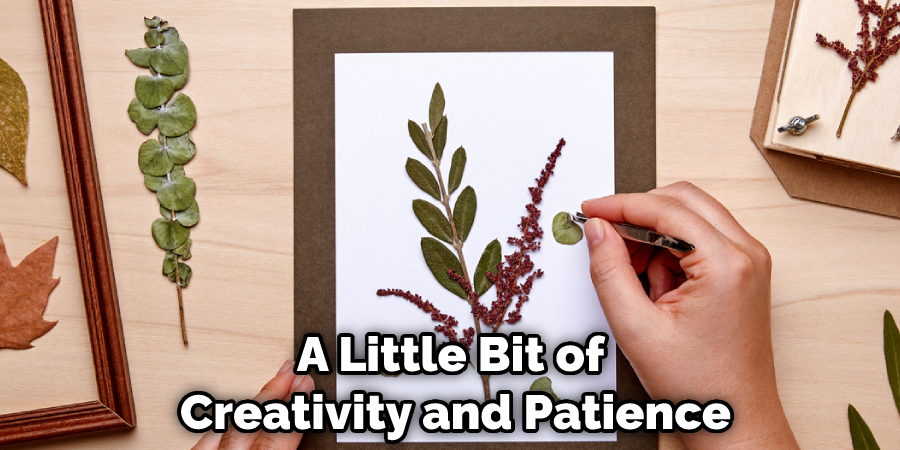
Following this guide, you now have all the tools and information necessary to create your own beautiful pressed flower frame! Start gathering supplies, choose your backing and flowers, and get creative. Before you know it, you’ll have a stunning pressed flower frame that can brighten up any room!
You Can Check It Out to Crochet Tulip Flower
Things to Consider When Framing a Pressed Flower
1. Choose a Simple Frame or Shadow Box:
It’s best to go with a frame that won’t draw attention away from the flower itself. If you’re wanting to show off many different pressed flowers, a shadow box is a great option. It will give each individual item room to breathe and won’t overwhelm your display.
2. Pick Out The Right Matting:
Matting is key for framing pressed flowers; it gives them visual depth so that the colors don’t look flat against the glass of the frame. Choose a mat color that compliments your flower and make sure it’s thick enough that there’s at least one-eighth inch of exposed mat around its edges once placed in the frame.
3. Place Your Flower Carefully:
To keep your flower looking its best, use acid-free tape to attach it to the matting. Place it so that there’s an even amount of exposed mat around all sides and be careful not to bend or puncture any petals when doing so.
4. Consider Conservation Framing:
Conservation framing is used for preserving antiques, artwork, and other valuable items for long-term display. It involves using materials like UV glass, museum board backing, and low-acid adhesives that are designed to protect your item from fading or damage over time. This type of framing may cost more up front but can save you money in the long run if you plan on displaying your pressed flower indefinitely.
5. Hang Your Frame Properly:
Once your frame is ready to be hung, make sure you use the correct hardware. Consider whether the frame will be in direct sunlight, as it may need additional protection from UV rays. Also keep in mind the weight of the frame and choose hardware that can support it properly.
Framing a pressed flower is a great way to display and preserve an item that holds sentimental value or simply looks beautiful. With a few simple steps, you’ll be able to create a stunning work of art out of your favorite floral specimens!
Conclusion
Now that you know how to frame a pressed flower, it’s time to get started on your own project. Gather some fresh flowers from your garden, or pick up a bouquet from the grocery store. Follow the instructions in this blog post, and soon you’ll have beautiful pressed flowers to display in your home.

