
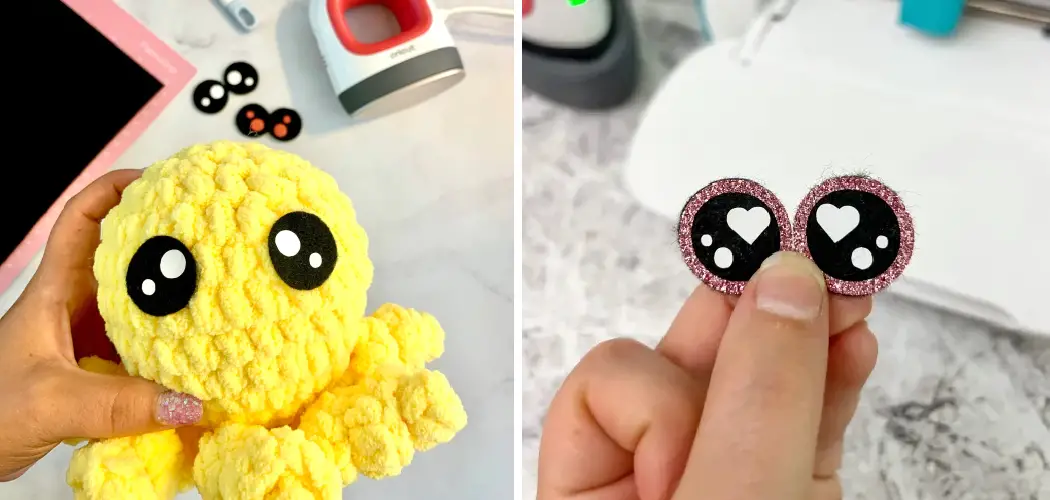
The Cricut is a versatile and popular cutting machine that can be used for a variety of crafting projects. One project that you can easily do with the help of your Cricut is making felt eyes. These felt eyes are perfect for adding a cute and whimsical touch to your DIY projects, such as stuffed animals, dolls, or even clothing.
The main advantage of using a Cricut to make felt eyes is the precision and ease of cutting. The Cricut uses a rotary blade or fine-point blade to cut materials, which creates clean and precise cuts every time. This ensures that your felt eyes will have smooth edges and look professional. In this blog post, You will learn in detail how to make felt eyes with cricut.
Materials You Will Need
- Cricut machine
- Felt sheets (different colors)
- Fabric scissors
- Squeeze bottle with water
- Liquid fabric glue
- Black thread and needle
- Template of the eye design (can be found online or created using Cricut Design Space)
- Iron-on heat transfer vinyl in black and white
- Pencil or washable marker
- Tweezers
Now that you have gathered all the necessary materials, it’s time to get started on making your own felt eyes with Cricut! As a beginner, it might seem like a daunting task, but don’t worry – we will guide you through each step.
Step-by-step Instructions for How to Make Felt Eyes With Cricut
Step 1: Inspect the Design
Before you start cutting, it’s important to inspect the design of the felt eyes on your Cricut machine. Make sure the image is set to “draw” or “cut” and not “print.” If it’s set to print, simply change it by clicking on the image and selecting either draw or cut.
Step 2: Gather Materials
To make felt eyes with your Cricut, you will need the following materials:
- Felt sheets in desired colors
- Cricut machine
- Fabric glue or hot glue gun
- Scissors
Step 3: Prepare Your Felt Sheets
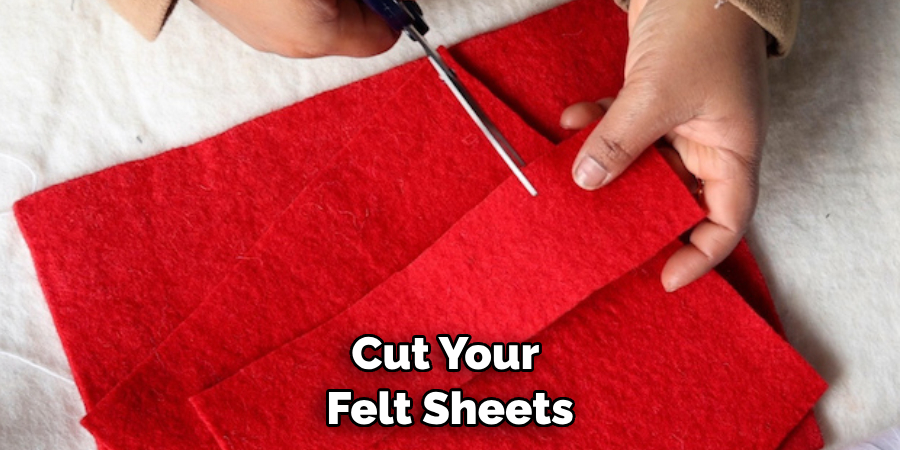
Cut your felt sheets to fit on the cutting mat of your Cricut machine. Make sure the felt is securely attached to the mat to prevent shifting during cutting. Load the design of your felt eyes into Cricut Design Space. You can either create your own design or use a pre-made one from the Cricut library.
Step 4: Adjust Settings
Once the design is loaded, adjust the settings for your specific project. This includes selecting the correct material setting for felt and choosing the appropriate cut and draw lines. Before cutting your final design, it’s always a good idea to do a test cut on a scrap piece of felt. This will ensure that your settings are correct and prevent any mistakes on your final project.
Step 5: Cut Felt Eyes
Once you’ve completed a successful test cut, it’s time to cut your felt eyes. Make sure the Cricut machine is set to “cut” and let it do its magic. Once cutting is complete, carefully remove the felt from the cutting mat. Use scissors to trim any loose threads or excess felt around the edges.
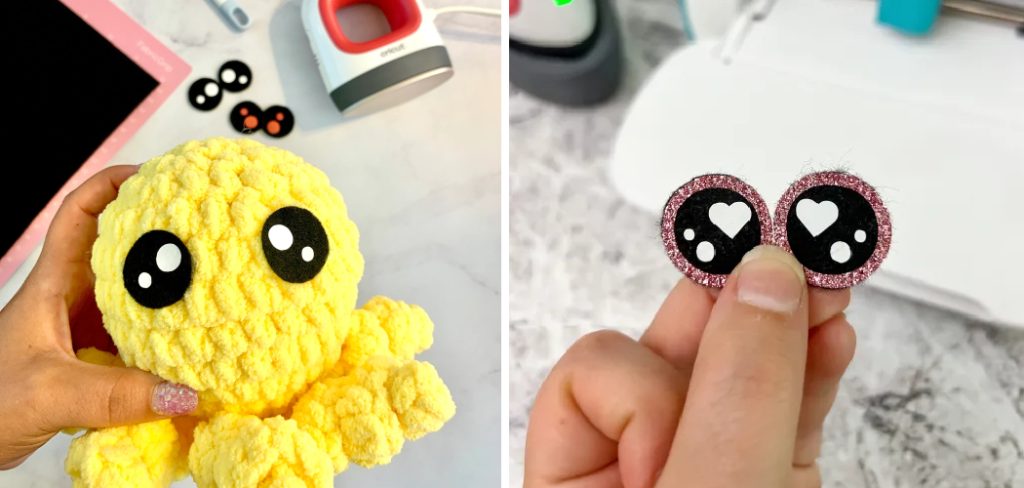
Step 6: Assemble Felt Eyes
Using fabric glue or a hot glue gun, carefully assemble your felt eyes. This may involve layering different colored pieces together and attaching any additional embellishments. Allow the glue to dry completely before handling.
Now that your felt eyes are complete, you can use them for a variety of projects such as adding them to stuffed animals, making hair accessories, or even creating DIY decorations. The possibilities are endless with these cute and customizable felt eyes made with your Cricut machine.
Precautions for How to Make Felt Eyes With Cricut

- Always use fresh sharp blades for your Cricut machine when cutting felt to avoid jagged edges and uneven cuts.
- Make sure to properly clean your Cricut machine before and after using it with felt to prevent any fiber buildup, which can cause damage to the machine.
- When removing the felt from the cutting mat, be gentle and peel it off slowly to avoid tearing or stretching the material.
- Always use a low pressure setting when cutting felt on your Cricut machine to prevent the blade from piercing through the mat and causing damage.
- It is recommended to use a stabilizer when cutting thin or delicate felt materials on your Cricut machine to prevent any tearing or shifting during the cutting process.
- When using iron-on transfer materials for felt eyes, always follow the manufacturer’s instructions and apply the transfer to the felt before cutting out the eye shape with your Cricut.
- Keep a safe distance from your Cricut machine while it is in use, as the blade can cause injury if handled carelessly.
While learning how to make felt eyes with your Cricut machine can be a fun and creative activity, it is important to prioritize safety. By following these precautions, you can ensure that your crafting experience with Cricut is both enjoyable and safe.
What Settings Should You Use on Your Cricut Machine for Cutting Felt?
If you’re new to using a Cricut machine, it can be overwhelming trying to figure out the right settings for different materials. When it comes to cutting felt, there are a few key things to keep in mind. First and foremost, you’ll want to make sure you have the right blade for cutting felt. The rotary blade is recommended for cutting fabric materials like felt, as it can handle the delicate fibers without snagging or tearing.

Next, you’ll need to adjust your machine’s settings for cutting felt. This will vary depending on the thickness and quality of your felt, but a good starting point is setting your blade depth to 4-5 and using a slow cutting speed. You may also want to experiment with adjusting the pressure settings for more precise cuts.
It’s also important to consider the size and intricacy of your project when determining the settings. For smaller or more detailed designs, you may want to decrease the blade depth and cutting speed for better precision.
How Long Does It Take to Make a Set of Felt Eyes Using This Method?
Yes, you can definitely add additional details to your felt eyes using your Cricut machine. This is where the versatility of the machine comes in handy. You can use various tools and materials to create different effects, such as adding eyelashes or eyebrows for a more realistic look. The time it takes to make a set of felt eyes will vary depending on the complexity of the design and your level of experience with using a Cricut machine.
However, once you have the settings dialed in for cutting felt, the process should be relatively quick and easy. You can also save time by cutting multiple sets of eyes at once if you’re planning on using them for multiple projects. Remember to always do a test cut before starting on your final project to ensure the settings are correct and make any necessary adjustments.

With some practice, you’ll be able to create beautiful and detailed felt eyes with your Cricut machine in no time! So go ahead and experiment with different designs and techniques, and see what amazing felt creations you can come up with.
Are There Any Specific Techniques for Creating Different Eye Shapes, Such as Oval or Cat Eyes?
Yes, there are specific techniques that can be used to create different eye shapes using a Cricut machine. One of the easiest ways to achieve various eye shapes is by manipulating the basic circle shape in the Design Space software. For example, to create an oval-shaped eye, select the circle shape and use the “Edit Points” tool to adjust the top and bottom points of the circle. By dragging these points inward, you can elongate the circle and create an oval shape.
To make cat eyes, start by creating an oval-shaped eye as described above. Then, use the “Edit Points” tool to adjust the top and bottom points again, this time creating a more pointed shape on both ends. This will give your felt eyes a slanted, cat-like appearance. Additionally, you can also use other shapes such as triangles or half circles to add unique details to your felt eyes. Experiment with different shapes and sizes to create a wide range of eye options for your projects.
Conclusion
In conclusion, felt eyes are a great addition to any crafting project and using a Cricut machine can make the process even easier. With just a few simple steps, you can create custom felt eyes in various sizes and shapes for your next project. One of the main benefits of using a Cricut machine for making felt eyes is its precision and accuracy.
The machine ensures that each eye is cut to the exact size and shape, eliminating the need for measuring and cutting by hand. This also allows for consistency in your eyes, ensuring that they all match perfectly. I hope this article has been beneficial for learning how to make felt eyes with cricut. Make Sure the precautionary measures are followed chronologically.