
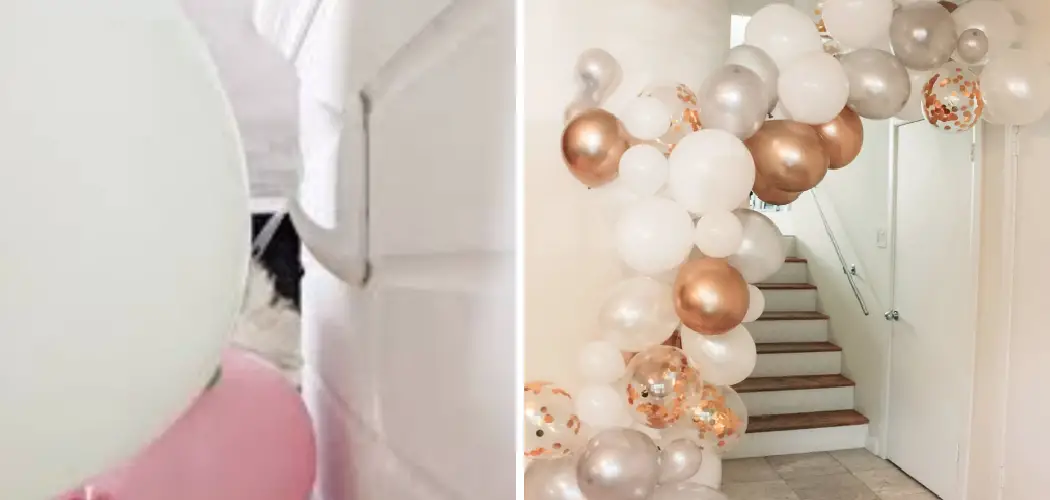
When looking to add a touch of elegance and fun to any event, look no further than attaching a balloon arch to the wall! Balloon arches are an incredibly versatile decoration that can be added for birthdays, anniversaries, weddings, or just about any other special occasion.

But there’s much more involved than simply blowing up some balloons. To experience success with creating your own balloon arches in your home, you must ensure you do things properly and safely, so read on for our guide on how to attach a balloon arch to a wall.
Do You Need Hooks for a Balloon Arch?
Surprisingly, you don’t need to use hooks when attaching a balloon arch to your wall. All you really need are balloons and some basic tools and supplies. This makes it easy for even the DIY novice to create their own balloon arch without any special expertise or pieces of equipment. However, if you do want to use hooks for a balloon arch, you can buy specialized kits that come with all the materials you need.
10 Methods on How to Attach a Balloon Arch to a Wall
1. Tape
One of the easiest ways to attach a balloon arch to a wall is with tape. All you need is a roll of clear tape and some scissors. Start by inflating your balloons and tying them off. Then, cut the tape into strips and use it to secure the balloons to the wall in the desired pattern. Make sure the tape is secure and won’t come off easily. However, make sure not to use too much tape – it can be difficult to remove and leave behind a sticky residue.

2. Push Pins
Another easy way to attach a balloon arch to a wall is with push pins. Push pins are easy to install and remove, making them a great option for temporary or seasonal arches. To install the balloon arch with push pins, begin by marking where you’d like your arch to be attached. If it is an arch that will hold its shape on its own, hang it up and measure where the points of contact should be. Once the placement is determined, use a ruler to draw a straight line across the wall for reference if needed. Next, insert push pins into the wall along the line, spacing them evenly apart.
3. Command Strips
If you don’t want to damage your walls, you can use command strips to attach your balloon arch. This is a great option for renters or homeowners who don’t want to use nails or screw hooks in their walls. We recommend using command strips or similar hooks meant for decorative items, as they will hold well. Start by attaching the command strips on the wall or door frame in a way that forms the arch’s shape. Then you can attach your balloons with thin wire, string, or fishing line to the command strips.
4. Glue Dots
Glue dots are another great option for attaching a balloon arch to a wall without damaging it. Glue dots are easy to use and come in various sizes and shapes. To use a glue dot, place it on the balloon and press it firmly against the wall. The glue dot will hold the balloon in place and help secure it to the wall without leaving residue or damage.
Glue dots can be removed easily when the balloon arch is taken down. Make sure to use the size of the glue dot that best fits the size and shape of your balloon arch. Also, be sure to place the glue dots far enough away from the balloon so that they do not interfere with its shape.

5. Balloon Clips
Balloon clips are specifically designed for attaching balloons to surfaces like walls. The advantage of using balloon clips is that they allow a larger number of balloons to be connected together and make it easier to attach them securely. To attach a balloon arch to the wall with balloon clips, first, inflate the balloons and tie off each one.
Then use the clips to attach them to the wall. It may be necessary to use a ladder to reach higher sections of the wall. With balloon clips, it is possible to create even more intricate designs that can be used to decorate any event.
6. Ribbon
A ribbon is another great option for attaching a balloon arch to a wall. There are several different ways to use ribbons for this purpose. If you want a neat and secure arch, use double-sided tape to attach the ribbon to the wall. For a more decorative look, you can tie the ribbon in a bow and loop it around the base of the balloon arch.
This will add some extra color and texture to your design. For an even more stylish look, you can use different colors of ribbon for a unique and eye-catching effect. Once the ribbon is attached, simply tie it to the balloons and use a balloon pump to blow them up. After that, you’ll be ready to enjoy your beautiful balloon arch!
7. Twine
Twine is another great option for attaching a balloon arch to a wall that gives it a rustic look. Use the twine for lacing through the holes in the balloons and forming a crisscross pattern. Secure each end to either side of the wall using nails or screws.

For a more secure hold, you can also use adhesive mounting tape to adhere the twine to the wall. Make sure that the twine is tight enough to prevent the balloons from sagging. Once you have finished attaching the balloon arch, use clips or string lights to add some extra flair. You can also use a glue gun to decorate the twine with artificial flowers or foliage.
8. Fishing Line
A fishing line is another great option for attaching a balloon arch to a wall because it’s invisible once it’s in place. It’s also easy to work with because it comes in different lengths and weights, so you can choose the one that works best for your balloon arch. To use a fishing line, attach one end of the line to an anchor point on the wall and then tie the other end to the balloon arch.
Be sure to tie the line tightly so that it stays secure and doesn’t come loose. You may also want to use a fishing line with a weight attached to it, such as a fishing sinker so that the line stays in place and doesn’t move around too much. Once the fishing line is in place, your balloon arch should be secure and ready for use.
9. Curling Ribbon
If you want a bit of extra decoration, you can attach your balloon arch with a curling ribbon for an elegant touch. Cut equal pieces of curling ribbon for each balloon and thread it through the holes. Tie the ribbons to a hook or nail that is firmly secured in the wall. This will help keep the balloons secure and prevent them from being knocked over or moved.
If you’re using a helium tank, you can use the same ribbons to attach the tanks to the wall. Be sure that the ribbon is tightly secured so that it won’t come off if the helium tank is moved.

10. Zip Ties
Zip ties are great for attaching a balloon arch to a wall because they’re strong and durable. To use this method, simply insert the zip tie through the grommet of your balloon arch and then secure it to the wall by looping it through a sturdy hook or bracket. You can also use zip ties to reinforce any sagging sections of your arch. This is especially important if your arch is hanging over a doorway or entryway. For added stability, use several zip ties at every connection point.
What Do You Stick a Balloon Arch to?
You can stick the balloon arch to most flat surfaces. Common surfaces include walls, windows, and tables. It’s important to make sure the surface is clean and dry before attaching the arch. If you’re sticking it to a wall or window, use painter’s tape or removable mounting strips, as they won’t cause any permanent damage.
For tables, you can use tape but make sure it’s not too sticky, or it might pull the paint off the table. For outdoor surfaces like concrete or brick, you may need to use a stronger adhesive like silicone glue.
You Can Check It Out to Crochet a Hexagon Granny Square
Conclusion
Attaching a balloon arch to a wall is simple and easy when you follow these steps on how to attach a balloon arch to a wall. The hardest part is likely getting the balloons themselves, but attaching the arch to the wall will be a breeze once you have them.
With a little bit of patience and some basic supplies, you’ll have your very own balloon arch in no time flat.
You Can Check It Out To Make a Paper Bat Step by Step