
Are you working on a project and notice that you have dropped a Kfb stitch? Don’t worry. It’s not the end of the world! Fixing this stitch is fairly simple but does require some patience. Here are the basic steps for how to fix a dropped Kfb stitch.

If you’re a crocheter, then you know there are few things more frustrating than dropping your carefully made stitches! But don’t worry – it happens to the best of us. Fortunately, it is possible to save your project with a little patience and care. In this blog post, we’ll take a look at how to fix one of the most common dropped stitches – the knitted front-back stitch or ‘kfb’ stitch.
We’ll look at exactly what this term means and then provide several step-by-step guides so that even beginners can save their projects and impress others with their finished work!
What are the Uses of Kfb Stitches?
Before we get into how to fix a dropped Kfb stitch, let’s look at what these stitches are used for.
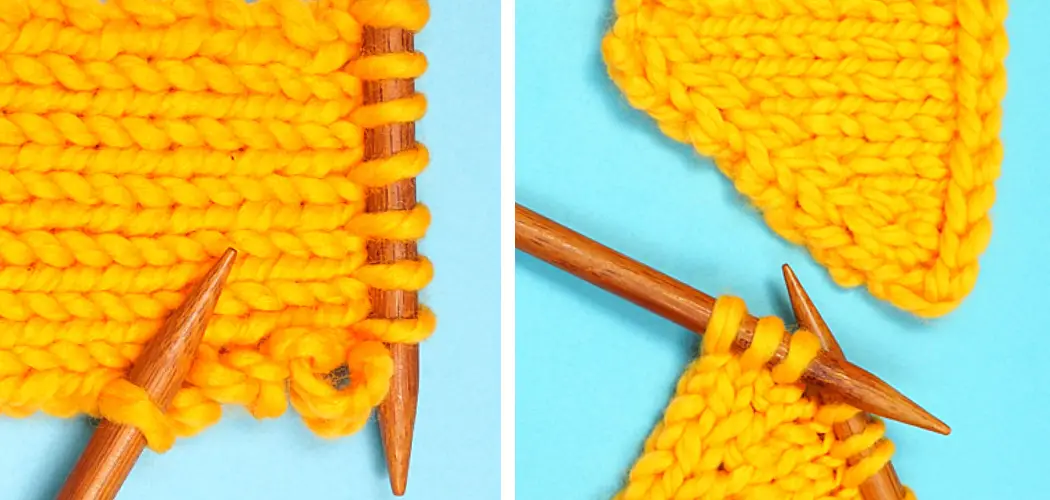
A Kfb stitch is an increase stitch that is used in knitted fabrics to create extra width. It involves knitting the same loop twice – once through the back of the loop and then again through the front of the loop. This creates two new loops, increasing your overall stitch count.
The Kfb is a great way to add width without creating extra rows or columns of stitches, making it one of the most useful increase stitches. It is also often used in patterned knits, as it can be used to create interesting patterns and textures with multiple colors.
What Will You Need?
Now that you understand the purpose of a Kfb stitch let’s go over what you need to fix your dropped one.
- A Crochet Hook
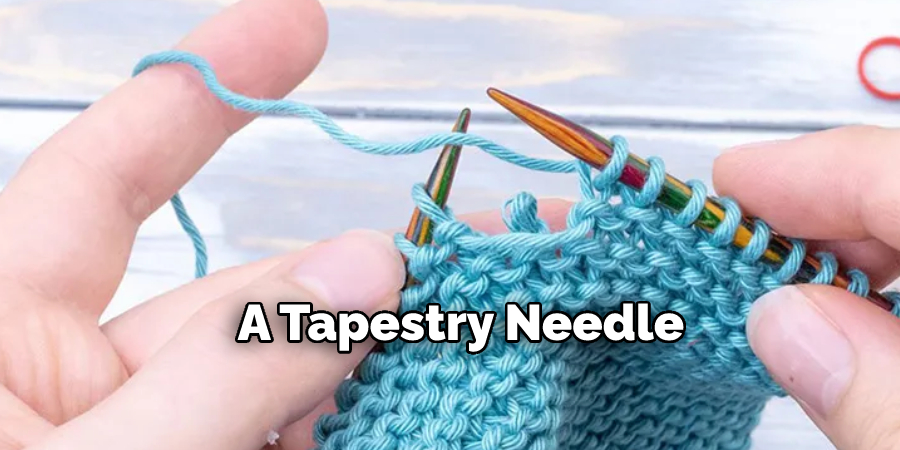
- A Tapestry Needle
- Scissors
- Yarn to Match Your Project
- A Good Light Source
Once you have gathered all your materials, you are ready to start!
10 Easy Steps on How to Fix a Dropped KFB Stitch
Step 1: Find the Dropped Stitch.
This might be easier said than done, but try to locate the stitch on your project that is no longer connected. It should be the same size and shape as all the other stitches, but it will likely be a bit looser or have some extra yarn hanging from it. Be careful, as the dropped stitch could be anywhere!
Step 2: Thread Your Tapestry Needle.
Take your tapestry needle and thread it with a length of yarn that is the same color as your project. Make sure to tie a knot at the end so that the yarn won’t slip off during the repair process. Don’t worry if the knot is visible since you can hide it later.
Step 3: Insert Your Crochet Hook.
Using your crochet hook, insert it through the dropped stitch from the wrong side of your work. Make sure to get as close as possible to the original base of the stitch but not too close that you snag any other stitches. Ensure that your crochet hook is facing toward the right side of the project.
Step 4: Insert Your Tapestry Needle.
Place your threaded tapestry needle in the same hole as your crochet hook and pull it through to the wrong side of your work. Make sure to keep an eye on how long the yarn tail is so that you don’t make it too short or too long. It will need to be the same length as all the other stitches on your project.
Step 5: Create a Loop With Your Yarn.
Using your tapestry needle, create a loop by wrapping the yarn around both sides of the dropped stitch, then threading it back through itself and pulling it tight. The loop should be small enough to fit over the end of your crochet hook without being too loose. If it’s too loose, you can use your tapestry needle to tighten it up.
Step 6: Insert Your Crochet Hook Through the Loop.
Using your crochet hook, insert it through the loop you created and pull it through to the wrong side of your project. Make sure your hook faces toward the right side of your work. Don’t worry if the loop is a bit tight initially, as you can adjust it later.

Step 7: Pull the Yarn Tail Through The Stitch.
Using your tapestry needle, thread it through the dropped stitch from back to front and then pull tight on both ends until there are no more gaps in between them. You should now have a new loop formed with two sides – one from when you threaded it in step five and one from when you pulled it in step seven. Remember to keep the tension consistent throughout this process.
Step 8: Thread Your Tapestry Needle Through the Back.
Thread your tapestry needle through the back of both loops, creating a V-shape. Make sure to pull tight on both ends so that there are no gaps between them. This will help secure the stitch and keep it from unraveling.
Step 9: Tie a Knot To Secure The Stitch.
Tie a knot at the end of the yarn tail to secure the two loops together, and then hide any excess yarn by threading it into one of the stitches next to it. If necessary, use your scissors to trim off any excess yarn.
Step 10: Enjoy Your Project!
Voila! You have now successfully fixed your dropped Kfb stitch. Enjoy your project, knowing that it’s as good as new. Have fun and happy crocheting!
The great news is that fixing a dropped kfb stitch doesn’t have to be intimidating or difficult. With these ten easy steps, you can quickly and easily get back to work on your project without fearing the dropped stitch returning again. So go ahead and try this technique – you won’t regret it! Happy crafting!
You Can Check It Out to Make a Crochet Pattern Smaller
5 Additional Tips and Tricks
1. Use a crochet hook of the same size as your knitting needles to help you fix a dropped kfb stitch. Carefully insert the hook into the loop of the dropped stitch, then grab the next stitch on your needle and pull it through the dropped stitch loop.
2. If you find fixing your mistake too difficult, you can always unravel back to where the drop happened and start over again. This is a much better option than continuing with an incorrect pattern.
3. Experiment with tension and how tight or lose you knit – this will help ensure that stitches don’t slip off accidentally when working of stitches.
4. When fixing any mistake in knitting, pay close attention to how the stitch looks and how it feels. If a stitch feels uneven or wrong, you must fix it before continuing.
5. Use stitch markers to help keep track of where a kfb stitch should be placed in your pattern – this will make fixing any mistakes much easier and quicker. Plus, it’s always good practice to use them when working with complicated patterns anyway!

Following these tips and tricks can help you easily fix dropped of stitches so that you can continue working on your project. With the right tools and some practice, anyone can become an expert knitter!
5 Things You Should Avoid
- Don’t panic! Dropping a kfb stitch is a common mistake and easy to fix.
- Don’t try to rearrange the stitches on your needle or attempt to jam the dropped stitch back in place—you might end up creating an even bigger problem.
- Avoid pulling too tightly on the yarn as you unravel—it can cause tension issues and make it difficult to retrieve the dropped stitch properly.
- Trying to skip ahead is also not recommended; taking your time while unraveling helps ensure that all of your stitches remain intact and are returned safely to the needle.
- Finally, don’t be afraid to ask someone for help if you find yourself stuck. Dropping a stitch is never the end of the world, and plenty of resources are available to help you get back on track!

Taking the time to follow the above steps will help ensure that your project comes out looking just how you want it. With a little patience and practice, you’ll be able to master fixing a dropped kfb stitch in no time!
Conclusion
Whether you’re new to knitting or an experienced knitter, understanding how to fix a dropped kfb stitch is invaluable knowledge. The next time you encounter this issue, take a deep breath, remind yourself that mistakes are part of the learning process, and try out our steps for fixing a dropped KFB stitch. You can also use the laddering technique if you need it.
Above all, remember that practice makes perfect, and even if the project doesn’t turn out exactly as you envisioned, it will be worth the effort! So get your needles and yarn ready, and don’t forget that no matter your level in knitting, we’re all here to learn from each other.
Have fun with your project, and feel free to experiment with different drop stitch combinations – who knows what masterpieces you’ll come up with!
You Can Check It Out to Knit Linen Stitch