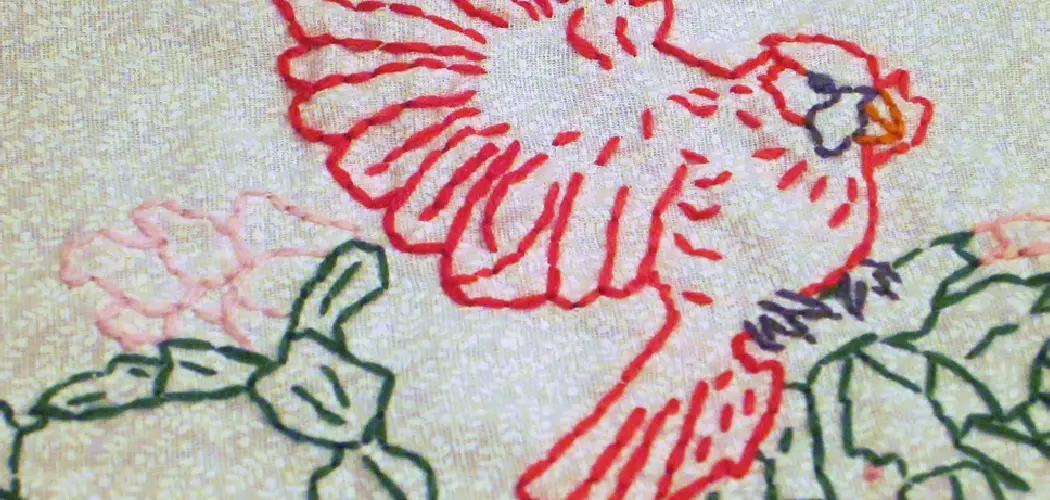
Are you ready to complete the back of your embroidery project? Finishing the back is an important step in creating a professional-looking project, and it doesn’t have to be difficult.
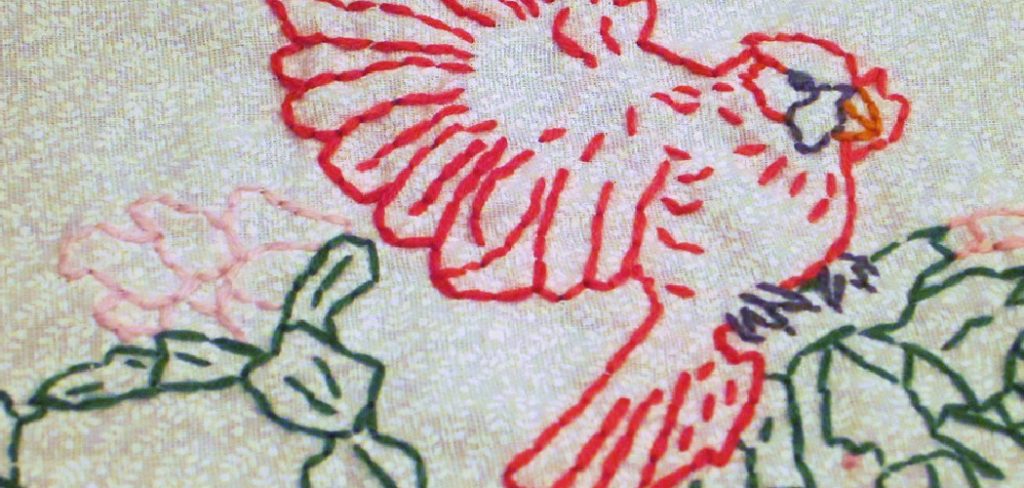
Embroidery is a beautiful way to add unique and personalized touches to clothing, accessories, linens, and any other item you may want to cover or decorate. If you’ve ever tried embroidery, you know that it can be an intricate and complex art form, requiring attention to detail for the finished piece of work to look complete. One part of completing any embroidered design is finishing off the back, so that all the stitches stay secure in place without fraying or unraveling over time.
In this blog post, we’ll discuss how to finish the back of embroidery on clothes using some simple techniques with supplies that are probably already in your home!
What Will You Need?
To finish the back of your embroidery, you’ll need the following:
- Thread in a matching color to your embroidery design (or a contrasting color for contrast if desired)
- A needle
- Fabric scissors
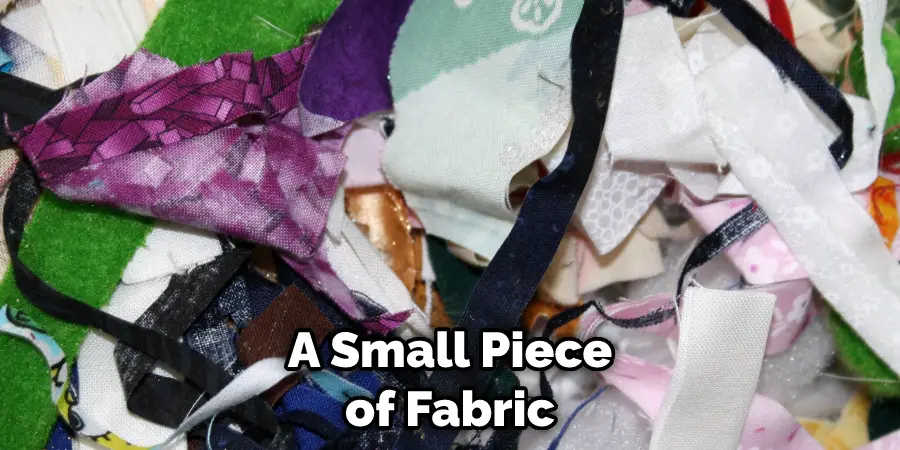
- A small piece of fabric (such as muslin or broadcloth) that is slightly larger than your embroidery design
- An iron and ironing board (optional)
- Embroidery hoop (if needed for large designs)
Once you have all the supplies on hand, you can begin finishing the back of your embroidery!
How to Finish the Back of Embroidery
1. Trim the Excess Thread:
Begin by trimming any excess thread that may be sticking out from the back of your embroidery design. It is important to trim the thread close to the fabric so that it does not show on the back. Otherwise, it will be visible from the front and detract from the overall look of your project.
2. Secure Backing Fabric:
Next, you’ll need to add a piece of backing fabric to the back of your embroidery design. This will help stabilize the stitches and ensure they remain secure over time. Lay the backing fabric on top of your embroidered fabric, making sure that it is slightly larger than the embroidered area, so it extends beyond all sides of the design.
3. Iron:
If desired, you can use an iron to press down and further secure the backing fabric. Make sure not to put too much heat or pressure on the embroidery itself; just lightly press down around it. Because the backing fabric should be slightly larger than your embroidery design, you don’t have to worry about pressing it down too much.
4. Use Thread as Glue:
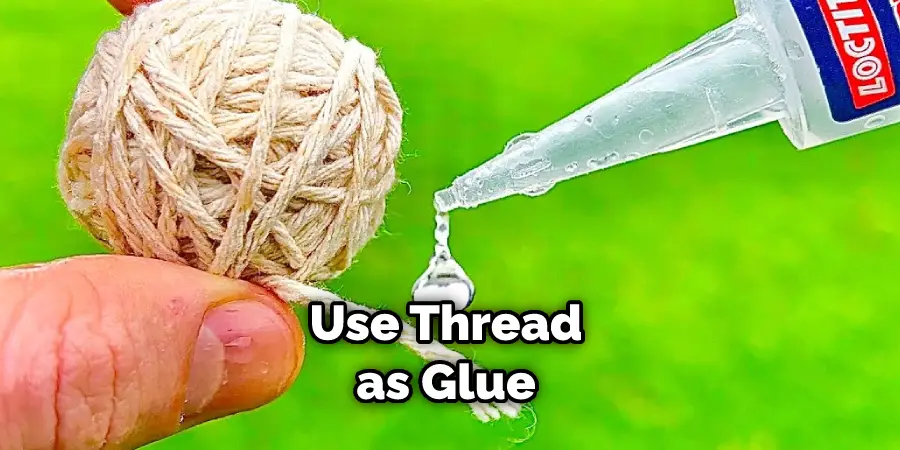
Once you have secured your backing fabric in place, you can use thread to secure the two pieces further together. Begin by threading your needle with a piece of matching or contrasting thread, depending on how you want it to look. Start at one corner of the backing fabric and make small stitches around the edge in a circular motion until you reach the other side. When finished, tie off the ends and snip them close to the fabric, so they don’t show from the front.
5. Remove Embroidery Hoop:
If your embroidery design were completed using an embroidery hoop, now would be a good time to remove it from behind your project. This will help keep your stitches secure and prevent additional fraying or unraveling. Moreover, it will help you achieve a professional-looking finish!
6. Set with Spray Starch:
If you’d like to set your embroidery in place for extra security, you can apply a light mist of spray starch to the back. This will help keep the stitches secure and provide an added layer of protection against fraying or unraveling. Don’t forget to iron the starch in place once it has dried!
7. Use a Fabric Glue:
Another option for adding extra security to your embroidery is to use fabric glue. This can be applied around the edges of the design and will help keep the stitches in place without making them too stiff or crunchy. If you choose to use fabric glue, make sure it is compatible with the fabric you are using.
8. Try It Out:
Now that your embroidery is finished and secure, it’s time to try it out! Whether you are giving the design as a gift or planning to wear it yourself, show off how beautiful your work looks from the front and back. Remember how to finish the back of the embroidery correctly, and you will be able to make your projects look even better!
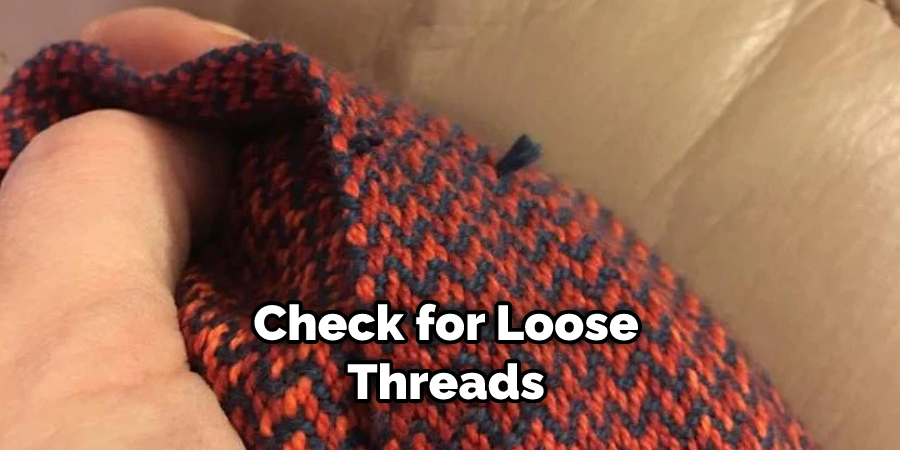
9. Check for Loose Threads:
At this point, it is important to look over the design and ensure that all the stitches are secure. If you find any loose threads, trim them close to the fabric and secure them with a few more stitches. This will help ensure that your project looks polished and professional!
10. Enjoy Your Handiwork:
Once everything is secured in place, it’s time to admire your handiwork! From how to finish the back of embroidery correctly to how you added detail and dimension to the front, there’s nothing quite like seeing how beautiful a piece can become when created with care and attention. So take some time to appreciate all the hard work you put into making this gorgeous design!
By following these steps, you’ll be able how to finish the back of embroidery on clothes correctly and create beautiful, lasting pieces. With just a few simple techniques and supplies, you can make your projects look truly professional each time! So grab some fabrics and get stitching!
5 Additional Tips and Tricks
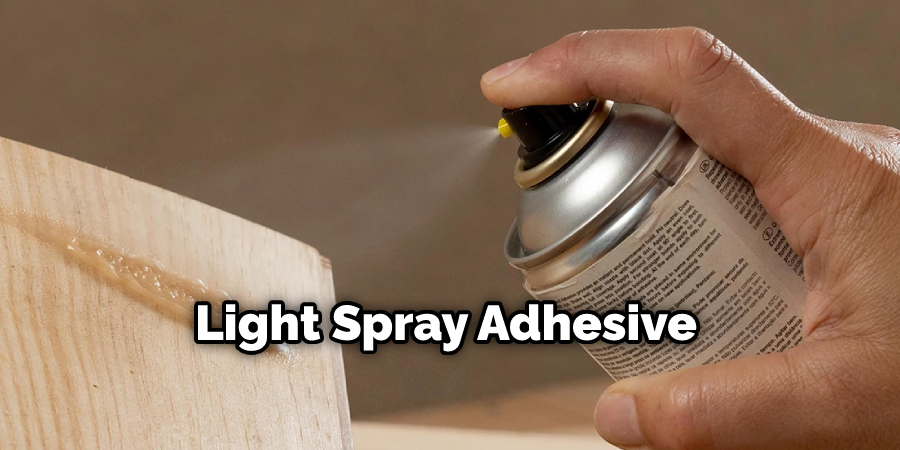
- Be sure to secure the backing of your embroidery when you’re done. You can do this by stitching a few small stitches at the end of your pattern or applying a light spray adhesive to hold it in place.
- If you’re looking for some extra protection, try using an interfacing material to back your finished embroidery. This will give it added stability and durability.
- When cutting out the fabric for the backing, be sure to leave enough room around the design to accommodate any stretch or shrinkage that might occur during laundering.
- Make sure there is no visible fray on the edges of your design before beginning to sew the backing on; this will ensure a neat, professional-looking finish.
- To finish off the edges nicely, you can use a zigzag stitch or an overcast stitch. This will ensure a neat and secure edge.
Following these tips will help you achieve a clean, finished back of your embroidery on clothes that will look as good as the front! With some practice and patience, you’ll be able to create beautiful embroidered garments that are sure to turn heads.
5 Things You Should Avoid
- Don’t use pins to secure the backing of the fabric, as they can leave behind permanent marks on the garment.
- Take care not to stretch or pull on the fabric while you’re stitching, as this can distort your design.
- Avoid using too much adhesive when securing the backing; this can make it difficult to remove if you ever need to change out or adjust the design.
- Don’t cut corners! Make sure all of your stitches are even and consistent for a professional-looking finish.
- Finally, don’t skimp on thread quality; using good quality embroidery thread will ensure that your designs are durable and long lasting.
By following these tips and avoiding common mistakes, you can be sure to achieve a clean and professional finish on the back of your embroidery. With some practice and patience, you’ll be able to make beautiful creations that will turn heads!
Do You Glue the Back of Embroidery?
No, you should not glue the back of your embroidery. Glue can be difficult to remove and may leave behind residue or stains on the fabric. Instead, use a few small stitches or light spray adhesive to secure your design in place. Additionally, using an interfacing material as a backing can provide extra stability and protection for your finished piece.
By following these tips, you can ensure that the back of your embroidery is just as neat and professional-looking as the front! With some practice and patience, you’ll be able to create stunning garments that are sure to be admired by all.
Conclusion
By following these steps, you’re sure to achieve a more polished look and increase the longevity of your embroidered clothing. Of course, all projects require trial and error as you learn about the best material for you and your project.
But, with a little practice and maybe a few mistakes along the way, you’ll soon become an expert in this fascinating handicraft!
Embellishing clothes with our own customized designs or initials can be an enjoyable journey that requires focus, patience, and attention to detail. Not only will this help keep the fabric of your garments safe from wear and tear, but it also adds personality and pizzazz to any wardrobe.
Hopefully, the article on how to finish the back of embroidery on clothes has given you some helpful pointers and ideas for making your own unique designs come alive. Have fun crafting!

