
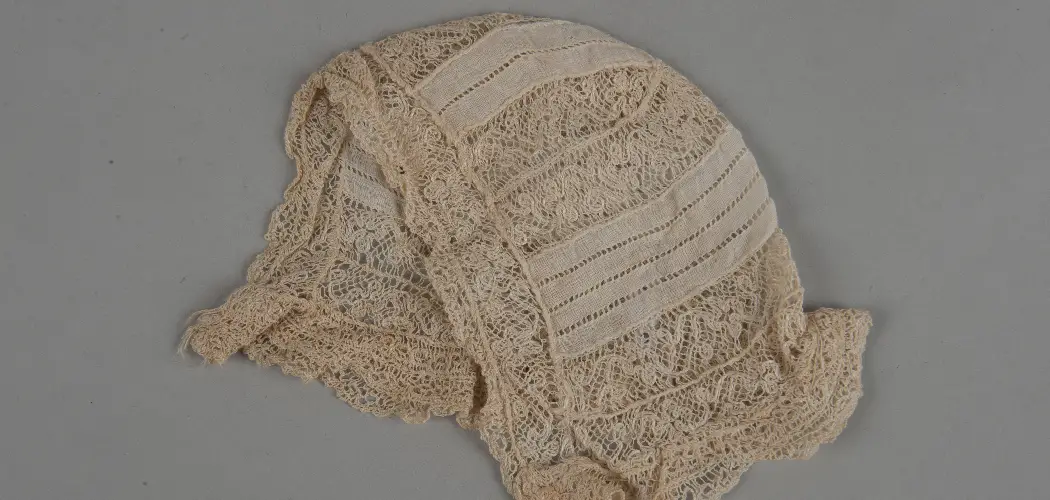
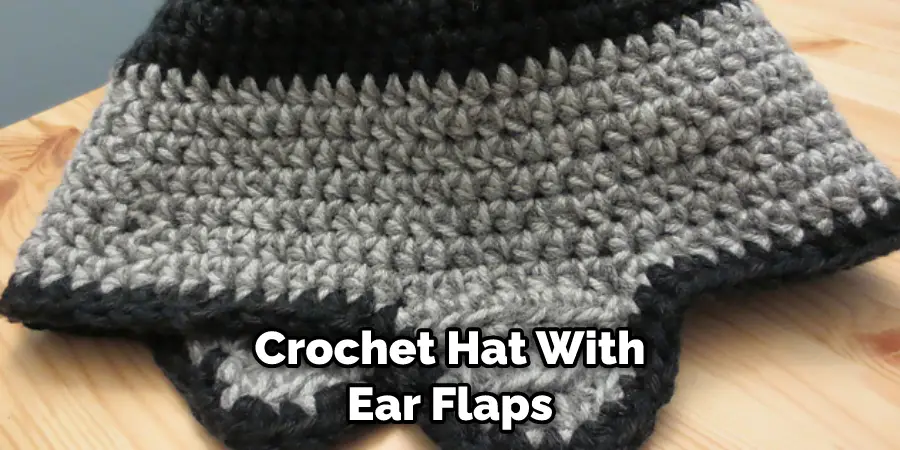
A hat with ear flaps is a great addition to any winter wardrobe. Not only will it keep your head warm in cold weather, but the added style of ear flaps can make a statement and add an extra layer of protection against wind and rain. Plus, making this type of hat yourself is a fun project that adds a personal touch to your wardrobe.
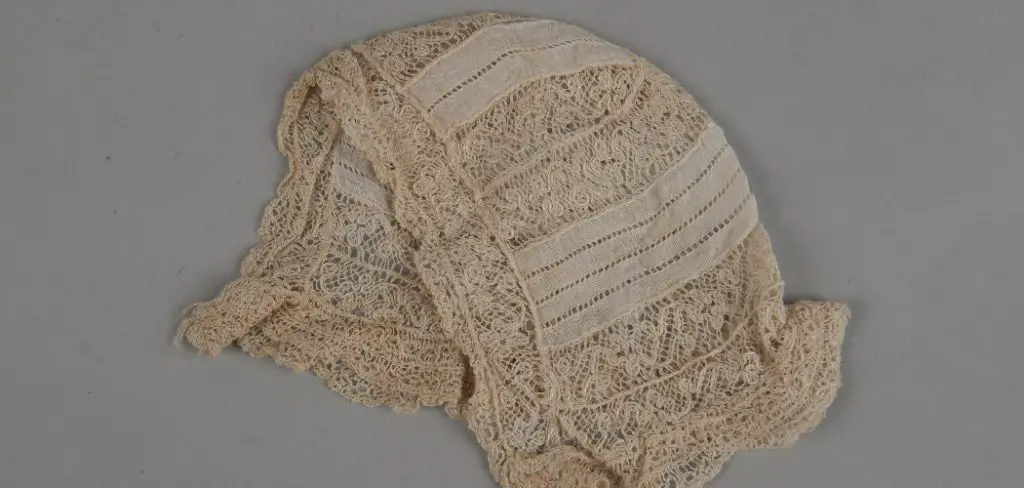
Learning to crochet a hat with ear flaps offers several advantages over traditional hats. The ears can be kept warm and protected from the elements while still being able to hear what is happening around them. Additionally, the extra coverage provided by the earflaps helps provide additional warmth for cold days. Furthermore, when crocheting a hat with ear flaps, you can customize the shape and size to fit almost any head. In this blog article, you can find step-by-step instructions on how to crochet a hat with ear flaps.
Are There Any Special Tools or Materials Required for This Project?
Yes, you will need the following items to crochet a hat with ear flaps successfully:
- Crochet hook – size and type of hook depend on the yarn you use.
- Yarn – choose a soft, comfortable yarn that won’t irritate your skin.
- Scissors for cutting off excess yarn.
- Tapestry needle for weaving in ends.
- Measuring tape or ruler for sizing your hat correctly.
- Stitch marker to mark the beginning of each round (optional).
- Safety pins for holding pieces together (optional).
- Pattern or crochet diagram.
With these items, you can begin crocheting your hat with ear flaps! Follow the pattern or crochet diagram carefully, and make sure to check the gauge before beginning.
Step-by-step Instructions for How to Crochet a Hat With Ear Flaps
Step 1: Inspect the Yarn
Before cropping your hat with ear flaps, look at the yarn you’re planning to use. Make sure it is appropriate for the pattern and that the hook’s size matches what is recommended. Start by making a foundation chain in multiples of two. How many chains you’ll need will depend on the size of the hat you are making, so be sure to check your pattern for specifics.

Step 2: Make the First Round of Stitches
Once you have your foundation chain, it’s time to start crocheting. Using a single crochet stitch, join the first and last stitches together with a slip stitch. Chain one and then single crochet into each loop in your chain until you reach the end. Join the round with a slip stitch.
Step 3: Make the Second Round of Stitches
To create the second round, you’ll need to chain two. Single crochet into each stitch in your first round and join with a slip stitch at the end. Continue increasing stitches as needed until you reach your desired size or length for your hat.
Step 4: Make the Third Round of Stitches
For this round, it’s time to begin creating the ear flaps. Start with a single crochet stitch into the first stitch in your previous round. Then, chain two and skip one stitch before crocheting another single crochet stitch into the next one. Continue crocheting in this way around the entire hat until you reach the end. Join with a slip stitch.
Step 5: Work on the Ear Flaps
Now that you’ve created the foundation for your ear flaps, it’s time to work on each individual flap. Start by cropping into each stitch across your chain two and the skipped stitch until you reach the end of the first flap. Chain one and turn your work over.
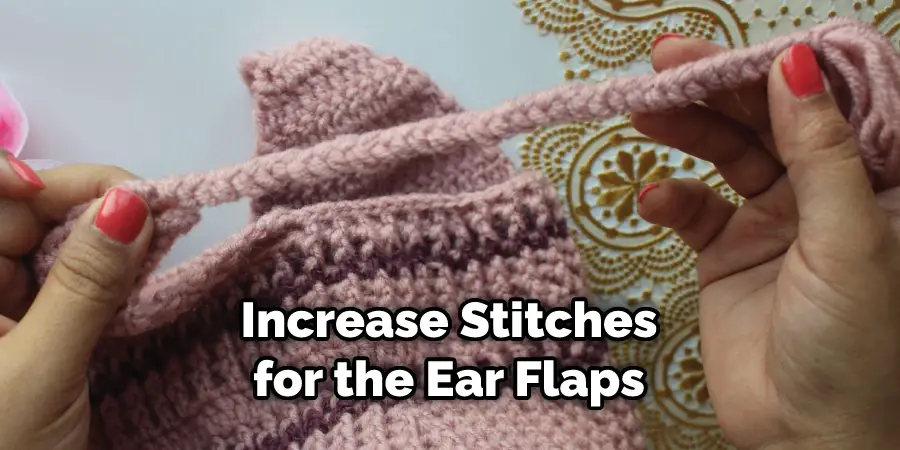
Step 6: Increase Stitches for the Ear Flaps
Continue working on each ear flap by increasing stitches as needed. To do this, single crochet into each stitch across the row and then chain two before going into the next stitch. Continue increasing stitches this way until you reach your desired size for each ear flap.
Step 7: Finish The Ear Flaps
When your ear flaps are complete, fasten off and weave in your ends. Then, start crocheting around the hat again to create the brim of the hat. Single crochet into each stitch around the entire hat and join with a slip stitch at the end. To create the brim, start by chain two and single crocheting into each stitch around. Join with a slip stitch when you reach the end of round. Then, repeat this step one more time for a total of two rounds.
Step 8: Join the Edges
Once you have finished crocheting on the brim, it’s time to join the edges together. To do this, slip-stitch your last round with the first round. Then, fasten off and weave in all your ends. Now that you have completed your hat, it’s time to add any decorations. This could include embroidery, lace trim, or pom-poms. It’s up to you. Once your decorations are finished, your hat with ear flaps is complete and ready to wear.
Safety Tips for How to Crochet a Hat With Ear Flaps
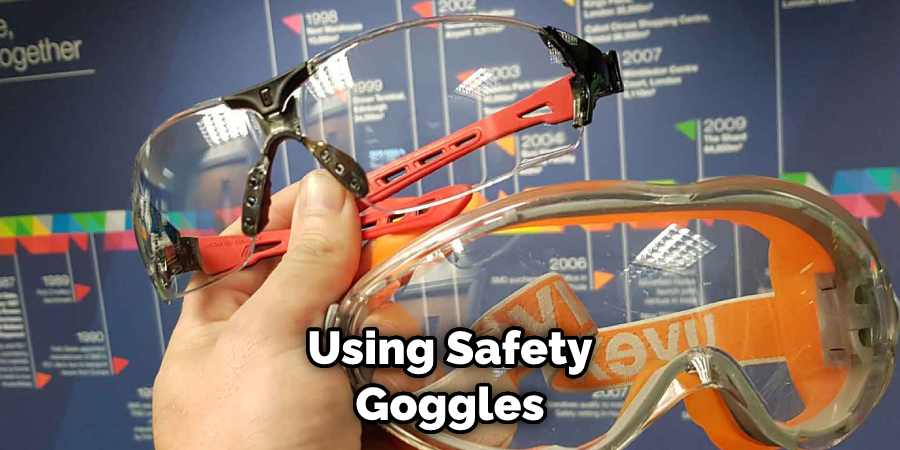
- Safety goggles are recommended when crocheting a hat with ear flaps, as the hooks you use can cause eye injury if they come into contact with your eyes.
- To avoid potential hazards, it’s best to use proper tools and materials for your project; make sure that all crochet hooks have blunt ends and sturdy, non-splintering materials.
- Work in a well-ventilated area to prevent breathing any fibers or dust that may be created by the yarn you’re using.
- When crocheting, be aware of your surroundings; avoid working near water, heat sources, or open flames.
- If you’re using more than one strand of yarn for your project, make sure to secure them properly when weaving in the ends so that they won’t unravel or cause a hazard.
- Always use caution and pay attention when crocheting needles, as they can be sharp and injure you if not handled properly.
- If you’re using bulky yarns, it’s important to crochet slowly and securely to prevent any accidents or injuries.
- Before beginning your hat project, double-check all measurements for accuracy to ensure that the hat fits properly when finished.
Following these safety tips ensures that crocheting a hat with ear flaps will be a safe and enjoyable experience.
How Long Will It Take to Crochet a Hat With Ear Flaps?
The amount of time it takes to crochet a hat with ear flaps will vary depending on the complexity of the pattern and your skill level. Generally, an experienced crocheter can complete a basic ear flap hat in one or two hours. However, more complex designs will take longer, up to five hours, for a more detailed design. Additionally, the size of the hat will also affect the time it takes to crochet. A smaller hat will take less time, while a larger one may take longer.
To estimate how long your project may take, consider how familiar you are with the pattern and technique and how quickly you crochet. It’s always a good idea to plan ahead and allow more time than you think it will take, just in case. That way, you won’t feel rushed or stressed as you work on your hat.
How Should You Care for Your Crocheted Hat With Ear Flaps Once It’s Finished?
Once you have finished your crocheted hat with ear flaps, it’s important to take proper care of it. To preserve the look and feel of your hat for years to come, be sure to take the following steps when caring for it:
- Spot clean any areas that are dirty using a mild detergent and a damp cloth.
- Let the hat air dry completely before wearing or storing it.
- Keep your hat away from direct heat, which can cause the fibers to become brittle over time.
- Store your hat in an area with minimal humidity and light to prevent fading, discoloration, or damage to any trimming.
By taking these simple steps, your crocheted hat with ear flaps will remain in perfect condition for years to come.
How Can You Troubleshoot Any Problems That Come Up During the Crocheting Process?
If you encounter problems while crocheting your hat with ear flaps, you can take several troubleshooting steps to alleviate the issue.
- First, make sure that all of your stitches are tight and even. Pull on each stitch gently to ensure they’re secure and uniform in size.
- If you’re having trouble with your tension, try using a larger hook or reduce the number of stitches in each row. This will help ensure that all your stitches are evenly distributed and create an even form for the hat.
- Double-check that your yarn is not twisted before stitching each row to ensure a smooth and even result.
- Take your time when working on the ear flaps to ensure that they’re even and symmetrical. If you find one side is longer than the other, pull out the stitches until both sides match up.
- If you have trouble understanding any of the instructions or techniques involved in the project, don’t hesitate to look up how-to videos online or ask a friend for help. There are plenty of helpful resources available to you.
Following these steps should help you make sure that your finished hat with ear flaps will be perfect.
How Should You Store Your Finished Hat When It’s Not Worn?
Once you’ve finished crocheting your hat with ear flaps, it’s important to store it correctly. Ideally, you should put it into a fabric bag or box that can protect it from dust and dirt. Ensure the bag is not airtight, as this could cause condensation to form inside and ruin the hat. If you’re keeping it in a closet or drawer, ensure the area is not too damp or humid, as this can also damage the hat.
Additionally, try to avoid putting heavy objects on top of the bag or box that could squash and stretch your hat out of shape. When stored correctly, your warm and cozy crocheted hat with ear flaps should stay in good condition for years to come.
In addition, it’s important to take care of the hat while wearing it too. Always ensure that you’re taking care of your hat properly and avoiding any activities that could cause it damage or distress, such as getting caught on sharp objects or being exposed to heavy rain or snow. With the right care, your crocheted hat with ear flaps should keep you warm and stylish for a long time.
Conclusion
In conclusion, crocheting a hat with ear flaps is an enjoyable and creative way to create something useful. Following the steps in this guide, you should have all the information necessary to crochet your own hat with ear flaps. Utilizing different colors and patterns will add even more creativity and flair to your project.
What can be accomplished with a few simple crocheting techniques and some yarn is amazing. With a little patience and practice, you can create something that is both fun to make and useful for the cold weather months. I hope this article has been beneficial for learning how to crochet a hat with ear flaps. Make Sure the precautionary measures are followed chronologically.