

Making a tassel out of embroidery floss is an activity that is simple yet rewarding. It’s the perfect craft for all ages, whether you’re looking to introduce a child to crafting or do something fun and easy for yourself!
From creating colorful garlands for your home to creating a special bookmark as a unique gift, you can put this tutorial to good use. So grab some supplies and follow the steps outlined in this blog post on how to make a small tassel out of embroidery floss, and you’ll be enjoying your tassel creations in no time!
Don’t forget to take pictures along the way—you may just discover something about yourself: that you love turning everyday items into personal works of art. Crafting with embedded memories can be just as rewarding as making something beautiful. Who knew such joy could arise from playing around with thread and string?
What Will You Need?
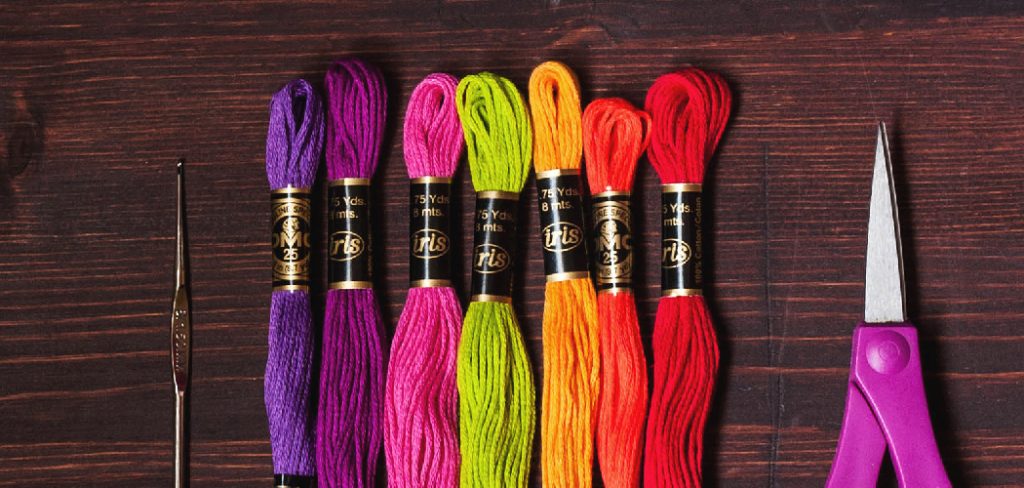
In order to make a small tassel out of embroidery floss, you will need the following:
- Embroidery floss in the color(s) of your choice
- Scissors
- A ruler or measuring tape
- An optional item: a piece of cardboard or thick paper (about the size of a business card)
- A loop of thread to attach the tassel to something else
Once you have all your supplies gathered, you’re ready to begin!
10 Easy Steps on How to Make a Small Tassel Out of Embroidery Floss
Step 1: Measure and Cut Threads
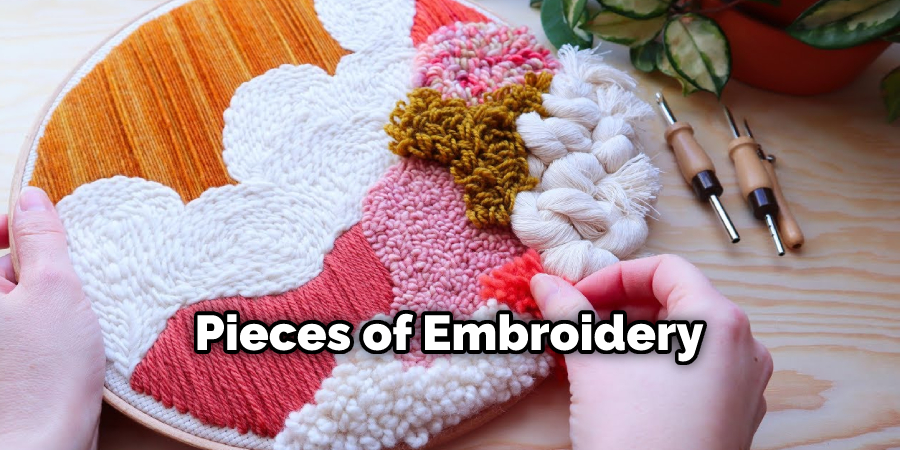
Measure out how long you want your tassel to be, keeping in mind that it will shrink slightly when pulled tight. You may find the use of a ruler or measuring tape helpful here. Then cut four pieces of embroidery floss at the length you determined. For extra strength, double up each piece by folding it over itself; this will ensure that your tassel won’t unravel easily once it is finished!
Step 2: Create a Loop for Hanging
Take one of the four strands and tie an overhand knot near one end, creating a loop. This loop will be how the tassel is attached to whatever you wish to hang it from or attach it to. Don’t pull it tight yet, as you will still need to thread through the other strands.
Step 3: Wrap Threads Around the Card
Take the remaining three threads and wrap them around your piece of cardboard or thick paper (the size of a business card) several times until they’re securely held in place. Make sure that all the strands are equally wrapped around for an even-looking tassel. If you don’t have either of these items, you can simply wrap the threads around your thumb or fingers several times until you get a nice tight bundle.
Step 4: Tie Strands into Place
Carefully remove your tassel from the cardboard, holding it at each end with one hand as you do so. With your other hand, take the end of all three threads (not including the loop) and tie them together into a double knot. Make sure to pull it tight so that nothing is loose.
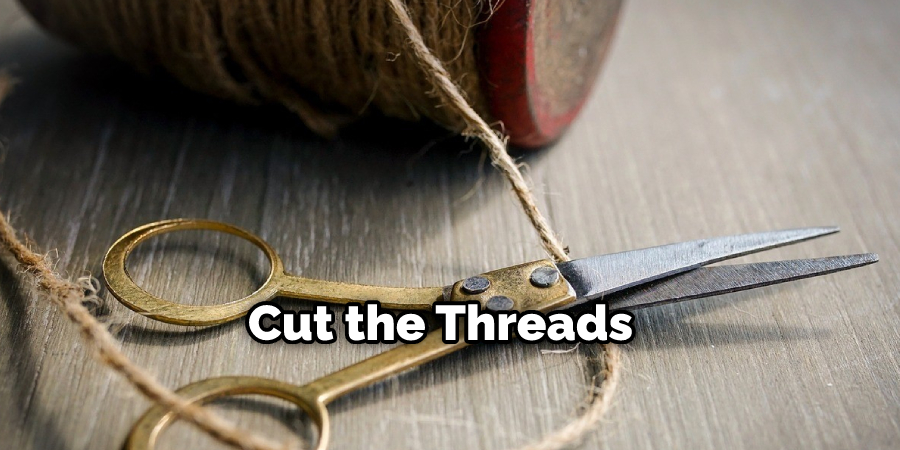
Step 5: Cut the Threads
Now take your scissors and carefully cut all the threads at the opposite end of your tassel. Make sure they’re all even so that you get an evenly shaped tassel. It will look like a little brush when finished!
Step 6: Fluff and Shape Tassel
Using your fingertips, gently fluff up your tassel by separating each strand from one another. This will create a more uniform look. You can also use a comb or brush if you have one handy, but be careful not to overdo it, as this may cause some of the strands to come out of place!
Step 7: Check for Uneven Threads
Once your tassel is fluffed up nicely, check for any stray threads or uneven strands. Now is the time to trim them down if necessary. Be careful not to trim too much as it may ruin the shape of your tassel.
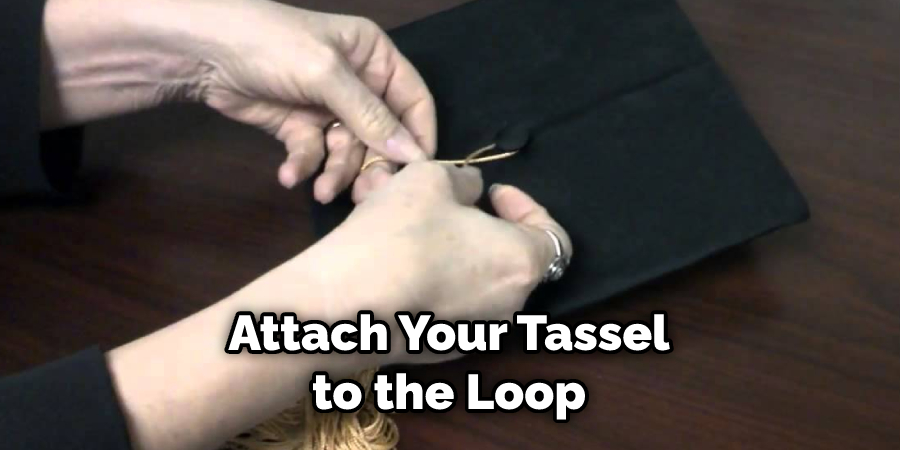
Step 8: Attach Tassel to Loop
Now you can attach your tassel to the loop that you made in Step 2. To do this, take the loop and slide it through the middle of your tassel, then tie an overhand knot at the end so it’s securely held. If you want a larger or smaller loop, just undo the knot and adjust how much thread is needed before retying!
Step 9: Trim Tassel
Finally, trim any excess threads from around your tassel as desired for a neat finish. You can cut them all equally short or leave some slightly longer for extra texture. The choice is yours!
Step 10: Show Off Your Creation
Congratulations! You have successfully made a small tassel out of embroidery floss. Now you can attach it to any project or decor to add a special touch. Don’t be afraid to experiment with different colors and sizes for more variety. Have fun and enjoy!
There you have it – how to make a small tassel out of embroidery floss in 10 easy steps! With this tutorial, you can now confidently create beautiful, unique tassels that will adorn any project or craft item you choose. Enjoy your new DIY skills, and happy crafting!
5 Additional Tips and Tricks
- Choose how long your tassel will be. Cut multiple pieces of embroidery floss to the desired length, grouping them in six sets.
- Gather the strands together at one end and secure them by wrapping a separate piece of thread around that end several times and tying it off in a knot.
- Wrap another length of thread tightly around the middle of the bundle, right where it begins to fan out into a tassel shape. This helps keep the tassel in place while you continue working on it.
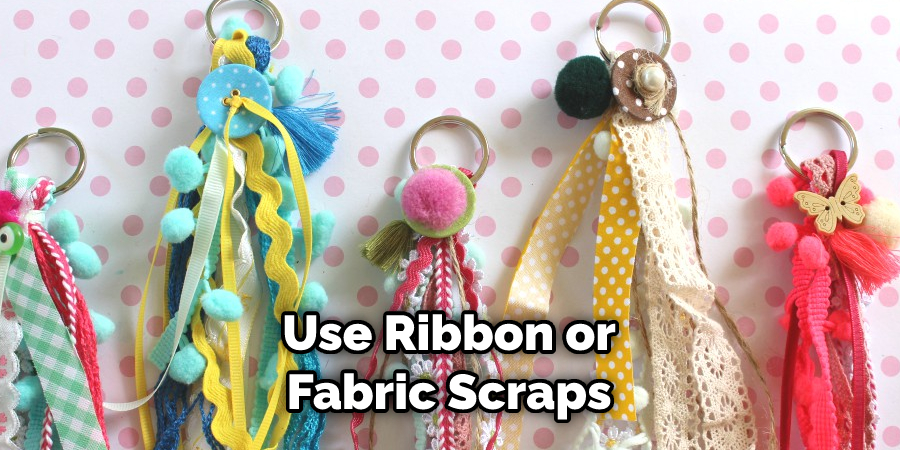
- If you want to add a bit of color and texture, you can use ribbon or fabric scraps to attach pieces around the middle of the tassel.
- Finally, cut a piece of thread about 10 inches long and leave it hanging from the top center of your tassel. This will be used to hang your finished product. Once you’re done, set aside and admire your work!
Congratulations – you have just created a beautiful small tassel out of embroidery floss. Now, show off your newfound crafting skills to friends and family! Have fun with it!
5 Things You Should Avoid
- Avoid using too much thread when securing the strands at one end. This can make the tassel bulky and difficult to work with.
- Avoid using too many small pieces of embroidery floss in each bundle as it will make your tassel look cluttered and unbalanced.
- Avoid pulling the thread too tightly when wrapping around the middle of the bundle, as this could cause the threads to break or unravel.
- Avoid using large pieces of ribbon or fabric, as they might be too heavy for a small tassel and, therefore, not hang properly from its string.
- Finally, avoid making your hanging string too short – you want it long enough to hang freely without being squished or compressed. Now you’re ready to keep creating beautiful tassels!
With these tips and tricks, you can make a perfect small tassel out of embroidery floss. Have fun creating beautiful works of art! Happy Crafting!
How Do You Make a Chinese Tassel Knot?
Chinese tassel knots are a great way to add texture, color, and style to a project. It is quick and easy to make and adds an elegant touch to any piece of artwork.
To make one, you’ll need some embroidery floss or yarn in the color of your choice. Start by cutting four strands of thread or yarn that are the same length – each strand should be at least 10 inches long. Then, fold them in half so that they’re all even in length. Take the folded ends of two strands and cross them over each other twice before tying them off with an overhand knot at the center point where they meet. Now do the same with the remaining two strands.
Next, take the two separate strands and fold them in half. Take the middle of one strand and wrap it around the other, looping it through twice. Pull tight to secure the knot. Then do the same with the second strand, so they’re wrapped around each other at least twice.
Finally, tie off with an overhand knot at each endpoint and trim off any excess thread or yarn. You have now created a beautiful Chinese tassel knot! These knots are perfect for adding texture and decorative detail to your next project – have fun crafting!
Congratulations on creating a beautiful Chinese tassel knot! Now you’re ready to add some elegant details to your next craft project.
Conclusion
All in all, creating a small tassel out of embroidery floss is a fun and easy craft project. It’s perfect for beginner makers who want to learn the basics. This little art piece is also very customizable, allowing you to make it Look however you’d like with different colors, textures, and shapes.
You can use this skill when making wall hangings, keychains, or even macrame pieces. With a few simple steps and just a few supplies, anyone can create an adorable piece of art that will bring a bit of cheer wherever it ends up!
Hopefully, the article on how to make a small tassel out of embroidery floss has been helpful in showing how to get started on this fun craft. Get creative and enjoy making your own unique pieces of art today!