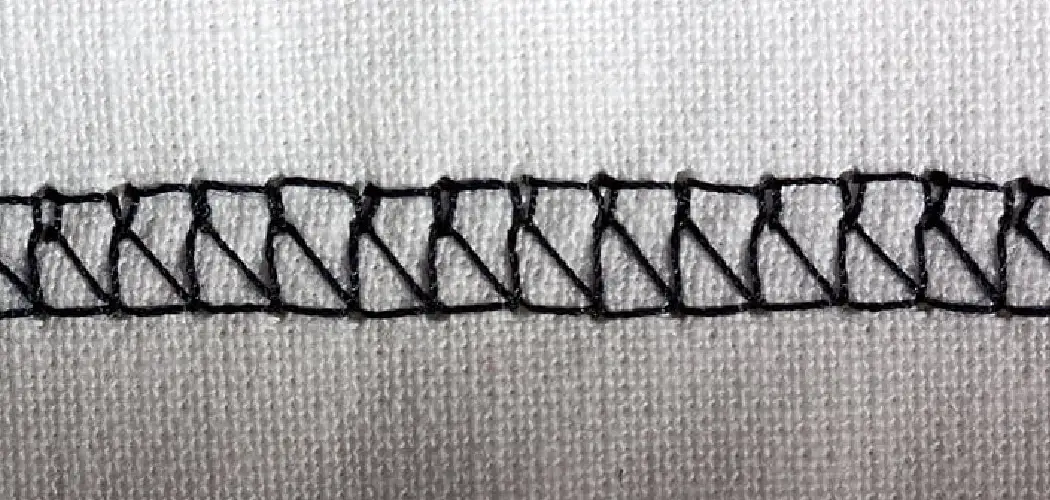
Are you looking for a way to make your clothes more unique? Cross stitching is an excellent option to give your clothing a personal touch. Not only can you add patterns, quotes, and designs, but you can also decorate existing items or even create something completely new! Here’s how to cross stitch onto clothes.
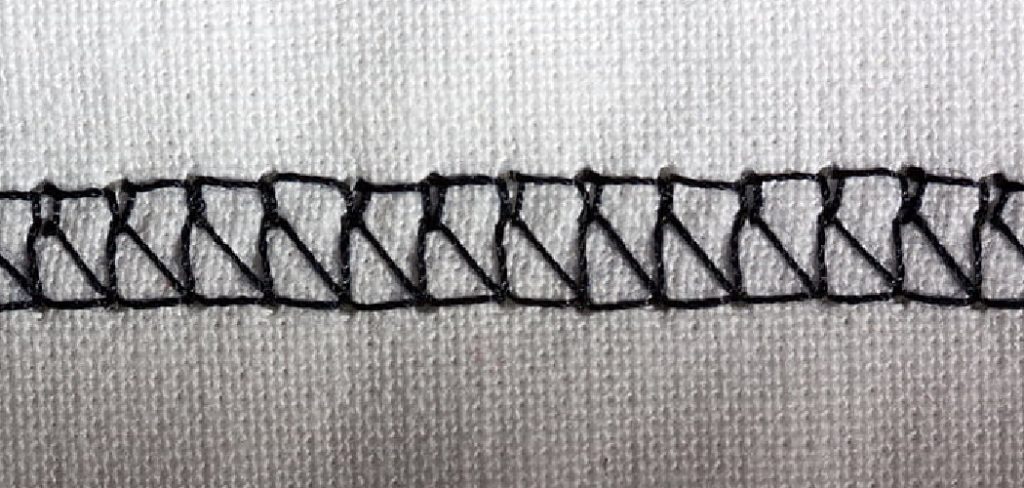
Can You Cross Stitch onto Clothes?
Many people enjoy the intricate and delicate art of cross-stitching but often wonder if it’s possible to stitch onto clothes. The answer is yes! There are a few things to keep in mind when stitching onto fabric, but with a little preparation, you can turn any article of clothing into a one-of-a-kind masterpiece.
The first step is to choose the right fabric. Not all fabrics are created equal; some will be more difficult to stitch on than others. A tightly woven fabric like cotton or linen is ideal, but you can also stitch on denim or wool. It’s important to test a small area of the fabric first to see if the needle passes through easily.
Once you’ve chosen the right fabric, the next step is to transfer your pattern onto the fabric. This can be done with a transfer pen or by tracing the pattern onto carbon paper and then placing it underneath the fabric. Once the pattern is in place, you’re ready to start stitching!
Cross-stitching on clothes is a great way to add a personal touch to your wardrobe. With a little bit of preparation, you can create unique and stylish garments that will be sure to turn heads.
Why Should You Cross Stitch onto Clothes?
Cross-stitch embroidery is a unique way to make clothes and accessories stand out from the crowd. Cross-stitching allows you to express yourself in terms of color, pattern, and design and makes your projects easy to repair or modify. In addition, Cross-stitch is relatively easy to learn, so anyone can add small details to customize clothing items – from jeans to t-shirts – in no time.
Additionally, since the stitches are permanent, the added designs on clothing will last for years, even if they take a great amount of wear and tear. For these reasons, cross-stitching is an ideal way to personalize your wardrobe while still having practical and long-lasting clothes.
6 Steps to Follow on How to Cross Stitch onto Clothes
Step 1: Getting Started
Cross-stitching on clothing is all about having the right supplies. You’ll need a needle, thread, fabric stabilizer, scissors, and the fabric you want to cross-stitch onto. Start by using a fabric stabilizer on the back of your fabric, so it doesn’t stretch out when you’re working.
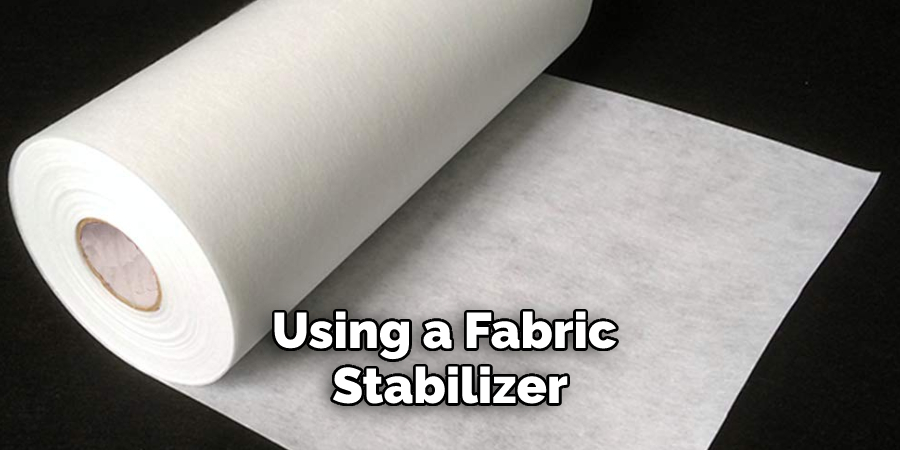
Then use tracing paper and a pencil to sketch out the design you want to cross-stitch. You should also consider what type of thread works best for your project; if you’re going for something delicate or intricate, try using embroidery floss or pearl cotton threads.
Step 2: Cross-Stitching Techniques
Once everything is prepared and ready to go, it’s time to start stitching! The basic technique involves using a small looped stitch that goes over two threads in one direction before crossing over two threads going in the opposite direction.
As you work through the pattern or design you drew out earlier, remember that each stitch should be tight but not too tight—you don’t want it to pucker up! You may also want to practice some other cross-stitching techniques, such as French knots or bullion knots, for additional texture and interest in your design.
Step 3: Making Adjustments
If you need to make any adjustments to your design, such as adding more stitches or adjusting colors, do so carefully. Take your time when working with the fabric and thread; mistakes can be difficult to undo! If you feel overwhelmed at any point, take a break and come back later with a fresh perspective.
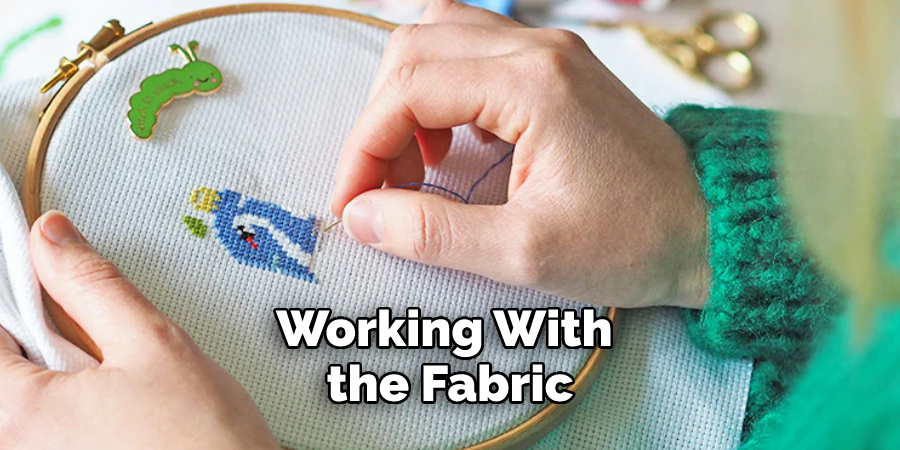
Step 4: Finishing Touches
Once the design is finished, you’ll want to secure the threads and fabric in place with a few stitches at the back of the garment. This will help keep everything in place and make sure your design looks professional when it’s complete. You can also use an iron-on adhesive to reinforce your stitches and give them extra security.
Step 5: Adding Details
If you’re feeling adventurous, you can always add some special details or touches to your design! For example, adding beads or sequins to certain design areas can take it up a notch. Just be careful not to overload your design; too many decorations can make the whole project look cluttered.
Step 6: Final Touches
Once your design is complete, you’ll want to ensure all the threads and fabric are firmly secured. You can use a small amount of fabric glue on the back to keep everything secure, then trim away any loose threads.
If you used an iron-on adhesive for extra security, it might need to be heat-set with an iron or steam machine before wearing. And voila—you now have a unique piece of clothing adorned with your very own cross-stitched design!
Now that you know how to cross stitch onto clothes, why not give it a try? With enough practice and patience, you’ll soon be creating beautiful cross-stitched garments that you can wear proudly! Good luck!
Things You Need to Know Before Crossing Stitch onto Clothes
If you are getting ready to venture into the world of transferring embroidery designs onto clothes, there are a few important things to remember. First, ensure that you are using the correct needle and fabric stabilizer for your project—an improperly sized needle could wreck your stitches and cause puckers in the design.
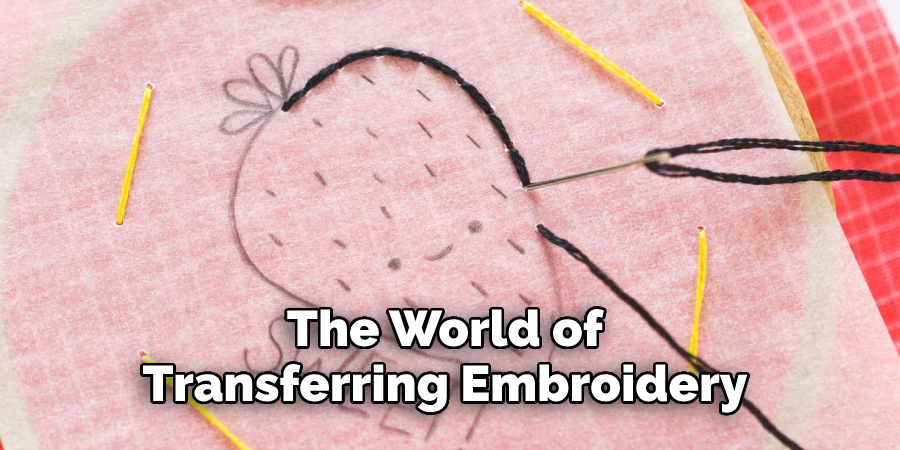
Also, be aware that some types of fabrics are more suitable for cross stitch than others; cotton is usually best for smooth-looking results. Finally, when beginning with a light-colored fabric, prewash it first so as to prevent any dye from bleeding through the stitches. With these simple tips in mind, you will surely achieve impeccable results every time!
Benefits of Crossing Stitch onto Clothes
Crossing stitch is a fantastic way to give clothes a unique and personalized touch. Not only does it add aesthetic value, but it also adds durability and longevity to fabric materials.
An added benefit of using crossing stitch on clothing is that it can be used on fabrics with higher threads per inch counts which are more difficult to sew through with other stitches. Also, the technique takes longer because of its complexity, resulting in higher-quality results due to the tighter weave when done right.
For those looking for something extra special in their wardrobe, this type of embroidery provides items with a distinct look that won’t be found anywhere else.
6 Common Mistakes People Make When Trying to Crossing Stitch onto Clothes
1. Not Using the Right Type of Fabric
If you want your cross stitch to look good and last long on clothes, you need to use the right type of fabric. The best fabrics to use are ones that are tightly woven and made of natural fibers such as cotton or linen.
Avoid using stretchy fabrics such as Lycra or polyester, as the stitches will not sit evenly on these materials.
2. Not Pre-Washing the Fabric
Before you start stitching, it is important to pre-wash the fabric you are going to use. This will remove any chemicals or sizing that may be present on the fabric, which could cause the colors of your stitches to run when the garment is washed. Ironing the fabric before you start stitching is also a good idea, as this will make it easier to work with.
3. Not Using a Hoop
A hoop is an essential tool for cross-stitching, as it helps to keep the fabric taut and prevents it from becoming distorted. Without a hoop, your stitches will not sit evenly on the fabric and may look messy. Make sure to choose a hoop that is slightly larger than the area you are stitching so that you can move it around easily.
4. Not Using Enough Strands of Thread
If you want your stitches to be nice and visible, you need to use enough strands of thread. Six strands are sufficient for most fabrics, but if you use a thicker fabric such as denim, you may need to use more. Experiment with different numbers of strands until you find one that gives you the desired results.
5. Not Securing Your Thread
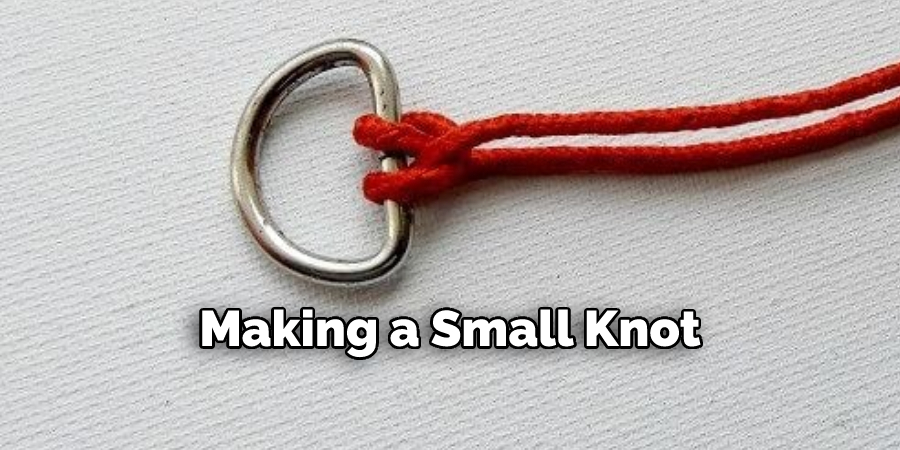
When you finish stitching for the day, it is important to secure your thread so that it does not come undone. The best way to do this is by making a small knot at the end of the thread and then snipping off the excess. Alternatively, you can thread the tail of the thread through some of the existing stitches before snipping it off.
6. Not Following Washing Instructions
Once your cross-stitch project is complete, it is important to wash it according to the instructions given on the fabric label. Most fabrics can be machine washed on a gentle cycle, but some require hand washing or dry cleaning. If in doubt, err on the side of caution and hand washes your garment.
You Can Check It Out to Crochet a Potato
Conclusion
With these tips in mind, you can start adding beautiful cross-stitched designs to your clothes! Whether it be garments from thrift stores or handmade items from scratch – adding some unique cross-stitched details can take any item from ordinary to extraordinary.
So get creative and have fun with it – happy crafting! Thanks for reading our post about how to cross stitch onto clothes.
You Can Check It Out to Embroider on Denim

