

Are you an avid embroiderer looking for ways to organize your floss without using bobbins? Here are a few simple and effective methods for how to organize embroidery floss without bobbins.

Managing embroidery floss can be challenging, especially if you don’t have bobbins. Whether you’re an experienced crafter or just starting out, it helps to know how to organize your supplies for easy access and optimal storage.
In this article, we show you how to store embroidery floss without bobbins using simple solutions that won’t require much time or effort. We also provide helpful tips along the way so that you can get the most from your materials and make any project look cosmetically pleasing and professionally done! Read on for all the details about organizing your embroidery floss without bobbins!
What Will You Need?
You will need the following supplies to organize embroidery floss without bobbins:
- Embroidery scissors
- Colorful paperclips or clothespins
- Tape measure or ruler
- Permanent marker
- Index cards or note cards
- Zipper bags (optional)
Now that you have gathered your supplies let’s get started!
10 Easy Steps on How to Organize Embroidery Floss Without Bobbins
1. Use Clear Plastic Bags:
One easy and affordable way to keep your floss organized without bobbins is to use clear plastic bags. You can find these at most craft stores, and they come in various sizes and shapes.
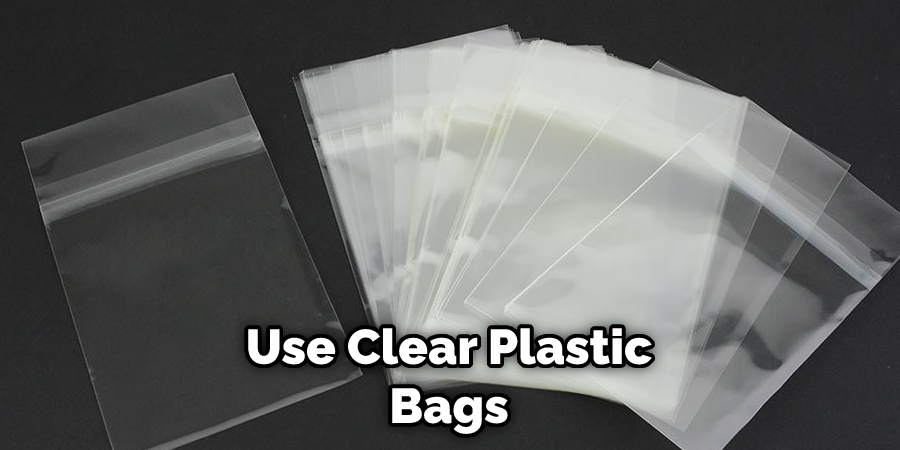
Simply measure how much floss you need for a certain project, cut a piece of the bag that’s just slightly larger than what you need, and place the floss inside. This will make it easy to grab the right amount of floss when needed.
2. Use Colorful Paperclips:
If you want to add more color to your organization system, try using colorful paper clips or clothespins! Simply take one end of the floss and attach it to the paper clip or clothespin – this will keep it secured so that it doesn’t get tangled. Don’t forget to label each floss with a permanent marker, so you know which color is which.
3. Label the Floss:
For extra organization, you can label your floss with a permanent marker or index card. This will help keep track of how much floss you have and what color it is! Just make sure to write the color, length, and type of the floss on each label so that you don’t get confused when picking out a strand for your next project.
4. Hang Your Floss:
If you have more than one type of floss in your collection, hanging them up can be an easy way to organize them without bobbins. You can hang them from hooks or nails on your wall or door frame – this will provide visibility and easy access to whichever color you need. If you have a lot of different colors, you can also use brightly colored ribbons or strings to hang the floss on.
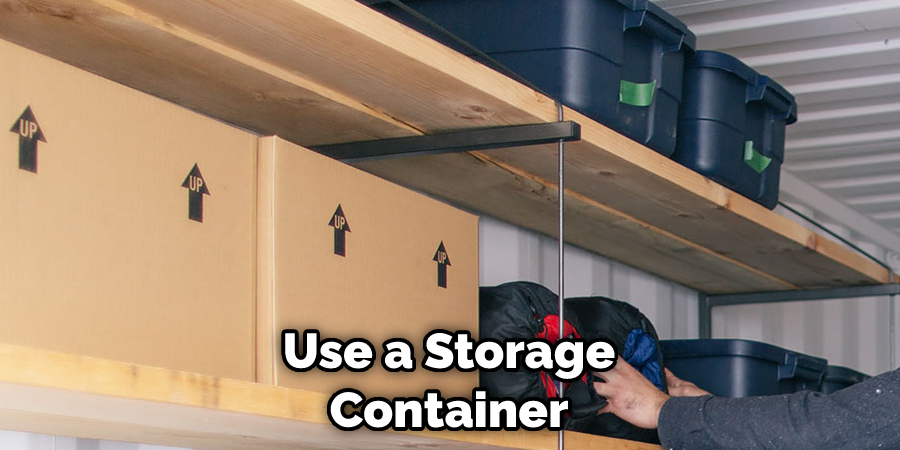
5. Use a Storage Container:
If you have a larger embroidery floss collection and want an efficient storage solution, using a storage container is the best way to go! Choose one made from clear plastic or clear glass so you can easily see how much of each color you have left. You can also use zipper bags inside the container for extra organization.
6. Use a Tape Measure and Markers:
If you’re looking for a way to measure how much floss you need for each project quickly, try using a tape measure and markers. Start by measuring how much floss you need for your project, then mark the length on the tape measure with a permanent marker. This will make it easier to cut off the exact amount that you need each time!
7. Keep Your Floss Tidy:
The most important tip when it comes to how to organize embroidery floss without bobbins is to keep it tidy! Make sure all your strands are organized according to color, length, and type so they don’t get tangled or mixed up. Additionally, you can use the colorful paper clips or clothespins to clip each strand of floss together – this will help keep them separated and organized.
8. Place Your Floss in an Easily Accessible Place:
Your storage area should be easily accessible and well ventilated. Try placing your supplies on a shelf or desk that’s close to where you do your embroidery so that you have quick access when needed. Don’t forget to dust and vacuum the area every once in a while, as dust can cause knots or tangles in your floss.
9. Sort by Project:
If you plan to work on multiple projects at once, try sorting the floss for each project into labeled bags or containers. This will make it easy to keep track of how much of each color is being used for each project and save time when selecting colors for the next one. Try sorting all of your colors into labeled bags, containers, or jars, and you’ll be able to easily see how much of each color is left before starting your next project.
10. Reuse Boxes or Containers:
Finally, don’t forget to reuse old boxes or containers! If you have old shoe boxes, plastic containers, or other items lying around your home, repurpose them to store your floss. Doing so can help you stay organized and save money! You can always decorate the boxes or containers with colorful paper or fabric for a more decorative look.
By following these steps on organizing embroidery floss without bobbins, you’ll be able to easily find the right colors for any project quickly and efficiently. With a little bit of time and effort, your supplies will be neat, orderly, and ready to use whenever you need them. Happy stitching!
5 Additional Tips and Tricks
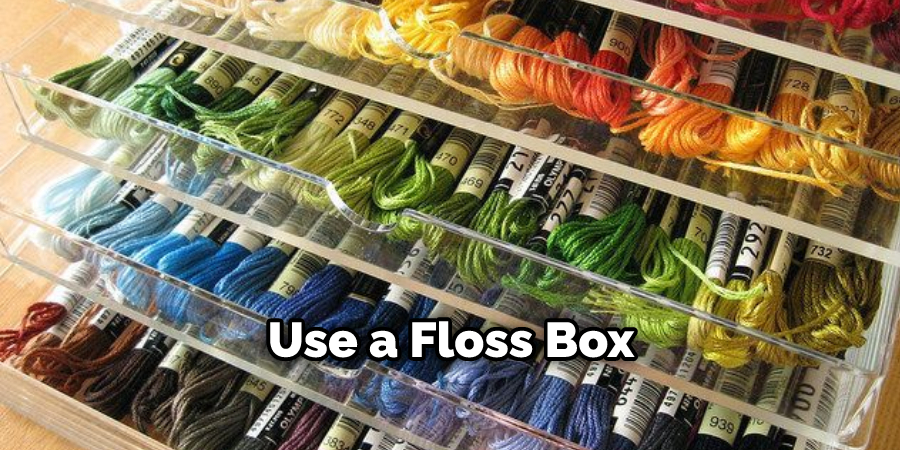
- Use a Floss Box: A floss box is a small plastic container with tiny compartments for organizing and storing embroidery floss without bobbins. This can make it easier to find the color you’re looking for quickly and easily.
- Designate a Specific Area to Store Your Floss: You don’t need to have an entire room dedicated to organizing your embroidery floss, but having an area where you keep all of your supplies will help keep everything organized and easy to find.
- Be Mindful of Storage Style: The way you store your embroidery floss will depend on what works best for you—whether that be in a drawer, cabinet, or shelf.
- Label Your Floss: Labeling your floss will help you quickly and easily locate the colors you need when you’re in the middle of a project. You can use sticky labels or index cards that are attached to the embroidery floss containers, so there is no confusion about the color names or numbers.
- Similar Group Colors Together: Organizing your floss by color family can make it easier to find what you’re looking for; grouping cool colors together, warm colors together, and neutrals together, for example, can save time and frustration when you’re trying to find the perfect hue!
Using this method also allows space for different shades that may be in between two distinct colors. It can also be helpful for color-matching purposes when working on a project or when planning future projects. With a bit of organization, you can make the most out of your embroidery floss stash – no bobbins necessary!
5 Things You Should Avoid
- Don’t just throw it in a bag or box. This can lead to tangles and knots that can be hard to undo.
- Don’t mix colors up, as this makes it harder to find the one you want when needed.
- Don’t let your floss sit for long periods of time, as the material may weaken over time because of exposure to light and air pollutants.
- Don’t store your floss in direct sunlight, as this will cause fading and discoloration of your threads.
- Don’t forget about organizing tools! Many options are available, like accordion holders, thread wraps, and organization trays that make organizing easier without bobbins!
By following these tips, you can ensure that your embroidery floss is kept neat and organized without buying bobbins.
Conclusion
To conclude, organizing and storing embroidery floss without bobbins is a simple process. Whether you use pre-made cards, plastic tubes, or cardboard containers, it doesn’t matter—they all help keep your embroidery floss organized and out of the way.
Organizing your embroidery supplies yourself can be the best solution because it allows you to adjust the size and shape according to your preference. Plus, it can be fun and creative too! With the right setup, you’ll have everything neat and organized quickly and know how to organize embroidery floss without bobbins.
Further, using one of these methods will also help ensure that each color of thread divides easily so that you don’t mix up any colors along the way. This can save both time (and sometimes frustration) when you’re in the middle of a project. Overall, these solutions serve as great alternatives for those who don’t have bobbins available or those looking for ways to improve their storage system further.