

Crochet wings are a popular item in the world of fiber art because they can be used to create beautiful, unique pieces. From shawls and sweaters to wall hangings and blankets, crochet wings can bring life to any project. They are also incredibly easy to make. With just a few basic supplies and some patience, you can learn to crochet wings and make beautiful works of art.
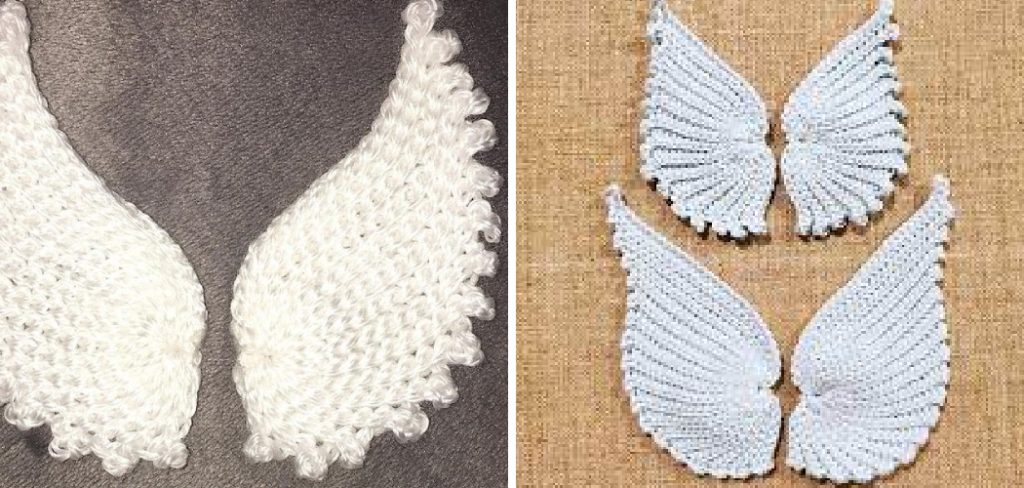
Crocheting wings can be a fun and rewarding experience. One of the major advantages of crocheting wings is that you have complete control over the size, shape, and design of your wings. Additionally, crocheting provides a great way to express creativity and add unique details to your work.
Crocheted wings are also more durable than wings made of fabric, making them a great choice for those who want to make their creations last. In this blog post, You will learn in detail how to crochet wings.
What Type of Crochet Hook Should You Use for Making Wings?
When making wings, choosing the right type of crochet hook for the job is important. Generally, a size F/3.75mm or G/4mm hook works well for most projects, but you may also want to try a larger or smaller size depending on the project. If you are working with a finer thread or yarn, you may need to go down in size, while larger projects will usually require a bigger hook.
Additionally, using the correct type of crochet hook for your project is important – most wings are created with either an aluminum or plastic hook. Aluminum hooks tend to be more durable and hold up better over time than their plastic counterparts, so they are generally the best choice for making wings.
Finally, before beginning a project, you must ensure you are comfortable with your hook. Ensure the hook is easy to grip and the stitches slip off easily. If a hook isn’t working well for you, it can make crocheting more difficult and may lead to unsatisfactory results.
Step-by-Step Processes for How to Crochet Wings
Step 1: Inspect Your Materials
Before you start crocheting wings, make sure to check that you have all of the materials necessary. You will need a crochet hook size G/4.0mm, yarn or thread in your chosen colors, scissors, and a tapestry needle. Begin with a base chain stitch. Make sure that it is long enough to make the wingspan of your finished project.
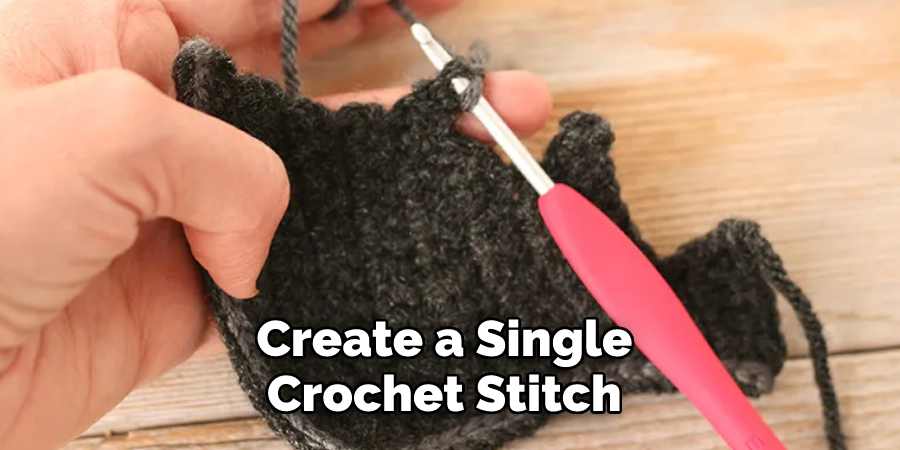
Step 2: Create the Wing Pattern
Once you have the base chain stitch, create a single crochet stitch across each loop. Once your row is complete, chain one at the end and turn in your work; continue on this same pattern of single crochets until you reach the desired length of your wingspan.
Step 3: Begin to Shape the Wing
Now it’s time to begin shaping your wings. After you have reached the desired length of your wingspan, chain one and turn your work, create a single crochet stitch in each loop across until you reach the middle of the wing. Then, create two single crochet stitches in the same loop and continue on this pattern until you reach the end of the row.
Chain one and turn your work before creating a single crochet stitch in each loop across until you reach the middle of the wing. Then, create two single crochet stitches in the same loop and continue on this pattern until you reach the end of the row.
Step 4: Increase the Shape of Each Wing
Next, create a single crochet stitch in each loop across until you reach the middle of the wing. Then, create two single crochet stitches in the same loop and continue on this pattern until you reach the end of the row.
Create a single crochet stitch in each loop until you reach the middle of the wing. Then, increase by two stitches in every other loop until you reach the end of your work. Chain one and turn your work before creating a single crochet stitch in each loop until you reach the end.
Step 5: Finish the Body of the Wing
After increasing your length, create a single crochet stitch in each loop across until you reach the beginning again. Chain one and turn your work before creating a single crochet stitch in each loop across until you reach the end. Then, finish off your work and weave in the ends.
Once you have completed both of your wings, it’s time to attach them to your project. Depending on your project, use either a yarn needle or a sewing machine to attach the wings to the body. When attaching the wings, align them in the middle of your project, so they look symmetrical.
Step 6: Add Embellishments to Your Wings
Once you have attached your wings, it’s time to add any embellishments or decorations that you desire. This can include anything from stitches, fringe, buttons, beads, or any other decorations you want to create. Once all of the details are complete, finish off your project by weaving in any remaining ends and trimming any excess yarn. You can now proudly show off your new wings.
Tips for How to Crochet Wings
- Use high-quality yarn and crochet hooks that are the right size for your project. Poor-quality materials can break easily, resulting in sharp pieces or simply unraveling during use.
- Gently pull the yarn after each stitch to ensure it is secure. If you don’t, some of your stitches might become loose.
- Read the pattern carefully before beginning your project, and make sure you understand each step. If you don’t, it could lead to mistakes that might be hard to fix later on.
- Pay extra attention when crocheting around small parts like the wings of a crochet doll or toy. It is important to ensure that stitches are tight and secure around these areas so they don’t break apart during use.
- When creating different colors for the wings, it is important to use a separate hook for each color you are using. This will help keep the colors from bleeding into each other, creating an unattractive finish.
- If you are making a larger winged object, such as a blanket, use safety pins to mark the center of each wing so that it is easier to keep track of your progress.
- Always take regular breaks while crocheting and stretch out your hands and arms to avoid stiffness or cramping in your muscles. This will help you to stay comfortable and relaxed while crocheting.
Following these tips can help make your crocheting experience much more enjoyable and will ensure that you create beautiful wings for your project.
How Do You Fix Mistakes in Your Wing Pattern?
- It can be difficult to fix if you make a mistake on a row or round. To remedy the situation, unravel your work until you reach the point of the error and begin again from there.
- Use a stitch marker to indicate where each round begins and ends so that you don’t have to count stitches every time. This will help you easily identify where a mistake was made and get back on track quickly.
- If the mistake is minor, such as an extra stitch or two, use a crochet hook to pull the excess yarn through the stitches until you reach the desired number of loops.
- You can also go back and add extra stitches or rows if needed, but you will have to ensure that the wing’s shape is correct.
- Make sure that your tension is consistent while crocheting so that the stitch size and shape remain the same throughout. This will help ensure an even pattern with no mistakes.
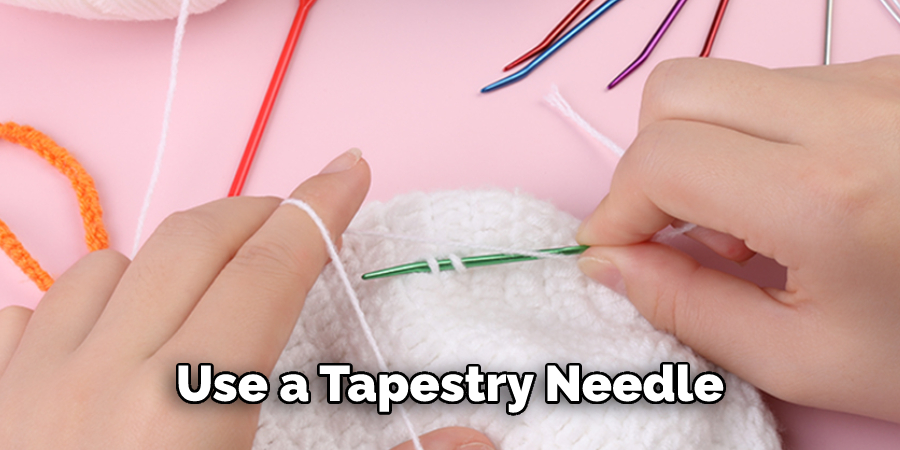
- Use a tapestry needle to weave in any loose ends and ensure that the wing is secure. The tapestry needle will also help you fix mistakes such as dropped stitches.
- Finally, once the wing is complete, check over your work for any errors that may have been missed. This will give you peace of mind before moving on to the next project.
Following these steps will help you create a perfect pattern for your wing with no mistakes.
Conclusion
One of the main disadvantages of crocheting wings is the time it takes. It can take several hours, or even days, to complete a project involving crocheted wings. Additionally, due to their complexity, mistakes can often be difficult to fix once they are made.
As with any project involving crochet, it is important that you have a good understanding of the basics and take your time. Otherwise, you may end up with wings that do not look like what you had in mind.
In conclusion, crocheting wings can be a fun and creative project that can be achieved with some patience, practice, and the right materials. Many different patterns are available online, and in books, so you have plenty of options.
Even if you’re new to crocheting, learning to crochet wings is still possible. I hope this article has been beneficial for learning how to crochet wings. Make Sure the precautionary measures are followed chronologically.
You Can Check It Out to Crochet Ribbing