
Are you looking for a fun and creative hobby to take up? Look no further than crochet! Not only is it the perfect pastime to relax and unwind, but it can also be used as an outlet to express yourself. Show off your unique style by making adorable and stylish doll dresses with just some yarn, a hook, and basic crocheting supplies.
Crochet doll dresses are the perfect project to bring charming, homemade flair to dolls and stuffed animals! Whether you’re a beginning crocheter or an experienced stitcher, adding a tiny dress to your stuffed pal is sure to be a fun and rewarding experience.
You can make simple designs for everyday wear or add flourishes like lace edging or flowery embellishments when the occasion calls for something special. We’ll provide step-by-step instructions on how to crochet doll dress. Keep reading to get started!
What Will You Need?
The materials you will need to make a crochet doll dress are:
- An appropriate size crochet hook (according to your desired yarn)
- Yarn (in the color of your choice)
- Scissors
- A needle and thread (optional, depending on how you want to finish it)
- Doll or stuffed animal to dress up
Once you have all of your materials, you can begin the process of crocheting a doll dress!
10 Easy Steps on How to Crochet Doll Dress
Step 1. Measure the Size
Measure the width and length of your doll’s body from shoulder to waistline. This will tell you how much yarn you need for the project and how many stitches you need to make a perfect fit. You can use a ruler or measuring tape to get an accurate measurement.

Step 2. Crochet the Neckline
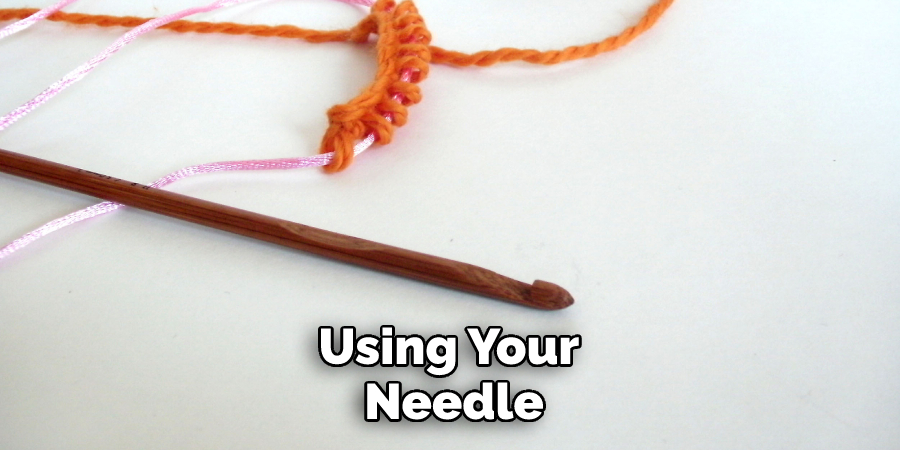
Using your crochet hook, create a chain slightly longer than your doll’s or stuffed animal’s measured neckline circumference. Aim for at least 3-4 inches beyond the measurement. Once complete, slip the stitch into the first chain stitch to form a loop.
Step 3. Create The Body
Now it’s time to start constructing the body of your doll dress! Begin by creating a single crochet (sc) in each chain stitch around the neckline, starting at the first chain and ending at last. When you reach the end, slip stitch into your initial chain.
Step 4. Increase Stitches
Now that you have created a solid base for your doll dress, it’s time to increase the number of stitches in each round. To do this, make two single crochet (sc) stitches in each stitch from the previous round and end with a slip stitch into your initial chain. This will create a more fitted shape for your dress.
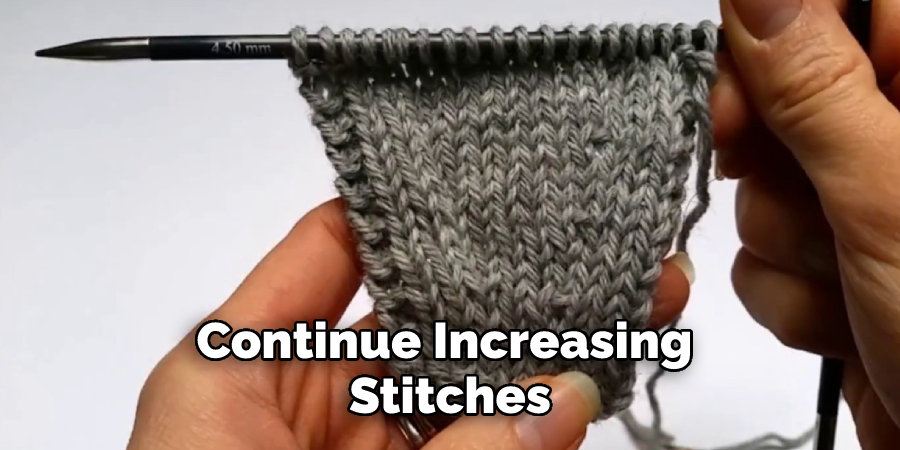
Step 5. Continue Increasing
Continue increasing stitches in each round until your doll dress reaches the desired length, making sure to start and end each round with a slip stitch. When you are happy with how the dress looks, secure it by chaining it one last time.
If you want to add sleeves, cut two pieces of yarn in the same color and thread them onto a needle. Attach these “sleeves” to the dress by sewing them onto either side of the body.
Step 6. Add a Waistband
You can add a waistband to give your doll dress more of a shape and to give it some extra stability. To do this, crochet another chain that is slightly smaller than the neckline circumference. Then slip stitch into the top of your dress and begin crocheting single crochet (sc) stitches around the body.
Step 7. Add Edging
Consider edging along the bottom or sleeves to give your doll dress an added touch of elegance and finesse. Any stitch pattern can create delicate detailing, such as lace edging or flowery embellishments. Apply the same stitch pattern to both edging areas for a uniform look.
Step 8. Attach Bodice
Using your needle and thread, sew the top of your bodice to the bottom of the neckline. Be sure to secure it tightly to ensure a snug fit. Because dolls and stuffed animals come in different sizes, it’s important to check how the dress looks on your doll or animal before you secure it.
Step 9. Finish The Dress
Once you have finished stitching and adding edging, you can complete the dress by fastening all loose ends and trimming them away. If you prefer, you can add a button or two at the back of the dress to make it easier to put on and take off. You can use many different types of buttons to add a touch of personality to the dress.
Step 10. Admire Your Handiwork
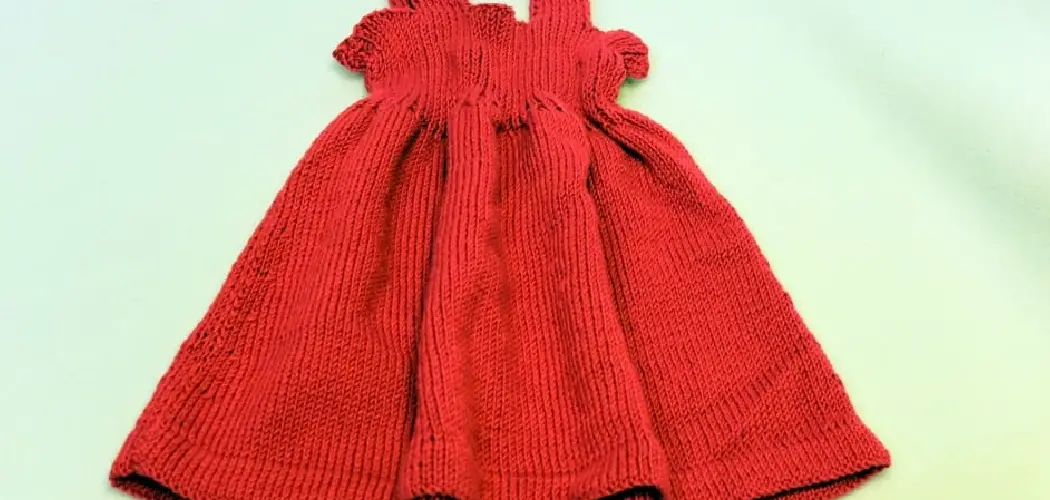
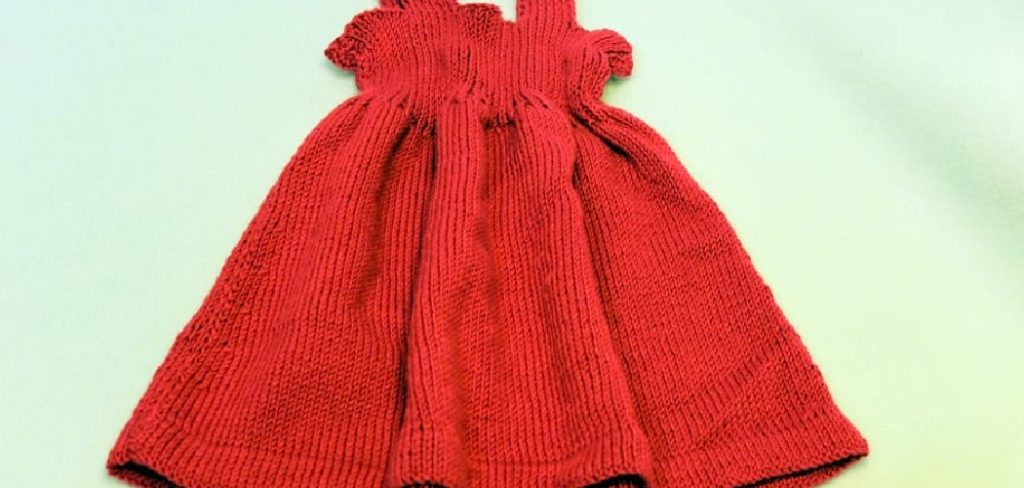
Finally, stand back and admire your handiwork! You have successfully created a beautiful crochet doll dress for your stuffed pal! You’ve crafted something unique and special with just a few simple steps and some basic materials. Enjoy!
By following these steps, you can easily crochet a doll dress for your stuffed animal or doll. With some creativity and a bit of patience, you’ll be able to create a unique and special outfit for your little friend. Have fun!
5 Additional Tips and Tricks
1. Planning is Key: Before you start, it’s important to plan how to crochet your doll dress. Select the yarn type, color, and weight, and make sure you have enough to complete the dress.
2. Make a Gauge: It’s important to determine how many stitches you’ll need for your doll dress by making a gauge. This will ensure that it fits perfectly since all dolls come in different sizes.
3. Start With the Skirt: Once you know how big or small your doll is, begin with the skirt first, which determines how wide and long the skirt will be for the dress.
4. Don’t Forget the Straps: Straps are necessary for any dress! Using thin yarn and a thin hook, crochet two straps on each side of the bodice, one closer to the back and one nearer to the front neckline, to secure the dress.
5. Seaming And Finishing: Once the dress is complete, use a yarn needle to seam the sides of the skirt together and add any embellishments like buttons or ribbons. Finally, weave in all your ends for a neat finish.
Now you have all the tips and tricks needed to crochet a doll’s dress! Have fun creating your own unique designs with these helpful hints!
5 Things You Should Avoid
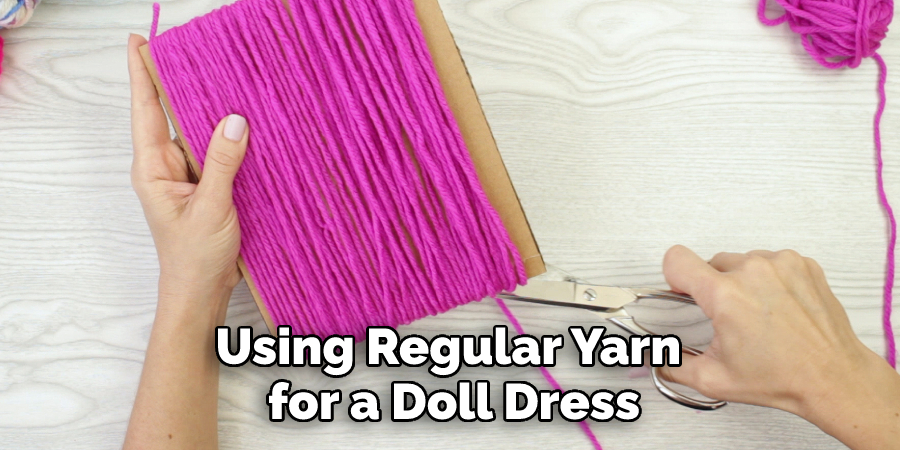
1. Not Using the Right Type of Yarn: Using regular yarn for a doll dress project can cause the dress to be too bulky or heavy for the doll. Choose a lightweight, soft yarn that is specifically made for small projects such as dolls’ clothing.
2. Not Paying Attention to Sizing: Different dolls have different sizes and therefore require different sized clothes. Make sure you use the correct size pattern and measurements when crocheting a dress for your doll.
3. Skipping Out on a Gauge Swatch: A gauge swatch helps determine how many stitches you need to get an accurate fit when making a doll dress or other garment. Be sure to complete one before starting your project so that you don’t end up with a dress that doesn’t fit right.
4. Not Using the Proper Stitch: Using the incorrect stitch for your project can make it look sloppy or unattractive. Take some time to research how to properly use various stitches and techniques to create a beautiful doll dress.
5. Neglecting FinishingTouches: To truly finish off a crocheted doll dress, adding embellishments such as ribbons, buttons, and bows is essential. Don’t forget to take the extra steps of detailing your project to look polished and perfect!
Taking the time to properly research how to crochet a doll dress and avoid these five common mistakes will ensure that your project is successful. With the right knowledge and materials, you can create beautiful clothing for any type of doll!
What Are the Different Kinds of Doll Dress Patterns?
There are several different doll dress patterns that you can use to make a beautiful crochet dress for your doll. Some of the most common types include:
1. A-Line Dress: This type of pattern has a fitted bodice with an A-shaped skirt extending out from the waistline. It’s a classic style that looks great on any doll!
2. Princess Cut Dress: This shape features a fitted bodice, usually with two straps at the shoulders, and is complimented by a flared skirt reaching down to the feet. It’s ideal for dolls with more slender body shapes!
3. Trapeze Dress: Comprised of simple straight lines, this style is perfect for minimalistic designs. It has a fitted bodice and an extended skirt from the waist down.
4. Empire Waist Dress: Characterized by its high-waisted cut, this style is best suited for petite dolls with short torso lengths. The dress’s bodice will be snugly fitted, and the skirt portion will extend out from the empire waistline.
5. Bubble Dress: This type of pattern features a full skirt with gathers at the waist to create a bubble shape. It’s perfect for dolls with larger body shapes!
6. Peplum Dress: This style is similar to an A-Line dress, but it also features extra fabric extending outward from the waist, creating a peplum shape. It’s great for adding a touch of flair to your doll’s wardrobe!
7. Shirt Dress: This pattern features a tight fit at the top with a straight skirt that falls just above the knees. Depending on how you accessorize it, it can be dressed up or down.
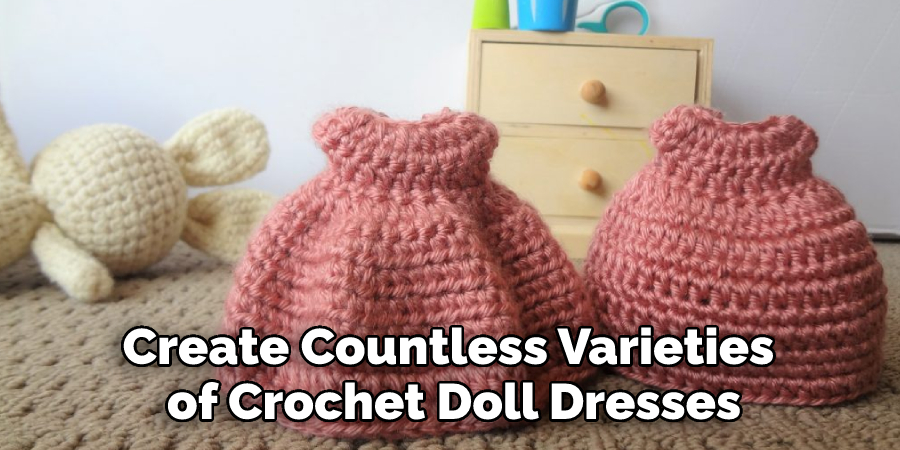
With these different patterns, you can create countless varieties of crochet doll dresses to make your dolls look their best! So get creative and have fun crafting beautiful fashion pieces for the special little ones in your life!
Conclusion
Now that you know how to make a basic doll dress, you can add your own personal touches to create a unique outfit for your child’s doll. Be sure to experiment with different colors and patterns to find the perfect look for your little one. With a little practice, you’ll be able to crochet any type of clothing your child’s doll could ever want.
Hopefully, this guide on how to crochet doll dress has given you the knowledge and confidence to start crocheting doll dresses! With some time and patience, you can make beautiful garments for your special dolls. Have fun crafting! Good luck with your project!
You Can Check It Out to Add a New Skein of Yarn When Knitting