

Are you looking for an easy, fun way to de-stress and express your creative side? Then why not try crocheting a worry worm? Crocheting is not only a great activity to help you relax, but it’s also incredibly versatile.
With a few simple supplies, you can make all sorts of helpful household items like home décor pieces or clothing accessories – like the adorable little worry worm we’ll be creating in this post. We’ll break down the process step-by-step on how to crochet a worry worm so that even if you’re new to crochet, you can have lots of success with this project. So get ready to learn how easy it is to create your very own handmade stress reliever in no time!
What Are Crochet Worry Worms Used for?
Crochet worry worms are often used for stress relief, as a calming aid for children with autism or other sensory processing disorders, and to provide comfort. They can also be used in place of a fidget toy for those who have difficulty focusing on tasks. Crocheting is an activity that has been found to reduce anxiety and promote relaxation through repetitive motions and creative expression.
By creating a worry worm, individuals have something tangible to help them cope with their worries and stresses in life. They can hold onto the worry worm when they are feeling overwhelmed or anxious, and it can provide a sense of comfort that helps them get through difficult moments. Crochet worry worms are also used as a teaching tool for children, as they can learn how to use the object to express their emotions in a positive way and develop self-soothing skills.
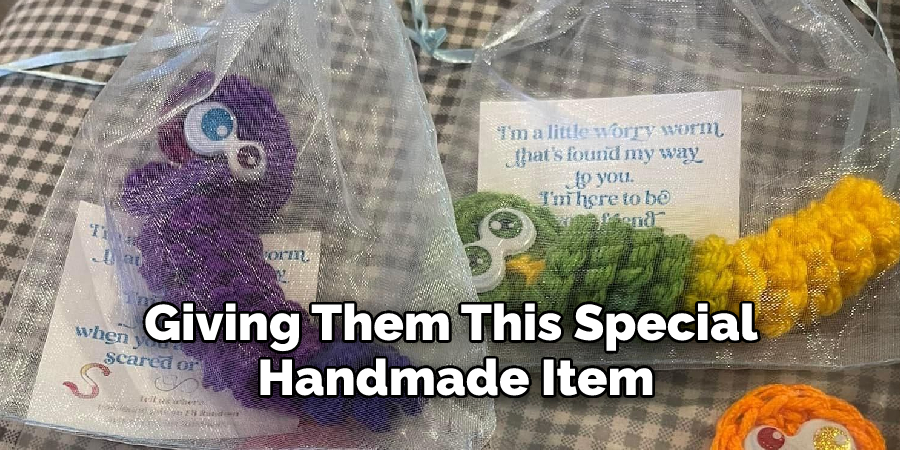
Finally, crochet worry worms make great gifts for friends and family members who may be going through a tough time; by giving them this special handmade item, you are giving them something that will remind them that someone cares about how they are feeling.
No matter how they are used, crochet worry worms can be a great tool for stress relief and emotional support. With the right materials and some time, anyone can create their own personalized worry worm that will provide comfort in times of need. Happy crocheting!
5 Methods on How to Crochet a Worry Worm
1. Choose the Appropriate Yarn and Crochet Hook
When crocheting a worry worm, it is important to choose the right yarn and crochet hook. The type of yarn you use will determine the size of your worry worm, so be sure to choose a yarn that is appropriate for the project you have in mind. For example, if you want to make a small worry worm, you would use a thinner yarn than if you were making a large one.
Additionally, be sure to choose a crochet hook that is the correct size for your chosen yarn. This will help ensure that your stitches are uniform and even. If you are unsure of the appropriate size, consult your local yarn store for assistance. However, it is generally recommended to go with a size G or H crochet hook.
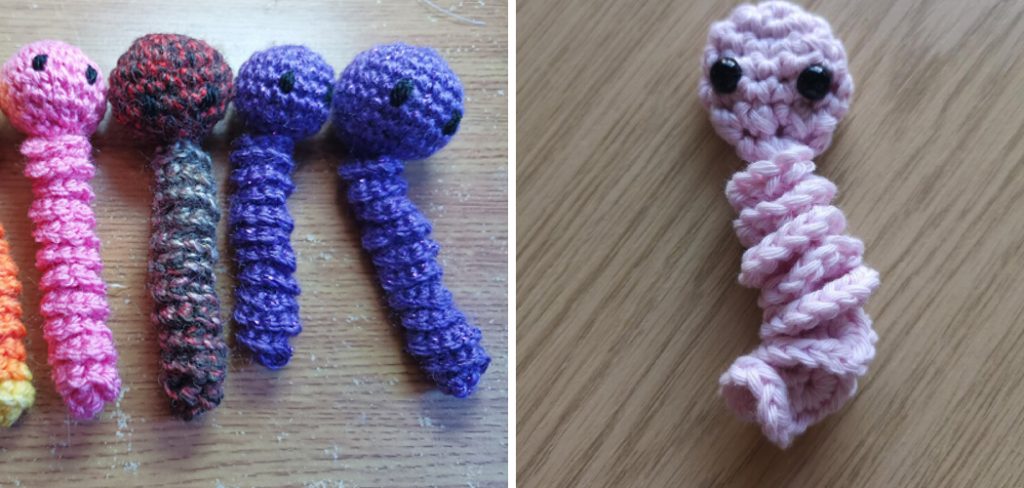
2. Make the Head of the Worry Worm
To start crocheting your worry worm, you will first need to make the head. To do this, start by making a slip knot and then crocheting six single crochet stitches into a magic ring. Once you have done this, pull the tail of the yarn to close the ring tightly and then slip the stitch into the first single crochet stitch to join.
You should now have 6 single crochet stitches. If you are using a different color for the eyes and mouth, join this yarn now. Although you can crochet the eyes and mouth directly onto the head, it is easier to make them separately and then attach them afterward.
3. Crochet the Body of the Worry Worm
After you have made the head of your worry worm, it is time to start on the body. To do this, simply continue crocheting single crochet stitches into each stitch around until you reach the desired length. Remember to slip stitch into the first single crochet stitch of each round to join. When you are happy with the length, fasten off and weave in your ends.
If you would like your worry worm to have a thicker body, you can use two or more strands of yarn held together when crocheting. This will give your worry worm a more robust body. Try to make all your stitches as tight as possible. If you have difficulty keeping them the same size, use a stitch marker to mark the first stitch in each round.
4. Finish Off the Worry Worm
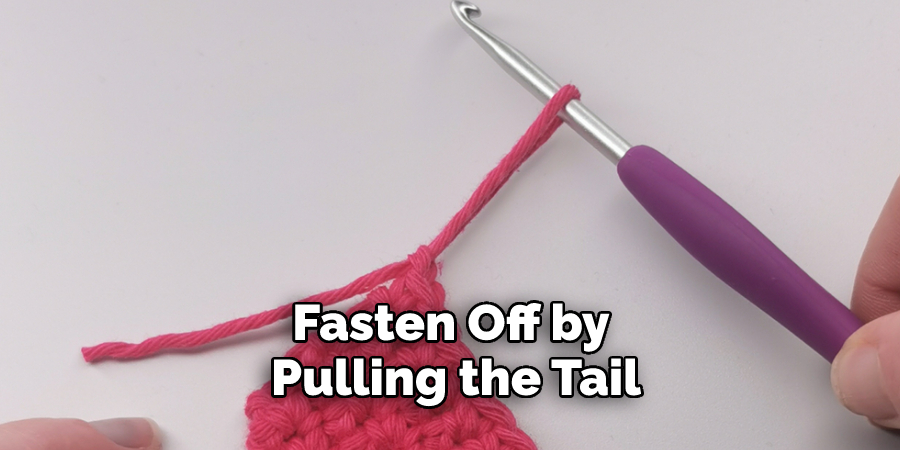
Once you have reached the desired length for your worry worm’s body, it is time to finish off. To do this, cut the yarn leaving a long tail, and then slip the stitch into the next stitch. After this, fasten off by pulling the tail through the loop on your crochet hook and then weaving in any loose ends. Your worry worm is now finished and ready to be used for comfort and support!
No matter the size or shape, a worry worm can be a great source of support and comfort when life feels overwhelming. By crocheting your own worry worm, you can create something meaningful that is both tactile and comforting. Whether it’s giving to a loved one or keeping for yourself, worry worms are sure to bring plenty of joy!
5. Add Eyes and Other Details (Optional)
If desired, you can add eyes and other details to your worry worm using felt or embroidery floss. To add eyes, simply cut two small circles out of felt and glue or sew them onto either side of the head near where it meets the body. You can also add other details, such as a mouth or eyebrows, using felt or embroidery floss.
To create a mouth using embroidery floss, thread the floss onto a needle and sew a small smile onto the face. To make eyebrows, cut two small strips of felt and sew them onto the head directly above the eyes. These additions will make your worry worm more unique and give it more personality. Once you’ve finished adding all of the details, your worry worm is complete and ready for play!
With a few simple materials and some time, you can make an adorable little critter that will provide comfort when needed. Try making one for yourself or give them as a gift to friends and family members who could use a reminder of your care.
Things to Consider When Crocheting a Worry Worm
1. Crochet Hook
Choosing the right crochet hook is important when making a worry worm. A larger crochet hook will make it easier to work with larger yarn and create a bigger worry worm.
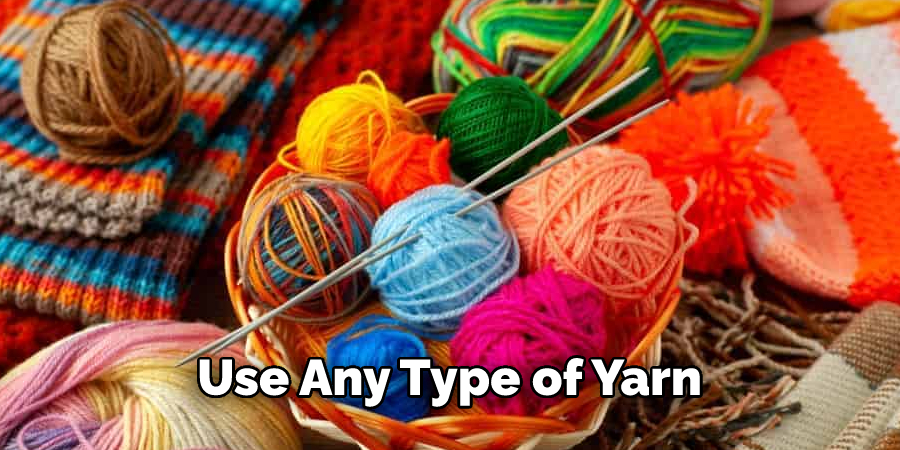
2. Yarn
You can use any type of yarn to make your worry worm. Consider the type of texture and weight that you want for your finished project.
3. Pattern
Some patterns are easier to follow than others, so make sure to find one that is suitable for your skill level. Consider Collecting a free crochet pattern from the internet or purchasing a book with more detailed instructions on how to make a worry worm.
4. Safety
Working with a crochet hook can be dangerous, so make sure to follow safety guidelines and always use caution when handling sharp instruments. It’s also important to keep your eyes open for any errors in the pattern that might cause injury or damage.
5. Enjoyment
Crocheting is meant to be a fun and relaxing activity. Don’t rush through the process or try to make the perfect worry worm. Take your time and enjoy the process of creating something special with your own hands!
By following these simple tips, you can successfully crochet a worry worm that is both beautiful and functional. With a little patience and practice, anyone can make a wonderful, one-of-a-kind worry worm!
You Can Check It Out To Crochet a Cloud
How Does a Worry Worm Work?
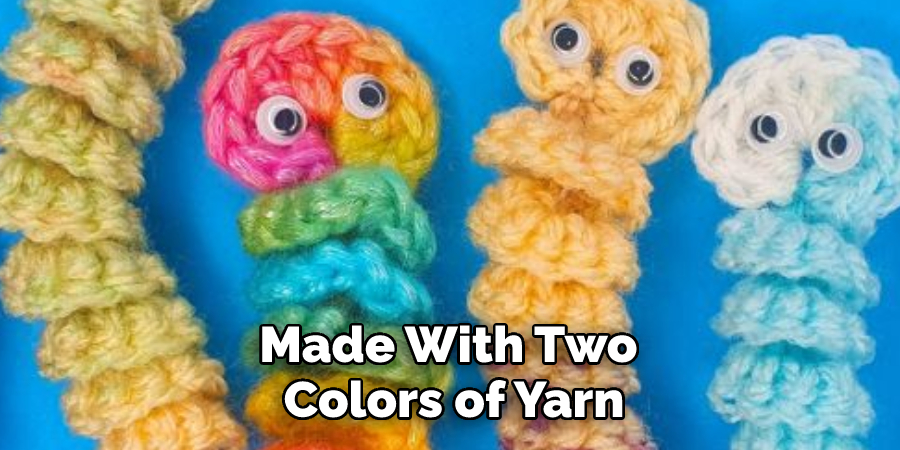
A worry worm is a type of self-soothing craft for children. It helps to provide comfort when worries and anxieties arise by providing something tactile to fiddle with, such as its plump body, bumpy feet, and tiny antennae. By crocheting a worry worm, kids can learn the basics of crochet while creating a meaningful item to use in stressful moments.
The worry worm is often made with two colors of yarn, meant to represent the head and body. The eyes, feet, and antennae can be embroidered with contrasting thread or buttons glued into place. When complete, it should measure around four inches long. Crocheting a worry worm can also be a great way to practice crochet techniques such as joining in new colors, making basic stitches, and creating texture with front and back post stitches.
Conclusion
Crocheting a worry worm can be therapeutic and help you work through your anxieties. The process of crocheting is calming, and the finished product can serve as a reminder to stay present and in the moment. If you’re looking for a creative outlet that also doubles as a way to self-soothe, give crochet a try!
Now that you know how to crochet a worry worm, give it a try the next time you’re feeling stressed. If you don’t have yarn or a crochet hook, no worries – there are plenty of other easy and relaxing crafts you can do with supplies you already have around the house. Until next time, happy crafting!
You Can Check It Out to Wind Yarn Without a Swift