
Have you ever dreamed of crocheting cloud-like creations that feel as light and airy as the real thing? With a few simple techniques and supplies, you can easily bring your dream projects to life! In this post, we’ll cover all the basics of crochet – from picking out your materials and getting comfortable with stitches to creating beautiful items like pillows and blankets.
By following our step-by-step guide, even beginner crafters will be able to take on complex projects involving gorgeous clouds in no time. So grab some yarn and a hook, and jump right in – it’s time for us to learn how to crochet a cloud!
What Is the Easiest Thing to Crochet?
When it comes to crocheting, the easiest things to make are small items like washcloths and dish towels. These projects are typically done with basic stitches like single crochet, double crochet, and half-double crochet, which beginner crocheters can easily learn. Larger items, such as blankets or sweaters, require more complex stitches and are more time-consuming.
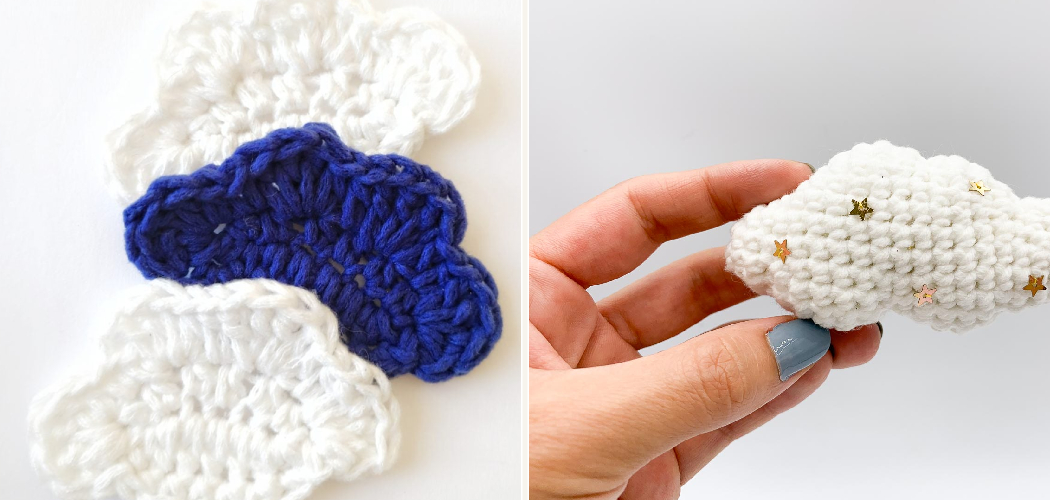
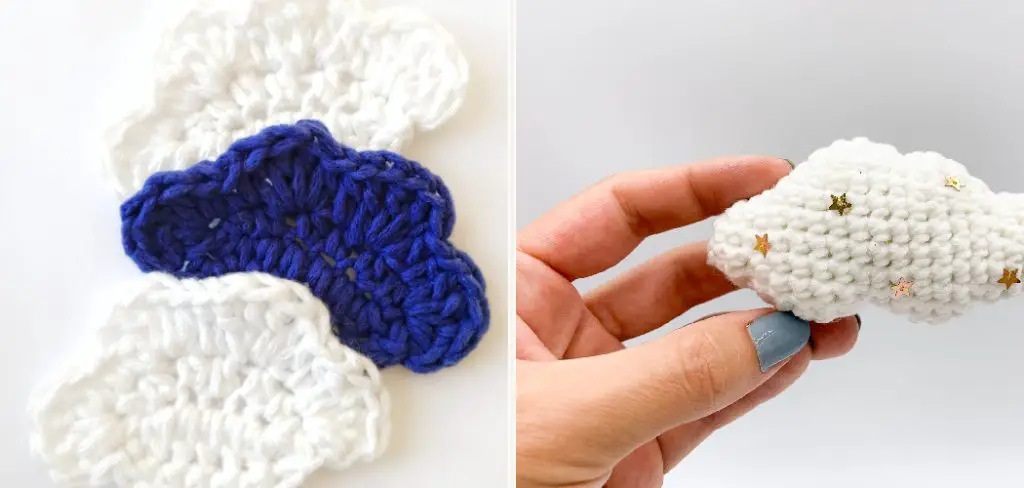
Another easy project for beginners is to crochet a cloud. Clouds make great decorations, can be used as pillows, and also provide extra warmth on chilly nights. They’re also relatively simple to make with just one or two basic stitches, making them an ideal choice for beginner crocheters. Plus, they’re so soft and fluffy that it’s hard to resist making one!
To crochet a cloud, you will need lightweight yarn, a size G crochet hook, scissors, and a yarn needle. Start by chaining the desired length of your cloud – keep in mind that each chain stitch should be about 1 inch long.
After chaining the desired length, start making single crochet stitches into each stitch until you have reached the end. When you reach the end of your row, chain one and then turn your work. Continue making single crochet stitches in each stitch until you have reached your desired size for your cloud.
Cut off the yarn when your cloud is finished, leaving a long enough tail to sew the ends together. To close the cloud, take your yarn needle and slip stitch through each of the single crochets until you reach the end. Then, tie off the yarn and weave in any loose ends with your needle.
9 Methods How to Crochet a Cloud
1. Choose the Right Yarn
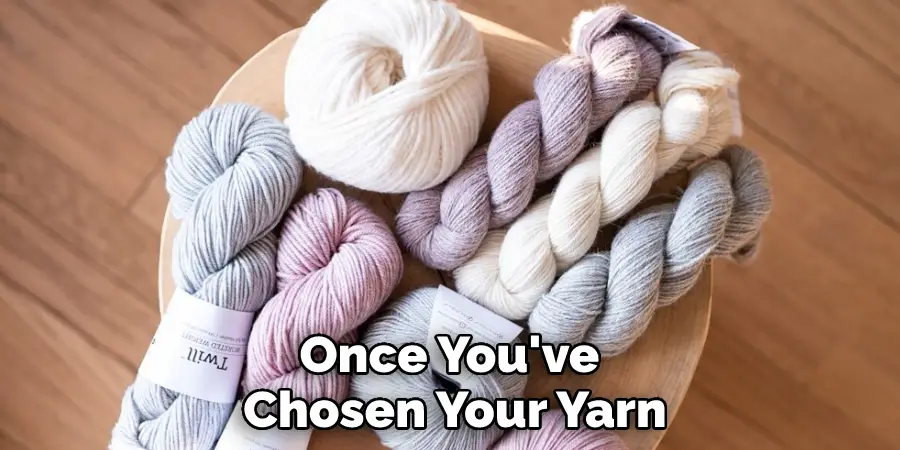
The first step in crocheting a cloud is to choose the right yarn. You’ll want to use soft, fluffy yarn in a light color. A good option is to use baby alpaca wool, as it’s both soft and lightweight. It also has a nice sheen that will make your cloud look extra special. If you’re looking for a more affordable option, you could use acrylic yarn instead.
2. Crochet a Chain
Once you’ve chosen your yarn, you’ll need to crochet a chain. The length of your chain will depend on the size of the cloud you want to make. For a small cloud, start with a chain of 30 stitches. For a medium-sized cloud, start with a chain of 40 stitches, and for a large cloud, start with a chain of 50 stitches.
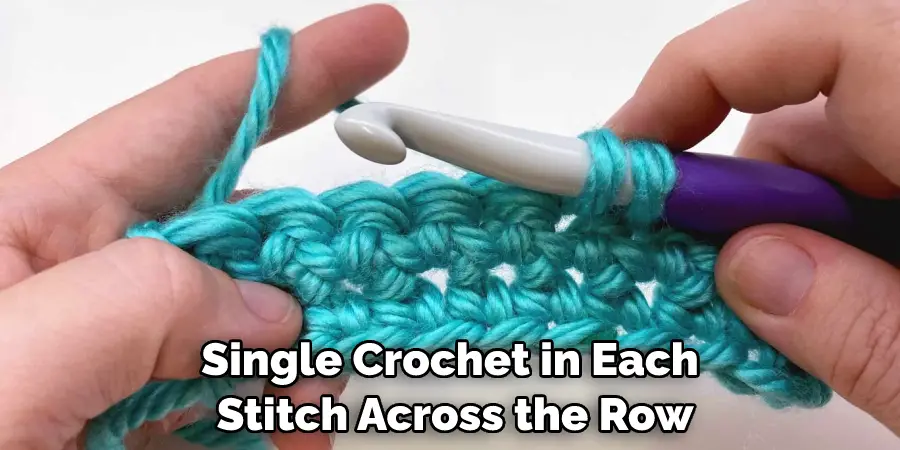
3. Single Crochet in Second Chain from Hook
Once you’ve made your initial chain, single crochet in the second chain from the hook. Then, single crochet in each stitch across the row until you reach the end of the row. When you reach the end of the row, chain one and turn your work. While single crocheting, begin to count your rows. Try to keep your tension consistent throughout the project.
4. Chain 1 and Turn
Once you’ve reached the end of the row, chain one and turn your work so that you can begin working back across the row; you should be starting from the same side that you ended on.
Chain 1 before turning your work to make sure there are enough stitches for the next row. If you’re not sure, you can always check your pattern to find out how many chains you need before turning. However, remember that this step ensures you have the correct number of stitches for the following row.
5. Single Crochet in Each Stitch across Row
Single crochet in each stitch across the row until you reach the end of the row. Be sure to work slowly and carefully so that your stitches are even and consistent. This will ensure the cloud is even and of a uniform shape when you reach the last stitch, chain one, and turn your work to complete the row.
6. Repeat Rows 3-5 until Cloud is Desired Size
Continue repeating rows three through five until your cloud is the desired size. For a small cloud, crochet until your piece measures approximately 4 inches wide by 3 inches tall. For a medium-sized cloud, crochet until your piece measures approximately 5 inches wide by 4 inches tall, and for a large cloud, crochet until your piece measures approximately 6 inches wide by 5 inches tall.
7. Fasten Off and Weave in Ends
Once you’ve reached the desired size for your cloud, fasten off your yarn and weave in any loose ends so that they’re hidden within the body of your work. In this way, you can ensure that your cloud looks neat and professional. If you have any remaining yarn, you can use it for tassels or pom-poms to add extra texture and color to your cloud.
8. Stuff Cloud with Polyester Fiberfill
Once you’ve woven in all of your loose ends, it’s time to stuff your cloud with polyester fiberfill stuffing material. You’ll want to stuff your cloud fairly firmly so that it holds its shape well but isn’t too stiff.
Once you’ve decided how much stuffing to use, tie the opening of your cloud closed with a piece of yarn. Trim any excess fiberfill and weave in the ends. Though it’s not necessary, you can use a needle to push the stuffing inside for an even more complete look. Now your cloud is ready to be hung up and enjoyed!
9. Close-Up Opening at the top of the Cloud
To close up the opening at the top of your cloud, thread a tapestry needle with matching yarn and sew through each stitch around the opening, pulling tight as you go so that the opening closes up completely. Then, tie off the yarn and weave in any remaining loose ends. Although the cloud won’t be completely round, it should have a nice finished look.
Your cloud is now finished and ready to use! You can use it as a decorative piece around your home, or you can give it away as a special handmade gift. No matter how you choose to use your cloud, you’ll be sure to love its soft, fluffy texture and unique shape. Enjoy!
5 Things to Consider When Crocheting a Cloud
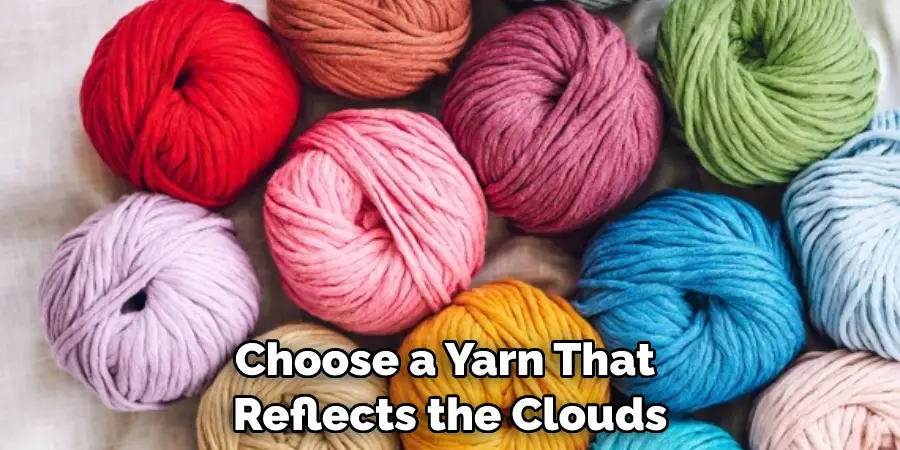
1. Choose the Appropriate Yarn:
As clouds come in many shapes and sizes, you will want to choose a yarn that reflects the clouds you are trying to create. Depending on the size and texture of your clouds, use a lightweight yarn such as a cotton blend or acrylic for light, fluffy clouds. If you want larger, more solid-looking clouds, opt for worsted-weight yarns like wool or alpaca.
2. Selecting the Right Hook:
Depending on the yarn you choose, you will want to select an appropriate crochet hook. If using lightweight yarns, use a smaller hook, such as a size F or G (3-4 mm). For worsted-weight yarns, opt for a larger-sized hook (5mm – 8mm).
3. Get Creative:
When crocheting a cloud, you can be as creative and imaginative as you want. To make thicker, more textured clouds, use two strands of yarn when crocheting. Add color variations to your clouds with different colors of yarn. When putting multiple clouds together, add texture by using puff stitches or popcorn stitches in between the shapes.
4. Experiment:
Don’t be afraid to experiment with different materials and techniques when creating your own clouds. For example, fade yarn or create a 3D effect by adding stuffing inside the crocheted shape. Have fun with this project, and let your imagination take you away!
5. Finishing Touches
Once your crocheted cloud is finished, the last step is to add some finishing touches. Depending on what type of cloud you have created, consider adding tassels or pom-poms for a fun and playful effect. Or try experimenting with various types of embroidery floss to create a unique design. You can also attach some ribbon or string to create a cloud mobile.

Creating crocheted clouds can be a fun and enjoyable experience. With the right materials, tools, and creativity, you’ll have your own fluffy clouds in no time! Have fun with this project, and let your imagination soar!
Conclusion
Now that you know how to crochet a cloud, you can make one for yourself or as a gift for someone else! These clouds are perfect for cuddling up with on a cold day, and they make great decorations too. Just remember to keep them away from any open flames, as they are made of 100% acrylic yarn. Have fun crocheting your own little piece of the sky!
You Can Check It Out To Crochet a Worry Worm