
Have you ever wanted to make an Easter gift for a family member or friend but weren’t sure how? Well, crochet is an excellent solution! With just some simple materials and a bit of effort, you can create a one-of-a-kind Easter basket that will surely be treasured.

In this blog post, we’ll show you how to crochet a Easter basket – complete with instructions step by step. Whether you’re new to crocheting or already have years of experience under your belt, there’s no better way to put those skills into use than by crafting this holiday creation for someone special in your life.
About the Yarn For Crochet
When choosing yarn for your crochet Easter basket, it is important to select a high-quality material that will stand up to wear and tear. Acrylic yarns are often the best choice when making crochet Easter baskets due to their resilience and the variety of colors available.
It is also important that the yarn chosen has a good amount of elasticity, as this will make it easier to crochet the intricate patterns necessary for creating the basket.
For best results, select a yarn that is labeled as worsted weight or DK (double knitting) and has a solid color or subtle multi-colored pattern. If you are using a single strand of yarn for your Easter basket project, select one that is labeled as 4-ply or fingering weight. When choosing yarn for your crochet Easter basket, it is important that the material you select is soft and gentle against the skin.
Some of the best choices of yarns for this type of project include cotton, bamboo, hemp, and other natural fibers. If using a synthetic yarn such as acrylic, make sure that it is labeled as machine washable to ensure that the Easter basket can be easily maintained. Additionally, if you plan on adding embellishments or decorations to your crochet Easter basket, use a yarn that is compatible with those materials in order to avoid any fading or damage caused by incompatible fibers.
What Is the Hardest Thing to Crochet for a Basket?
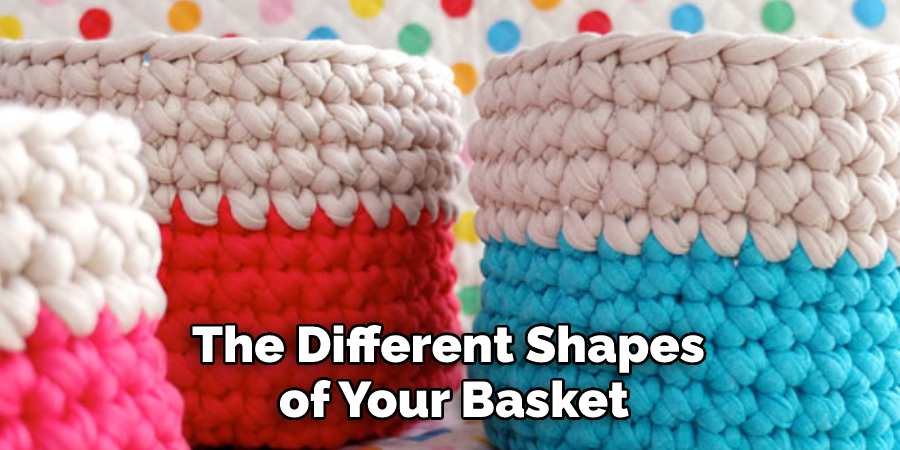
The hardest part of crocheting a basket, especially an Easter basket, is the construction. It can be difficult to assemble the various pieces of your crochet work into a complete, attractive piece. This often requires weaving strands together and shaping corners, for example. You may need to use special techniques such as tapestry crochet or crochet intarsia to make the different shapes of your basket.
However, with a little practice and patience, you should be able to master these techniques for a beautiful Easter basket. Once you have all the pieces together, it’s time to attach them together using slip stitches. This will ensure that everything remains in place. You can also use other types of stitching to give your basket a more finished look.
Finally, you can use trims such as ribbons and bows to decorate your basket and make it truly unique. With these tips in mind, you should be able to crochet an Easter basket that will last for years to come. Additionally, you can use the same techniques to make other types of baskets, such as Christmas or birthday baskets.
10 Methods How to Crochet a Easter Basket
1. Choose the Right Yarn
The first step in crocheting an Easter basket is to choose the right yarn. The type of yarn you use will determine the finished product’s appearance, durability, and overall quality. For an Easter basket that will be used year after year, opt for a high-quality wool or acrylic yarn.
If you’re looking for a more budget-friendly option, consider using cotton or polyester yarn. If you’re planning to decorate your basket with colorful Easter eggs, consider using a yarn that matches the holiday theme.
2. Decide on the Right Hook Size
The next step is to decide on the right hook size. The size of your crochet hook will determine the gauge of your stitches, which will, in turn, affect the finished size of your basket. For a small Easter basket, use a size G (4 mm) hook.
For a medium-sized basket, use a size H (5 mm) hook. And for a large basket, use a size I (6 mm) hook. While you can use any type of hook, such as aluminum or plastic, wooden hooks provide a better grip and more control when crocheting. Additionally, wood is less likely to damage or snag your yarn.

3. Make a Slip Knot
Once you’ve chosen your yarn and hook, it’s time to start crocheting! Begin by making a slip knot around your crochet hook. To do this, make a loop with your yarn and then insert your hook through the loop.
Next, grab the working end of the yarn with your hook and pull it through the loop. This will create a new loop on your hook, which is now considered your first stitch. If you’re not sure how to do this, there are plenty of online tutorials and videos that can provide additional guidance.
4. Crochet a Chain Stitch
Now that you’ve made your first stitch, it’s time to start crocheting a chain stitch. To do this, simply wrap the yarn around your crochet hook and then pull it through the loop on your hook. Continue doing this until you’ve reached the desired length for your Easter basket’s handle.
Once you’ve reached the desired length, cut the yarn and tie off the end to secure it in place. If you need to add more length for a longer handle, simply start a new chain stitch. Though it may seem intimidating, practicing chain stitches is the key to mastering any crochet project.
5. Crochet Single Crochet Stitches
Now it’s time to start working on the body of your Easter basket! To do this, begin by crocheting single crochet stitches into each chain stitch from step 4 until you’ve reached the desired width for your basket.
Once you’ve reached the desired width, cut the yarn and tie off the end to secure it in place. Try to keep your stitches even and consistent as you go along. Then, move onto the next step of the pattern.
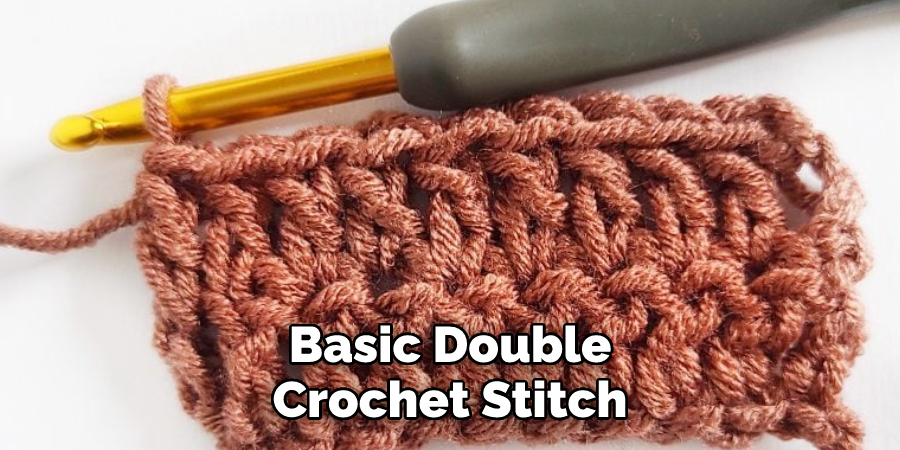
6. Crochet Double Crochet Stitches
Once you’ve completed step 5, it’s time to start working on the sides of your Easter basket by crocheting double crochet stitches into each single crochet stitch from step 5 until you’ve reached the desired height for your basket.
Although the pattern for the Easter basket may vary depending on the size and shape you want, a basic double crochet stitch is usually all that’s needed to create the sides of the basket.
7. Join Your Work Together
At this point, you should have two pieces of crocheted fabric – one for the bottom of your basket and one for its sides – that need to be joined together in order to form a complete Easter basket shape. To do this, simply line up both pieces of fabric so that their edges are aligned and then single crochet them together along their edges until they’re completely joined together.
Once you’re finished joining both pieces together, cut the yarn and tie off the end to secure it in place. And that’s it! You now have a fully-formed Easter basket ready to be filled with goodies. Enjoy!
8 . Finish Off Your Basket rim & Handle
To finish off your Easter basket rim & handles, single crochet around the entire edge of the opening, working 3 single crochet stitches into each corner. When you reach the handles, work two single crochet stitches into each chain stitch. Cut yarn & weave in ends. If desired, you can line your basket with fabric or plastic to make it sturdier. Your Easter basket is now complete and ready for filling with candy, eggs, and more! Enjoy your new crochet project.
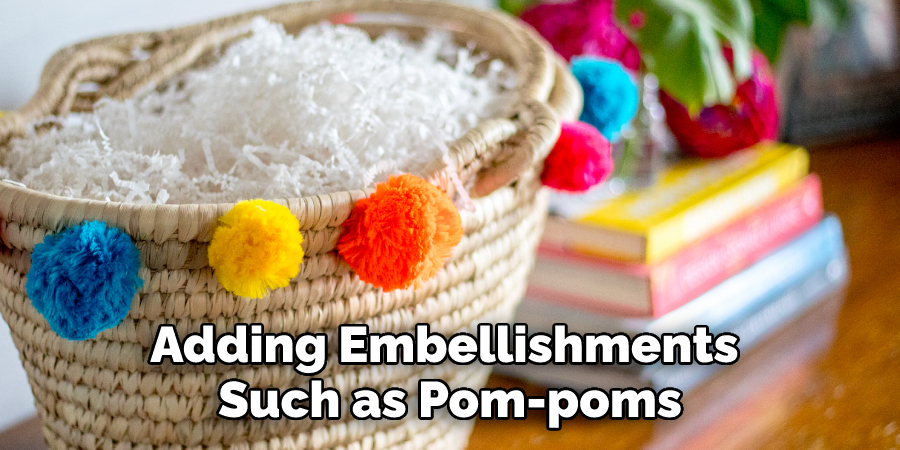
9 . Add Finishing Touches
Now that your Easter basket is complete, it’s time to add any finishing touches! You can do this by adding embellishments such as pom-poms, buttons, or ribbons. You can also fill your basket with shredded paper, plastic easter eggs, or candy.
10 . Enjoy Your New Creation!
Congratulations! You have completed your Easter basket and are now ready to show off your new creation. Whether you are gifting it or saving it for yourself, you can be proud to have crafted something beautiful and unique. Enjoy!
Conclusion
This Easter, ditch the store-bought basket in favor of a handmade one. Crocheting your own Easter basket is a fun and easy project that you can complete in just a few hours. And best of all, it’s affordable!
With this step-by-step guide on how to crochet a easter basket, you’ll be whipping up Easter baskets for all your friends and family in no time. So grab your hooks and some yarn, and let’s get started!
You Can Check It Out to Change Colors When Knitting Ribbing