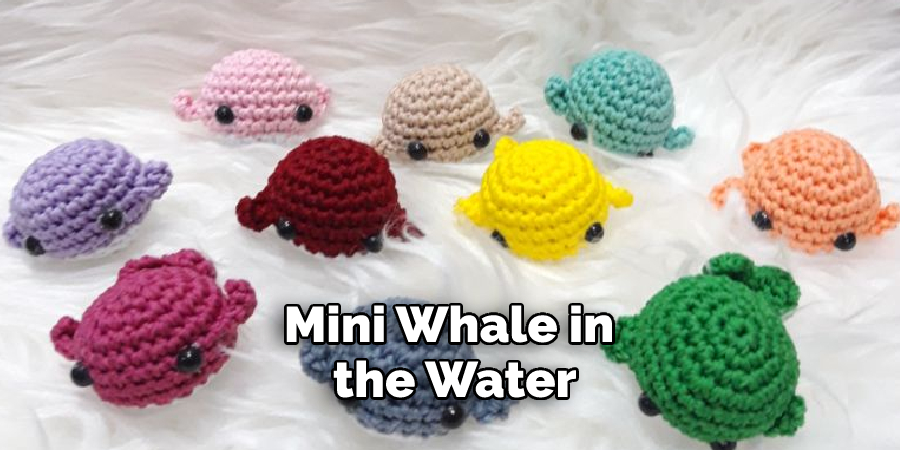
Crocheting a mini whale is an excellent project for experienced and beginner crocheters. Its compact size can make it quick to complete, giving you the satisfaction of finishing a project in no time.
The finished product will also be unique and cute – perfect as a gift, decoration, or miniature toy. You’ll need basic knowledge of crochet techniques such as increasing and decreasing loops, slip stitches, and working in the round.
Crocheting a mini whale has several advantages. First, it’s a great way to use up yarn scraps or leftovers from larger projects. You can also customize the design of your mini whale with different colors and materials as desired. Furthermore, it’s a relatively simple project that doesn’t require too much time or effort.
Last but not least, it’s fun to show off your creativity and make something unique. A mini whale can be used as a decorative piece or toy, allowing you to express yourself in a creative way. In this blog post, You will learn in detail how to crochet a mini whale.
Tools & Materials You Will Need
- Worsted-Weight Yarn: You can use any type of yarn you would like to crochet your mini whale!
- Crochet Hook: A size E or 3.5mm crochet hook will work best.
- Tapestry Needle: To help you weave in all the ends of your project and give it a neat and tidy finish.
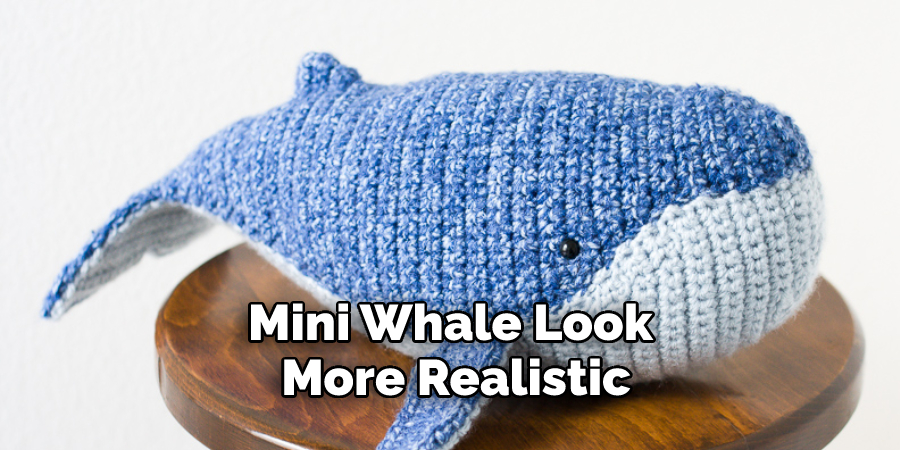
- Safety Eyes: These will help make your mini whale look more realistic. You can also use buttons, beads, or other small items to give it some character.
- Polyester Stuffing: This is used to stuff the whale’s body and give it shape and structure.
- Scissors: For cutting and trimming the yarn ends when you are finished.
- Stitch Markers: These will help you keep track of where each row begins and ends.
- Measuring Tape: To measure your work to ensure it is the correct size.
- Locking Stitch Markers: These will help you keep track of the stitches you will be working with.
- Optional: Project bag: If you would like to take your project on the go, it’s always helpful to have a project bag with all of your supplies collected and ready to go.
Step-by-step Instructions for How to Crochet a Mini Whale
Step 1: Inspect Your Materials
Gather together all the supplies you will need to make your mini whale. This includes a crochet hook size G/6/4, worsted weight yarn in two colors of your choice (one for the body and one for the eyes), scissors, stuffing, and a tapestry needle.
Start by making a magic ring. Then, crochet the body of your mini whale with the chosen color of yarn and single crochet stitches. Work in rounds until you have about 22-24 single crochets.
Step 2: Create the Tail and Fin
Create the tail by crocheting a few rows of single crochets. The number of rows you need to crochet will depend on how long you want your mini whale’s tail to be. Once you have finished crocheting, secure the end of the yarn and fasten it off.
For the fin, use a contrasting color of yarn and create a few rows of single crochets using half-double crochet stitches. Secure the end of the yarn and fasten it off when you have finished making the fin.
Step 3: Add Features to Your Mini Whale
Using your tapestry needle, attach two small eyes to the front of your mini whale using yarn. Stuff your whale with stuffing until it is nice and firm but not overly tight. Sew up the bottom of your mini whale’s body and weave in all the ends.
Step 4: Finishing Up Your Mini Whale
Your mini whale is now complete! You can give it to someone as a gift or keep it for yourself. How you choose to display and enjoy your mini whale is entirely up to you.
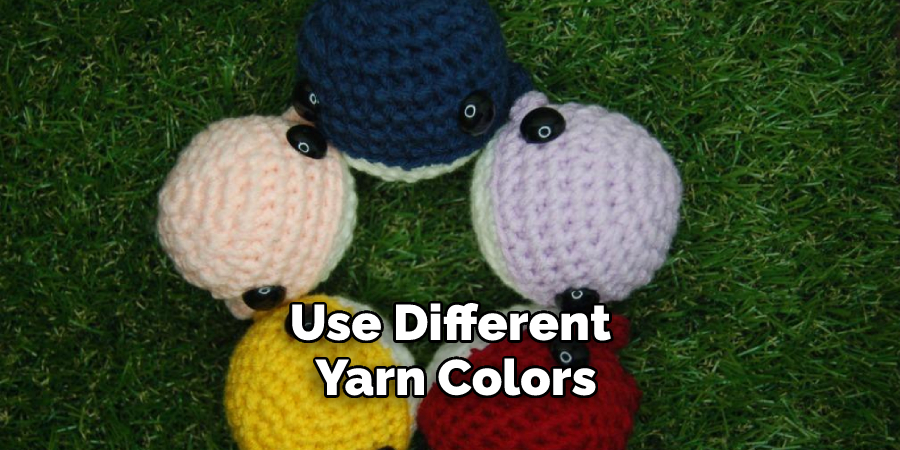
By following these steps, you can easily crochet your own mini whale. You can use different yarn colors and even add other features to make your whale unique. With just a few supplies and some patience, you can have a new cute mini whale in no time.
You Can Check It Out to Crochet a Flower Blanket
Safety Tips for How to Crochet a Mini Whale
- Use the correct size of crochet hook for your yarn and pattern; this will help you complete the project safely and accurately.
- Always follow instructions carefully to avoid unnecessary risks and injuries associated with crocheting a mini whale.
- Make sure all supplies are in good condition before starting your project, such as the crochet hook, yarn, and other materials.
- If you are using a pattern with more than one color of yarn, be sure to keep track of the colors as you work so that no mistakes are made in the process.
- Always keep your hands away from sharp edges or points when crocheting a mini whale.
- Never pull too tightly when stitching; this can cause tearing or unraveling of the yarn, which can be dangerous and difficult to fix.
- Keep scissors away from children while crocheting a mini whale, as they can easily get injured with the blades.
- Ensure that your workspace is well-lit so you can clearly see what you are doing. This will help to reduce the risk of making mistakes and getting injured.
Following these safety tips will help ensure that your project is successful, safe, and enjoyable.
How Long Does It Typically Take to Complete a Mini Whale Project?
The amount of time it takes to complete a mini whale crochet project will vary greatly depending on your experience level, the type of yarn and hook used, and the size of your finished project. On average, a beginner could expect to spend anywhere from four to six hours completing a small mini whale-shaped item, while an experienced crocheter might need only two to three hours.
It may also take longer, depending on the complexity of the stitches and shaping required for your whale design. For more intricate patterns, such as a two-color mini whale, you can expect to spend even more time crafting the perfect project.
How Should You Care for Your Finished Mini Whale?
Once you’ve completed your mini whale, it’s important to take proper care of it. To ensure that your mini whale remains in good condition:
- Store it away from direct sunlight when not displaying it. Sunlight can damage the yarn over time and cause fading or discoloration.
- Gently spot and clean any stains or dirt with a soft cloth and mild soap. Do not submerge your mini whale in the water.
- If your mini whale gets squished, try to reshape it as best you can. Do not iron or use the heat of any kind, as this could damage the yarn.
With proper care, your mini whale should last for many years. Display it proudly or give it as a gift to a special someone – they’ll surely love it.
Are There Any Safety Precautions You Should Take Before Starting This Project?
Yes, you should take some safety precautions before starting this project. First, it is important to ensure that the tools and supplies you are using for this project are safe for use with yarn. If you are using a metal crochet hook, be sure to check that the metal does not have any sharp edges that could snag or cut your yarn.
Additionally, it is important to ensure that any needles or other sharp objects used for this project are kept away from children at all times. Lastly, be sure to read the instructions carefully and follow them exactly as written when crocheting your mini whale.
Once you have taken the necessary safety precautions, you can move on to crocheting your mini whale. To start, prepare a piece of white or blue yarn and a size F (3.75mm) crochet hook. The color and type of yarn you choose will determine the finished look of your project.
Are Any Variations of the Mini Whale Pattern You Can Try Out?
Yes. There are several fun variations of the mini whale that you can try. Here are a few ideas to get you started:
- Color Variation: Change up the colors to make your whale unique. You can use any color combination or add stripes or polka dots for extra detail.
- Pom-Pom Variation: Add a small pom-pom to the back of your whale to give it some extra cuteness.
- Fins and Tail Variation: Instead of using one piece for the fins and tail, break them up into multiple pieces so you can customize the shape and size as desired.
- Face Variation: Personalize your whale by adding eyes and a smiley face to the front. You can add eyelashes, eyebrows, or other facial features if you’d like.
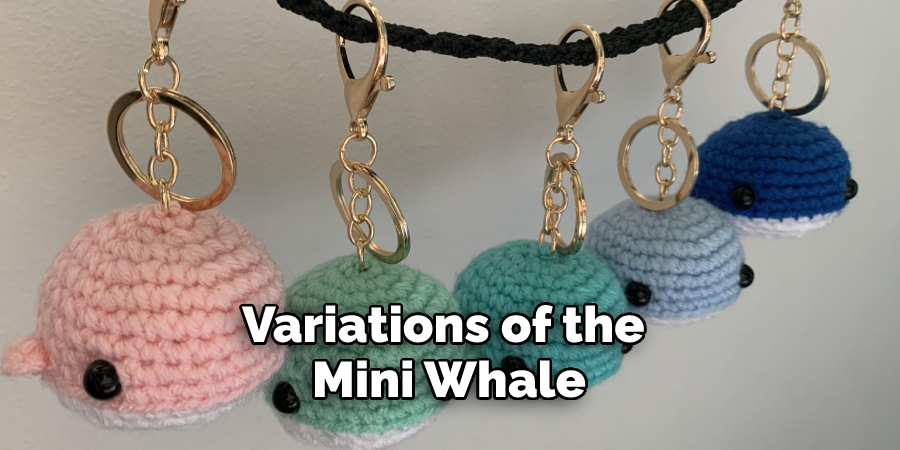
These are just a few ideas to customize your mini whale pattern. Have fun experimenting with different variations to make your creation unique.
Conclusion
The primary disadvantage of crocheting a mini whale is the amount of time and effort it requires. The project can be quite labor-intensive, as you must pay attention to detail when creating intricate stitches. Additionally, since the size of your crochet hook will determine the size of your whale, using one that is too large may cause the stitches to be too wide and the whale to appear disproportionate.
In conclusion, crocheting a mini whale is an enjoyable and unique project. It’s simple enough for beginners to accomplish easily but still fun and challenging enough to make it interesting for more experienced crafters.
All you need are some basic crochet supplies and a few hours of your time, and you can create a beautiful piece that will be cherished by all who see it. I hope reading this post has helped you learn how to crochet a mini whale. Make sure the safety precautions are carried out in the order listed.
You Can Check It Out to Wrap Crochet Bouquet

