
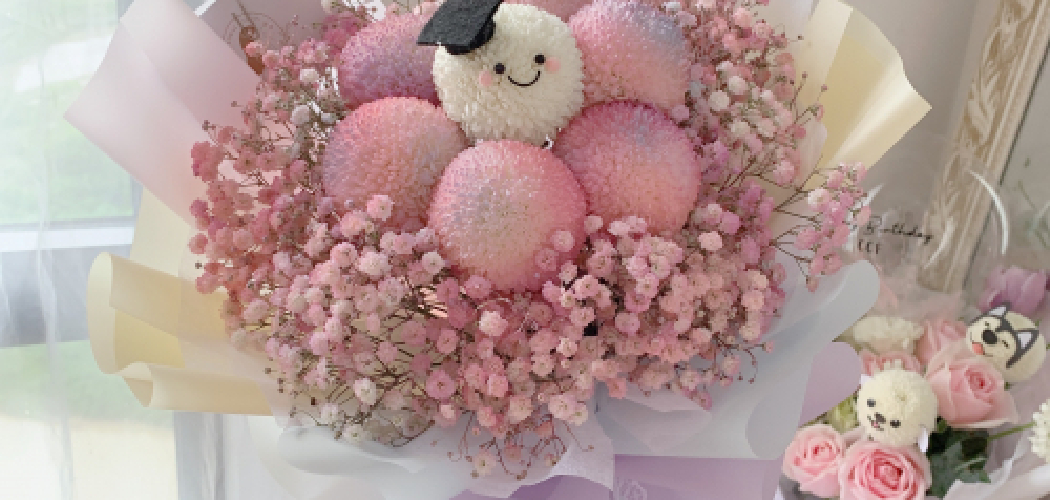
Wrapping a crochet bouquet is an easy way to create an impressive and eye-catching gift for someone special. Even if you have limited experience with crocheting, this project can be easily completed in a few simple steps. Wrapped bouquets are ideal for Valentine’s Day, Mother’s Day, anniversaries, and birthdays. The time you spend wrapping the bouquet will show whoever receives it how much you care.

One of the advantages of wrapping a crochet bouquet is that it allows you to customize the look of your bouquet. By wrapping the stems in different colors and sizes of yarn, you can create a unique and customized look for your flowers. Additionally, by using various types of finishes, such as single-crochet or double-crochet, you can create a professional-looking finish that will last for many years. You can find step-by-step instructions on how to wrap crochet bouquet in this blog article.
11 Step-by-step Instructions for How to Wrap Crochet Bouquet
Step 1: Inspect Your Crochet Bouquet
Check to ensure all pieces of your crochet bouquet are securely attached and that there are no loose yarn tails. To begin, you will need a few items, including scissors, ribbon, tulle, and hot glue (or tissue paper). You can choose to use a single color for all elements or mix and match colors for a fun and unique look. The choice is entirely up to you!
Step 2: Measure the Ribbon and Tulle
Measure the length of ribbon you need to wrap around your crochet bouquet. Cut the tulle into strips that are twice as long as the length of your ribbon. You should have two pieces of ribbon and two strips of tulle for each flower. But if you prefer a simpler look, you can use one ribbon and tulle strip for each flower. It’s all about personal preference! It’s also a good idea to cut extra lengths of ribbon and tulle so that you have enough material to work with and can adjust as needed.
Step 4: Create a Tied Bow Decoration
Cut a length of ribbon about 12 inches long. Tie it in a bow and glue the ends onto your crochet bouquet. This will give your bouquet a nice look and keep all of the pieces together, ensuring they don’t come apart while transporting or displaying it. The bow can also serve as a decorative element, so feel free to use a different color or type of ribbon for added visual interest. There are many different bow styles to choose from, so have fun experimenting!
Step 5: Add Filler (Optional)
If you want to add some extra decoration to your bouquet, you can add filler, such as small silk roses or artificial leaves. Glue them in the center of the bow and around the edges of your crochet bouquet for a beautiful finish. You can also add a personalized touch by using small charms or trinkets that represent the recipient’s interests. Although this step is optional, it can add a special touch and make the bouquet even more meaningful.
Step 6: Cut Tulle and Ribbon for Stems
Measure out the length of ribbon and tulle for each bouquet stem, ensuring they are long enough to be wrapped around the stems and tied into a bow. Cut each piece to size. You can also choose to use different colors of ribbon and tulle for a more colorful look or stick to a single color for a more cohesive appearance. It’s all about personalizing your bouquet to your liking! You can also choose to use different types of ribbon, such as satin or lace, for added texture and visual interest.
Step 7: Wrap the Stems
Wrap the ribbon and tulle around each stem, securing it with hot glue or tissue paper. You can also use different colors of yarn for a more customized look. The tulle will add a soft and delicate touch to the bouquet, while the ribbon will provide structure and durability. Experiment with different wrapping techniques, such as twisting or branding, for added dimension and flair. You can also add additional layers of ribbon and tulle for a fuller look. It’s all about creativity and personalization!
Step 8: Add Finishing Touches
Once all stems are wrapped, tie them together in a bouquet shape using leftover ribbon or twine. This will help keep the bouquet together and make it easier to transport. It also adds a rustic and charming touch to the overall look. You can also add additional decorations, such as small charms or beads, to the stems for a personalized touch. It’s important to ensure that the stems are securely tied together so that the bouquet doesn’t come apart.
Step 9: Personalize with a Message (Optional)
To add a personal touch, you can attach a small handmade note or card to the bouquet. This could be a simple handwritten message or a printed tag with a special quote or saying. You can also attach a small photo or picture to the bouquet for an extra sentimental touch. This step is optional, but it can add a special and heartfelt element to the gift. It’s all about making the bouquet unique and meaningful to the recipient.
Step 10: Display Your Crochet Bouquet
Once your bouquet is wrapped and decorated, it’s ready to be displayed. You can place it in a vase or simply lay it on a table as a centerpiece. It also makes for a unique and thoughtful gift for any occasion. The recipient will be sure to appreciate the time and effort put into creating such a beautiful and personalized bouquet. You can also add additional decorations, such as a ribbon or bow on the vase, for added visual interest.
Step 11: Maintain Your Crochet Bouquet
To ensure your crochet bouquet stays fresh and beautiful, keep it away from direct sunlight and moisturize the yarn occasionally with fabric or hair conditioner. This will help keep the yarn soft and prevent any potential damage. With proper care, your crochet bouquet can last for many years to come. It’s also a great idea to take photos of your bouquet before giving it away so you can remember and cherish the memories associated with creating such a special gift.

By following these steps on how to wrap crochet bouquet, you can easily wrap your crochet bouquet with ribbon and tulle. With a few simple supplies, you can create a beautiful arrangement that will last for years to come.
Safety Tips for How to Wrap Crochet Bouquet
- Don’t get distracted while wrapping the bouquet. Pay attention to what you are doing and take your time so that you don’t make a mistake that could ruin the entire bouquet.
- Use only non-flammable materials, such as ribbon or twine, when wrapping the crochet bouquet.
- Before you start wrapping, ensure that the bouquet is securely and evenly held in place with a few strands of yarn so that it doesn’t move around while you are working.
- Be careful with scissors or other sharp objects when cutting the ribbon for the wrap, as they can cause injury or ruin the bouquet.
- Use a glue gun with a low-temperature setting when attaching the ribbon to the bouquet, as hot glue can melt yarn and ruin the bouquet.
- Make sure that all ends of the bouquet are securely covered so that they don’t unravel or show through in the finished product.
- Take plenty of time to make sure that the wrapping is neat and even, as this will ensure that the bouquet looks better when finished.
- Be careful with adding additional decorations or accessories such as beads, pearls or buttons, as these can be a choking hazard for small children if left unattended.

These safety tips will ensure that you create a beautiful crochet bouquet without compromising the safety of everyone involved. With these precautions in mind, you are sure to have a successful and enjoyable experience when wrapping crocheted bouquets.
How Long Should the Fabric Be When Wrapping the Crochet Bouquet?
When wrapping the crochet bouquet, it is important to use long enough fabric to cover the entire stem. Generally speaking, you should use a piece of fabric that is at least twice as long as your bouquet stems. This will ensure that you can securely wrap and tie off the ends of the fabric around each stem.
To ensure that the fabric is long enough, you should measure and cut a piece of fabric to the desired length. Next, hold the bouquet in your dominant hand and drape the fabric over it. You want to make sure that the ends can overlap and still provide enough coverage for each stem. For example, if you use a piece of fabric that is 30 inches long, it should be able to wrap the entire bouquet with enough excess material to tie off each stem.
How Can You Make Sure That the Fabric of Your Crochet Bouquet Wrap Stays in Place While Displaying It?
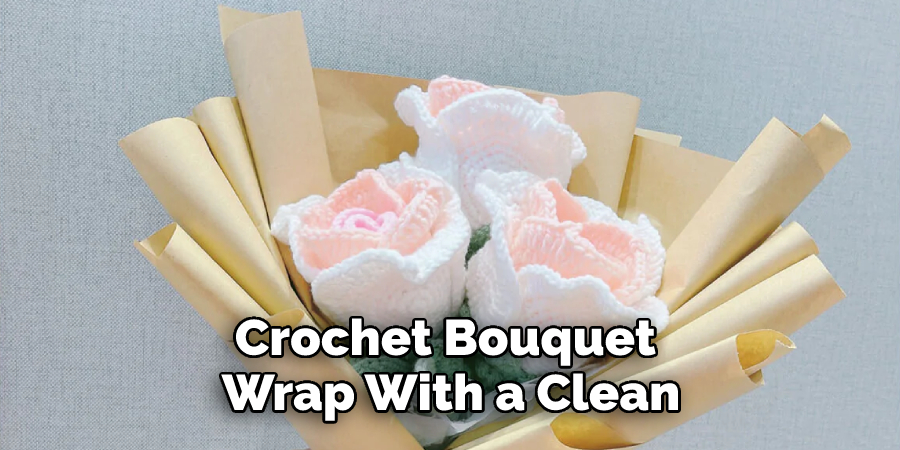
For starters, when you are wrapping the bouquet of crochet flowers, use a sturdy fabric such as muslin or cotton. This will help ensure that the fabric wrap stays in place once the crochet bouquet is finished. As an added bonus, this fabric also looks elegant and refined with its sheer white color.
You can also use stiff cardboard to help keep the fabric in place. Cut the cardboard into a circle or oval shape that is slightly larger than the crochet bouquet. Place it on top of the bouquet and wrap the fabric around it so that the fabric does not move when you hold up your beautiful work of art for display.
If you want to take it a step further, you can use ribbon or string to wrap around the bouquet. Secure the fabric in place by making sure that the ribbon or string is tightly tied and knotted at both ends. This will help ensure that everything stays in place while still allowing for the movement of the individual crochet pieces.
How Do You Maintain Your Crochet Bouquet Wrap Over Time to Keep It Looking Its Best?
- Handle the bouquet wrap with care. To maintain the integrity of your crochet, always handle it gently and avoid pulling or tugging on it too hard. Remove any decorations that might be stuck to the fabric by carefully cutting away any strings or threads without causing damage to the material.
- Store your crochet bouquet wrap in a cool, dry place. Avoid damp and humid environments as these can cause the fabric to become discolored or damaged.
- Dust off your crochet bouquet wrap with a clean, soft cloth when needed to keep it looking its best.
- Stain removal may be necessary if any spills occur on the fabric of your crochet bouquet wrap. Blot the stain with a damp cloth and then gently scrub with a mild detergent to remove any residue. Rinse the fabric afterward, and allow it to air dry before storing or using it again.
- If your crochet bouquet wrap needs washing, use cold water on a gentle cycle in the washing machine to avoid any damage or shrinkage. Allow it to air dry completely, and then store in a cool, dry place until needed.
Following these steps will ensure that your crochet bouquet wrap looks its best over time. With proper care and maintenance, you can enjoy the beauty of your homemade creation for many years to come.
What Tricks Should You Keep in Mind When Wrapping a Crochet Bouquet?
- Start by measuring the circumference of your bouquet. When you’re finished wrapping, it should fit snuggly around the stems and leaves.
- Cut out a piece of fabric or other material that is slightly larger than the circumference measurement. For example, if you measured an 18-inch circumference, cut out a 20-inch piece of fabric.
- Wrap the material around the flowers and stems in a spiral, keeping all of your leaves covered. Secure it with a few knots or clips at various points along the circumference.
- Now, it’s time to add embellishments. Use ribbons, beads, or other items to give the bouquet a unique look.
- When you’re finished, tie the ends of the fabric together and secure it with a bow. This will create a handle for your wrapped bouquet.

Wrapping a crochet bouquet is an easier task than it appears. With these tricks in mind, you’ll be able to create a beautiful bouquet that is sure to impress.
You Can Check It Out to Crochet a Cup for a Top
Frequently Asked Questions:
Q: Can I Use Other Types of Fabric Besides Muslin or Cotton to Wrap My Crochet Bouquet?
A: Yes, you can use other types of fabric such as lace, linen, or organza. Just make sure that the fabric is sturdy enough to hold the weight of the bouquet and secure it in place.
Q: Can I Reuse My Crochet Bouquet Wrap for Different Bouquets?
A: Yes, you can reuse your crochet bouquet wrap as long as it remains in good condition. Just be sure to remove any decorations or embellishments before wrapping a new bouquet to avoid any damage.
Q: Do I Need to Wash My Crochet Bouquet Wrap Before Using It?
A: It is not necessary to wash your crochet bouquet wrap before using it. However, if you prefer, you can wash it on a gentle cycle before using it to ensure that it is clean and free of any dust or debris. Just be sure to allow it to air dry completely before wrapping your bouquet.
Q: Can I Make a Crochet Bouquet Wrap for Other Types of Flowers?
A: Absolutely! You can use the same techniques and measurements to create a crochet bouquet wrap for any type of flower. Just be sure to adjust the length and width of your fabric accordingly to fit the specific bouquet you are wrapping. The possibilities are endless! Overall, have fun and get creative with your crochet bouquet wrap – it is a unique and stunning way to display any type of flower arrangement.
Q: What Other Creative Ways Can I Use a Crochet Bouquet Wrap?
A: Besides being used as an elegant wrap for bouquets, you can also repurpose your crochet bouquet wrap for other creative projects. Some ideas include using it as a table runner or placemat, cutting and sewing it into smaller fabric pieces for coasters or decorative patches, or even framing it to hang on a wall as a piece of art. Don’t be afraid to think outside the box and explore different ways to use your crochet bouquet wrap!
Conclusion
In conclusion, wrapping a crochet bouquet is a fun and easy craft project. It is inexpensive to give a special handmade gift and show off your crochet skills. You can use any of the methods described in this blog post to wrap your bouquets in beautiful paper or fabric, dress them up with ribbons, and even embellish them with beads and other decorations. With a bit of time and creativity, you can make your bouquets look stunning and one-of-a-kind. I hope reading this post has helped you learn how to wrap crochet bouquet. Make sure the safety precautions are carried out in the order listed.
You Can Check It Out to Frame a Pressed Flower