
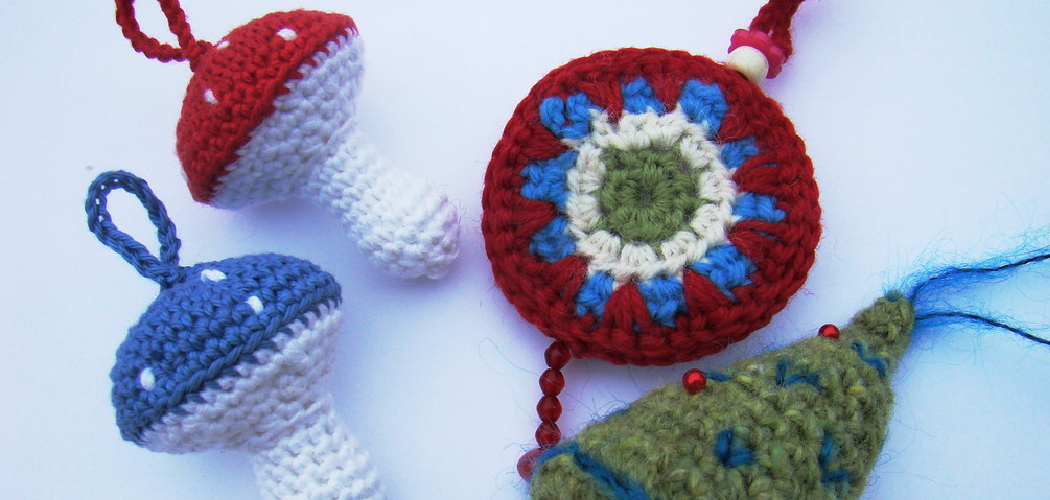
If you’ve ever wanted to learn how to crochet a mushroom, then you’re in luck because we’ll be going over all the steps you need to know! This beginner’s guide will have you create your own unique and creative mushrooms within no time at all.

From learning basic crochet stitches and forming the mushroom shape to understanding dyeing techniques – this article has everything covered so that even novice crafters can create a show-stopping stuffed toy or decoration for their home. Whether it’s for yourself, as a gift for someone special, or simply just for fun – crocheting any type of plushie is sure to bring joy into anyone’s life!
How Do You Crochet a Spot on a Mushroom?
Crocheting a spot on a mushroom can be a fun and creative way to add some extra detail to your crocheted mushroom. To do this, you will need the following materials: yarn, a crochet hook, scissors, and stuffing. Start by making a magic loop with your yarn and first stitch. Then, make four single crochets in the loop. Pull the yarn tight to close the loop and slip the stitch into the first single crochet to create a circle.
Next, make three chain stitches. Then, make two double crochets in every single crochet around for a total of eight double crochets in one round. Finish off by slip-stitching into the first double crochet. For the next round, work two single crochets in each of the eight double crochets from the previous round. You will now have a total of sixteen single crochets.
For the third and last rounds, make two single crochets in each of the sixteen single crochets from the previous round. You will now have a total of thirty-two single crochets. Finish off by slip-stitching into the first single crochet and cutting your yarn. Stuff lightly, and you’re done! You now have a cute spot on your crocheted mushroom!

Now go ahead and show off your creativity by adding other fun details to your mushroom. You can use different colors of yarn or try crocheting stripes, spots, and other shapes to make your mushroom unique.
10 Methods How to Crochet a Mushroom
1. Choose the Right Yarn
The first step in crocheting a mushroom is to choose the right yarn. The best yarns for this project are worsted-weight yarns in earthy tones. You will need approximately 30 yards of yarn for each mushroom. If you want to add texture, you can use fuzzy yarns or bouclé yarns. While you can use any type of yarn for this project, it is important to make sure the color will work with the project. However, if you want to make a bigger mushroom, you may need more yarn.
2. Crochet the Mushroom Cap
To start crocheting the mushroom cap, make a slip knot and then crochet a magic ring. Once you have the magic ring, crochet six single crochet stitches into the ring. Then, pull the tail of the yarn to close the ring.
Next, crochet two single crochet stitches into each stitch around (12 stitches total). After that, crochet one single crochet stitch into the next stitch and two single crochet stitches into the stitch after that (18 stitches total). Finally, crochet one single crochet stitch into each of the next two stitches and two single crochet stitches into the stitch after that (24 stitches total).
3. Crochet the Mushroom Stem
To start crocheting the mushroom stem, make a slip knot and then crochet a magic ring. Once you have the magic ring, crochet six single crochet stitches into the ring. Then, pull the tail of the yarn to close the ring. Next, crochet two single crochet stitches into each stitch around (12 stitches total). After that, continue crocheting one single crochet stitch into each stitch around until your stem is approximately 4 inches long.
4. Finish Crocheting the Mushroom Cap
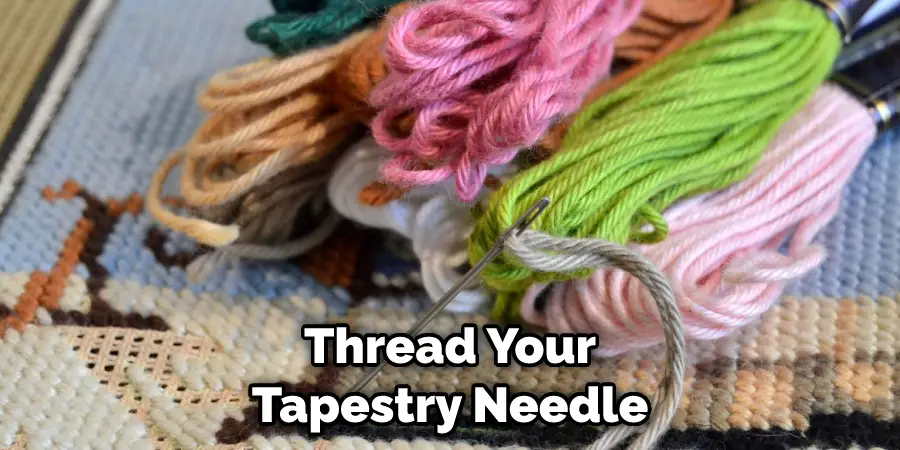
Once you have crocheted the desired number of rows for your mushroom cap, it is time to finish it off. To do this, cut your yarn, leaving a long tail (approximately 18 inches). Then, thread your tapestry needle with the tail of yarn and insert it through each stitch around. Finally, pull tight to close off the top of your mushroom cap and weave in any loose ends. If desired, you can slip stitch around the entire cap for a more polished look. And that’s it! You have now finished crocheting your mushroom.
5. Attach Mushroom Cap to Stem
To attach your mushroom cap to its stem, start by threading your tapestry needle with a long piece of yarn (approximately 36 inches). Then, insert your needle through one of the bottom loops of your mushroom cap and then through one of the top loops of your mushroom stem.
Continue doing this until both pieces are securely attached. Finally, weave in any loose ends. Your mushroom is now complete and ready to be used in a variety of different crochet projects. Although they may seem intimidating at first, crocheting mushrooms is surprisingly easy once you get the hang of it.
6. Make the Mushroom Spots
To make the spots for your mushroom cap, start by threading your tapestry needle with a long piece of yarn. Then, insert your needle through one of the bottom loops of your mushroom cap and then through one of the top loops. Pull tight to secure the spot, and repeat until you have all the spots that you want.
You can make as many or as few spots as you like to get the look you want. Once you are finished, knot your yarn and trim off the ends. Your mushroom is now complete and ready to be used in any project you can think of! Additionally, you can attach a stem if you want to make your mushroom look more realistic. Have fun and happy crocheting!
7. Make the Mushroom Hairs
To make the hairs for your mushroom cap, start by threading your tapestry needle with a long piece of yarn (approximately 18 inches). Then, insert your needle into one of the top loops on your mushroom cap and pull tight to secure it in place. Continue doing this until you have all the hairs that you want.
Once they are all in place, weave in any loose ends. Your mushroom is now finished and ready to be used as a decoration or even given away as a gift. However you decide to use your mushroom, you can be proud of the work you’ve put into it! With some patience, creativity and a little bit of yarn, you can crochet a unique and decorative mushroom.
8. Stuff Your Mushroom
Once you have crocheted all the pieces of your mushroom, it is time to stuff it with stuffing. Start by threading your tapestry needle with a long piece of yarn (approximately 36 inches). Then, insert your needle into one of the bottom loops on your mushroom cap and pull tight to secure it in place. Continue doing this until you have stuffed your mushroom to your desired level of firmness.

9. Make the Mushroom Eyes
To make the eyes for your mushroom, start by threading a small length of black embroidery floss onto a tapestry needle. Next, insert the needle through one of the side loops on your mushroom cap and then back through another side loop to form an eye shape. Finally, tie off the end of your floss and trim any excess.
10. Enjoy Your Mushroom!
Congratulations, you have completed your crochet mushroom! Now all that’s left to do is enjoy it! This fun project makes a great home decor piece or can be used as a fun toy for kids. Have fun with it, and let your creativity flow!
Things to Consider When Cricheting a Mushroom
1. Pick the Appropriate Yarn:
For a more realistic look, you can use wool-based or cotton-based yarns. These are better able to hold the shape of your mushroom. If you want a softer touch, go for acrylic or alpaca-based yarns.
2. Choose the Right Hook Size:
When crocheting a mushroom, it is important to use an appropriately sized hook for your project. Go for a smaller hook size if you want a more detailed, realistic look. Bigger hooks will make the stitches looser and, therefore, less detailed.
3. Don’t Rush:
Mushrooms are challenging to crochet because of their small size and intricate details. Take your time when crocheting them, so you don’t miss any important steps or mess up the pattern.
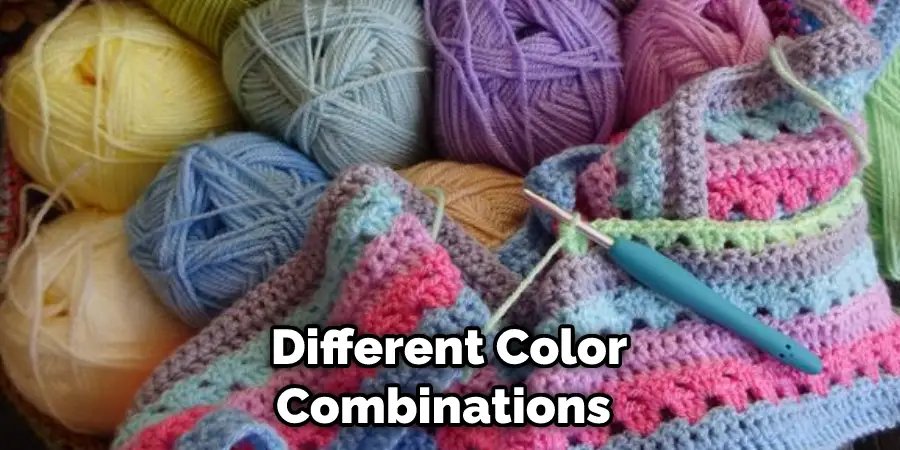
4. Play Around with Colors and Designs:
Try out different color combinations and patterns to make your mushrooms truly unique. Have fun with it! You can even use a few different colors of yarn to give your mushrooms more depth and dimension.
Conclusion
Now that you know how to crochet a mushroom, there’s no limit to the possibilities of what you can make! Whether you want to add some mushrooms to a blanket or make an adorable stuffed animal, this pattern is perfect for any project. With just a little bit of yarn and some crocheting skills, you can make your own custom creations. So grab your supplies and get started on making your very own mushroom today!