
Are you looking for a way to make your own fox friend? Look no further! Crocheting your own fox is a great way to add some fun and whimsy to any room. Here’s how you can crochet your very own fox. Crocheting is a wonderful way to turn yarn into something truly special. Not only will you have the satisfaction of making something yourself, but crocheting can also be therapeutic.
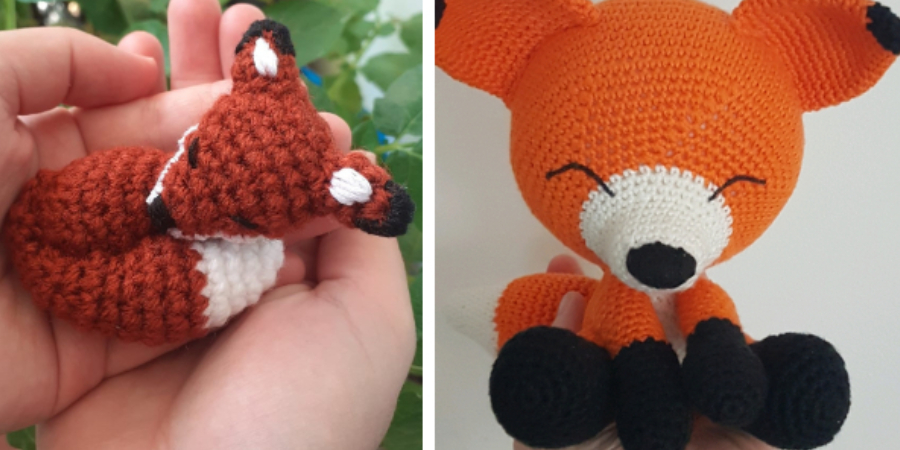
With just some basic crochet materials and knowledge, this tutorial will show you how to crochet a fox! In no time at all, you’ll have created a unique piece that’s perfect for placing on display or using as an adornment on other items such as pillows and blankets. So grab your supplies, and let’s get started on crafting together!
What Will You Need?
Before cropping your fox, you’ll need to gather the right supplies. You’ll need the following:
- Yarn in colors of your choice
- Crochet hook
- Tapestry needle
- Stuffing material
Once you’ve gathered all the supplies, you can start crocheting your fox!
10 Easy Steps on How to Crochet a Fox
Step 1. Create a Body
To start, you’ll need to crochet the body of your fox. Chain 10 stitches and join with a slip stitch. You can make the body of your fox in any color you like. Be careful not to twist the chain during this step, as it will be difficult to undo. Because the design calls for a 3D shape, you will need to increase some rounds.
Step 2. Make the Ears
Next, you’ll need to make two ears for your fox. Chain 6 stitches and join with a slip stitch. You can use any color yarn for this step as well. You will then chain four stitches and join them with a slip stitch to close the ear.
Step 3. Make the Head
Now that you have created the body and ears, it’s time to make the head of your fox. Chain 8 stitches and join with a slip stitch. You can use any color yarn for this step as well. Once again, you will need to increase some rounds so that the head is rounder in shape instead of flat.

Step 4. Add Eyes and Nose
To give your fox more personality, you’ll need to add eyes and a nose! Using black yarn or embroidery thread, attach two small circles onto your fox’s face for eyes. And then, using pink yarn or embroidery thread, add a small triangle for the nose.
Step 5. Try Different Colors
Now is the time to get creative! You can make your fox’s body, head, and ears in any color you like. Try making one with bright colors or even two-toned fur! The possibilities are endless.
Step 6. Make the Tail
Create a tail for your fox by cropping a long chain of stitches (about 10-20 stitches, depending on how long you want). Then join the end with a slip stitch and sew it onto the back of your fox. Don’t forget to stuff it with your stuffing material before sewing!
Step 7. Stitch Together Body Parts
Once all parts are complete, it’s time to sew them together. Start by attaching the ears to the head and then attach the head to the body. Ensure that the facial features are facing forward. It is important to sew the parts together tightly so your fox can keep its shape.
Step 8. Stuff and Close
When all pieces are attached, begin stuffing your fox with the material of your choice. Once you’ve stuffed it as full as you like, close the opening by stitching it shut with a tapestry needle. If you made any holes while stitching, ensure they’re also closed.
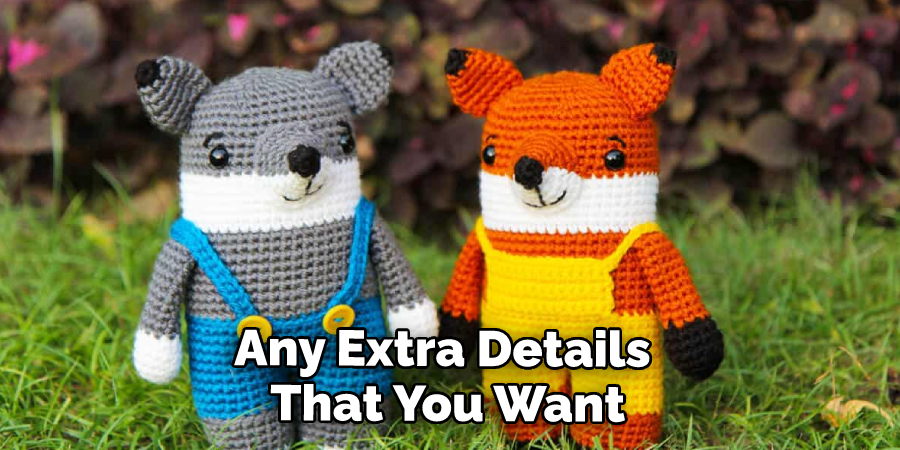
Step 9. Add Details
Now is the time to add any extra details that you want for your foxes, such as whiskers or embroidered lines on its face. Use embroidery thread or yarn to add these details, and make sure they hold in place by knotting them at the back of your fox. You can add a bow or ribbon around your fox’s neck for an extra touch. There are so many ways to customize your fox!
Step 10. Admire Your Work
After all the hard work and dedication, it’s time to admire your final product! You can now proudly display your handmade fox for the world to see. Congratulations! You did it! Now you have your very own handmade fox. Place it on display or use it as adorn for your other projects!
By following these steps, you’ll be able to crochet a fox of your own easily. Not only is this project fun, but the results are sure to bring a smile to any face. So grab some yarn and get crocheting! You won’t regret it.
You Can Check It Out To Crochet a Bow Tie
5 Additional Tips and Tricks
1. Change Up Yarn Colors for Different Effects: You can use certain colored yarns to give your fox a unique look. Try using shades of brown, gray, and white for a realistic feel, or experiment with other brighter colors like pink and orange for something more whimsical.
2. Stuff the Body to Maintain Shape: Stuffing your fox as you go along will help keep its shape as you crochet. This will also give it a nice and fluffy look.
3. Attach the Facial Features: Once all of the pieces of your fox are completed, use yarn and a tapestry needle to attach the eyes, nose, mouth, and ears.
4. Give Your Fox Some Personality: After stitching on its facial features, you can give it character by adding details like eyebrows or whiskers with embroidery floss or crochet thread.
5. Have Fun and Be Creative!: Crocheting a fox is enjoyable and rewarding! Feel free to experiment with different color combinations and embellishments to make it unique!
With just a bit of patience, you’ll have an adorable fox of your own in no time. Happy crocheting!
5 Things You Should Avoid
1. Skipping Steps: When you’re crocheting a fox, it’s important to follow the instructions carefully. Don’t skip any steps if you want your crocheted fox to look its best!
2. Taking Shortcuts: Just like skipping steps, taking shortcuts while crocheting can lead to a less-than-perfect result. Be sure to take your time and follow the instructions correctly.
3. Not Using a Pattern: Patterns are an important part of crocheting any project, especially when you’re trying to make something as intricate as a fox. Don’t try to “wing it” without a pattern!
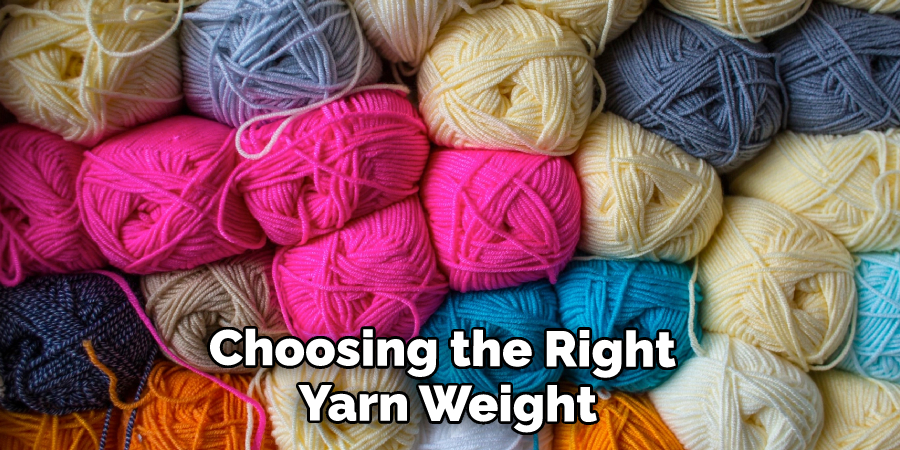
4. Not Using the Right Yarn Weight: Choosing the right yarn weight is crucial for achieving good results when crocheting a fox. Make sure that you pick the right one for your project!
5. Trying to Crochet Too Big or Too Small: It can be difficult to get the sizing just right when crocheting a fox – but it’s essential that you do if you want your fox to look how you want it to. Don’t be afraid to try again if your first attempt isn’t quite right!
Crocheting is all about practice and patience, so keep at it until you get the results you’re looking for!
Is It Hard to Crochet an Animal?
It may seem like a daunting task to crochet an animal, but anyone can do it with the right pattern and patience! It’s important to take your time and follow the instructions carefully to get great results.
Additionally, using quality materials such as good yarn will help ensure that your crocheted animal looks its best. Don’t be afraid to experiment and make it unique – have fun and enjoy the process! With enough practice, you’ll be able to crochet any animal you desire easily.
Overall, with the right steps and supplies, you can crochet any animal you, please! So don’t be afraid to try it – with just a bit of patience, you’ll have an adorable crocheted friend in no time. Happy crocheting!

The main takeaway is that anyone can crochet a fox or any other animal with enough practice and patience. Armed with the right materials and instructions, you’ll be able to make your own handmade creations in no time! So grab some supplies and get started on your very own crochet project today.
Conclusion
Crafting a fox can be an exciting and rewarding experience unleashing creativity. When you get stuck or frustrated, take a break and return to the project with fresh ideas. With the right materials, some patience, and clear instructions, anyone can crochet a fox! It isn’t always necessary to follow the exact pattern provided; instead, customize your fox however you see fit.
You never know – you could even create your own special twist on this classic craft. Your new creation will express your skill and hard work that you can display for everyone to see. And who knows – after mastering the art of crocheting a fox, you might even be inspired to try out other Animal Amigurumi projects in the future!
Hopefully, this guide on how to crochet a fox has provided you with the necessary information to start crocheting your fox! With just a bit of patience and effort, you’ll be well on your way to creating an adorable crocheted friend.
You Can Check It Out to Choose Yarn Color Combinations