
Do you want to learn how to cast on at the end of a row? Whether you are looking for ways to add decorative details or pull off a tricky project, knowing how to cast on with ease can be one of the most important skills in your repertoire. With some practice and this informative guide, casting on at the end of a row can become second nature – so read on for all the information you need!

No matter how experienced a knitter you may be, remembering how to cast on at the end of a row can often be difficult. But by learning this crucial knitting skill, you’ll open up many options for creating projects with intricate textures and designs. Here, we’ll explain how to cast on in both flat and circular knitting, discussing techniques ranging from the traditional long-tail cast-on method through to an array of provisional methods suitable for advanced knitters. Read on as we provide helpful tips that will help your knitting look professional and keep your confidence levels high – no matter which stitch pattern you choose next!
Why May You Want to Cast on at the End of a Row?
There are many reasons why you may want to cast on stitches at the end of a row when knitting. Such as:
1. To Add Texture and Detail
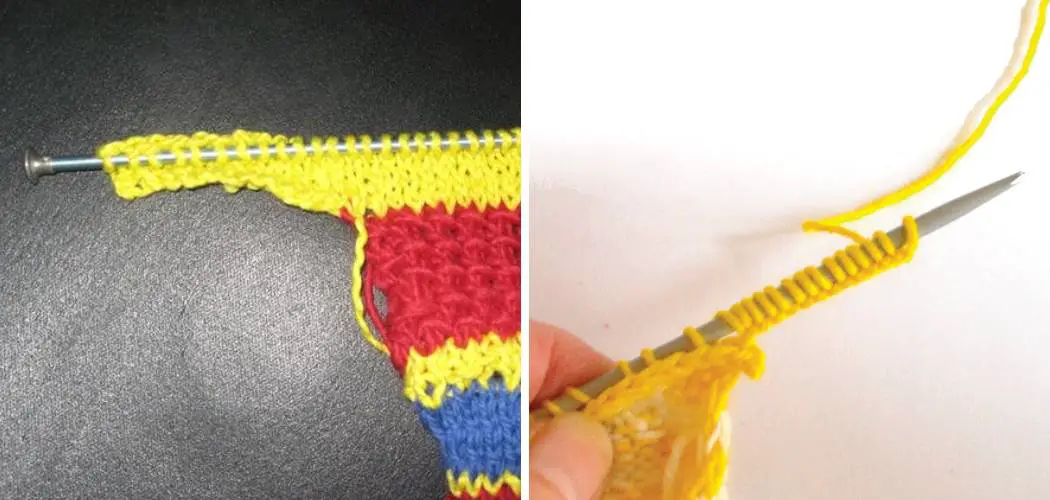
One of the most common reasons to cast stitches at the end of a row is to add texture and detail to the fabric. This can be done by casting on a contrasting color of yarn, or by adding a more intricate stitch pattern.

2. To Increase Stitches
Casting on stitches at the end of a row is also an easy way to increase the number of stitches in your row for additional shaping and depth. Also, if you’re creating a shawl or scarf, casting on stitches at the end of a row can be used to create ruffles and other flared edges.
3. To Make a Seamless Edge
Casting on stitches at the end of a row can help to create a seamless edge. This technique works especially well when knitting in the round, as it helps form an even and smooth fabric. Also, it’s a great way to create a neat finish at the bottom of your project.
Overall, casting on stitches at the end of a row is an excellent technique for adding texture and detail, increasing stitches in a row, or creating a seamless edge. With some practice and patience, you can easily learn How to Cast on at the End of a Row and use it in your knitting projects for beautiful results!
How to Cast on at the End of a Row in 6 Easy Steps
Step 1: Place the Yarn on Your Left-hand Needle
The very first step is to place the yarn on your left-hand needle. Make sure it is secure and will not slip off during casting. Also, make sure the yarn is not too tight or too loose. So if you want to cast on loosely, hold your yarn with a larger tension than when you’re knitting.

Step 2: Insert the Right-hand Needle into the Yarn
Insert the right-hand needle into the yarn you placed on your left-hand needle. How much it should be inserted will depend upon how tight or loose you want your cast-on to be. Make sure it’s secure.
Step 3: Wrap the Yarn Around the Right-hand Needle
Step three is to wrap the yarn around the right-hand needle and then pull it through the loop on your left-hand needle. Make sure you are not pulling too tightly or too loosely as this will affect how tight or lose your cast-on is.
Step 4: Place the Loop on Your Left-hand Needle
Once you’ve pulled the yarn through the loop, place it back onto your left-hand needle. You now have two loops on your left-hand needle and one loop on your right-hand needle. You must ensure that you place the loop on your left-hand needle correctly.
Step 5: Knit the Loop
Now you can knit the loop that is on your right-hand needle, just as if it were a normal stitch. Make sure not to pull too tightly or too loosely as this will affect how tight or lose your cast-on is. Make sure that the yarn is not too tight or too loose.
Step 6: Repeat Steps 2-5
Repeat steps two through five until you have your desired number of stitches cast on at the end of a row. Once you’ve done this, your knitting project will be ready to go! If you need to adjust the tension of your cast-on, you can do so by adjusting how tightly or loosely you wrap the yarn around your right-hand needle.
By following these 6 easy steps on How to Cast on at the End of a Row, you will be well on your way to creating beautiful and unique knitting projects! Good luck
Some Extra Tips to Cast on at the End of a Row
1. Do Not Pull the Yarn Too Tightly
When casting on at the end of a row, make sure that you do not pull the yarn too tightly. If you do, it will be difficult to continue with your knitting project since it will be constricted and hard to work with. Also, ensure you are not leaving any gaps or loops in the fabric.
2. Use a Larger Needle Size
When casting on at the end of a row, using a larger needle size may be beneficial. This will help create more even stitches and ensure that your yarn is not too tight while working the project.

3. Count How Many Stitches You Cast On
When casting on at the end of a row, it is important to count how many stitches you have cast on before continuing with your project. This will help ensure that your fabric remains even and consistent when working the pattern. Additionally, if you make a mistake in your counting, you can easily go back and fix it.
4. Use a Contrasting Color to Show How Many Stitches You Cast On
Using a contrasting color of yarn can be beneficial when casting on at the end of a row, as it will help you keep track of how many stitches you have cast on. Additionally, this will also make it easier to find any errors that may have occurred in your work.
5. Take Breaks When Needed
When knitting, it is important to take breaks when needed. This can help you stay focused and relaxed while working on your project and prevent any potential fatigue or injury from overworking yourself. It will also allow you to double-check your work and make sure that it is consistent and even.
By following these tips, you should be able to cast on at the end of a row without any difficulties. This will help ensure that your knitting projects turn out looking professional and neat. Additionally, taking frequent breaks can help avoid any potential issues or mistakes as well.
Frequently Asked Questions
What Precautions Should I Take When Casting On at the End of a Row?
When casting on at the end of a row, you should always make sure that your yarn is secure and will not unravel. Pulling each stitch too tightly can cause the project to become distorted. Additionally, check the tension of all stitches prior to moving to another row so that the piece remains even. It is also important to count the number of stitches that you have cast on to ensure accuracy and avoid any mistakes later on. Lastly, be mindful of your yarn when casting on; use up the yarn evenly to avoid running out before completing your project.
What Happens if I Make a Mistake When Casting On at the End of a Row?
If you make a mistake when casting on at the end of the row, it is best to take out your knitting and start again. Depending on how many stitches were cast on incorrectly, it may be possible to undo them and try again without needing to unravel your project completely. However, if there are too many mistakes or you are unsure, it is best to start again.
What Are Some Tips for Successfully Casting On at the End of a Row?
When casting on at the end of a row, work slowly and pay attention to each stitch you make. Make sure to keep track of how many stitches have been cast on in order to achieve the desired number. Additionally, use a larger knitting needle than normal when casting on; this will help keep the tension even and make the process easier. Lastly, practice makes perfect! Experimenting with different techniques can help you find the one that works best for you.

Conclusion
Now that you have learned how to cast on at the end of a row, it’s time to put your newfound knowledge into action. Experiment with various types of yarns and needles and practice until your stitches are nice and even. Not only will this bring about consistent knitting results but also great satisfaction in finally mastering this skill.
If you ever find yourself in a predicament knitting-wise, remember that many experienced knitters are willing to help! So don’t be afraid to reach out for guidance if needed. With the right material, finesse, and patience, you can soon join the millions of avid knitters around the world who have honed their skills over time.