
Are you looking to add a bit of Autumn cheer to your crochet projects? Learning how to crochet a maple leaf is easier than you might think! Here’s how.
For anyone who loves the beauty of nature, embroidering a crochet version of the classic Canadian maple leaf is a fun and creative way to bring some outdoor charm into your home decor.
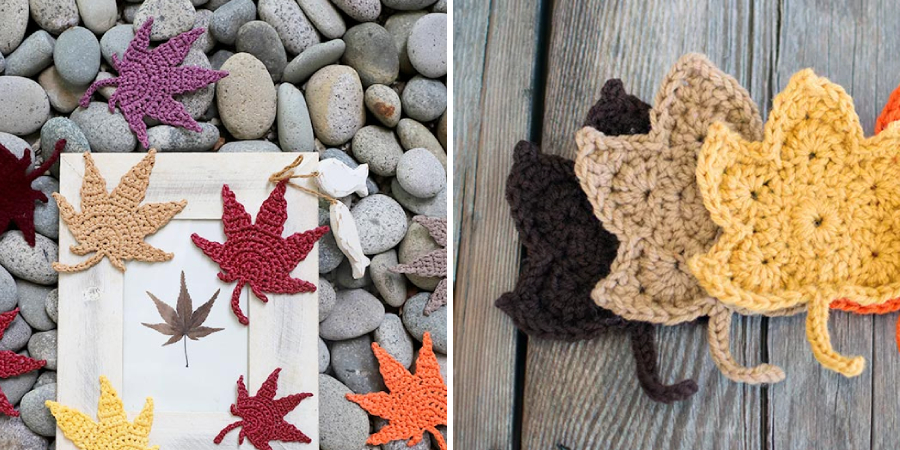
The vibrant colors, intricate shape, and natural symbolism make it an excellent choice for adorning blankets, hats, and scarves that you knit or can also be used as standalone decorations like wall hangings or table accents. Learn how to master this simple yet sophisticated stitch to express your appreciation for nature in all its forms!
In this blog post, we’ll guide you through crocheting a maple leaf so you can transform yours into something truly gorgeous!
What Will You Need?
First, let’s gather the supplies you’ll need to create your leaf masterpiece:
- Yarn in the color of your choice, ideally a medium weight yarn (4)
- Crochet hook size G/6 – 4.25 mm
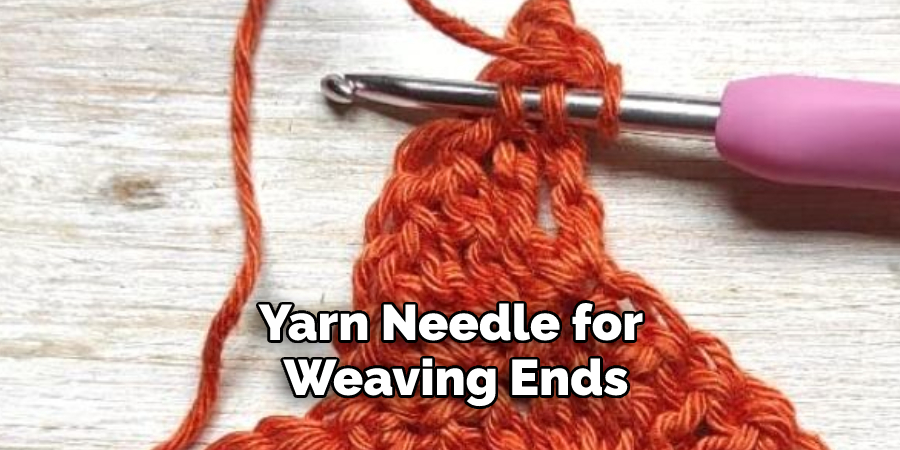
- Yarn needle for weaving ends
- Scissors
Now you’re ready to start!
10 Easy Steps on How to Crochet a Maple Leaf
Step 1: Foundation Chains
Make a foundation chain. Start by making a foundation chain of 11 chains. It will take some practice to get the size right, so don’t worry if you have to make it a few times before you find your desired length.
Step 2: Single Crochet & Chain 1
Make a single crochet stitch in the second chain from the hook, then chain one. Move on to the next chain and repeat this process until you reach the end of your row. Once you reach the final stitch, make three chains and turn your work.
Step 3: Second Row Single Crochets & Chains
This is where things start to become more interesting! Make one single crochet into each of the next two stitches (from the previous row), and then chain one. After that, skip over the next stitch and make one single crochet into the following stitch.
Make two more single crochets into the next two stitches and then chain one. Repeat this pattern until you reach the end of your row, making sure to make three chains at the end and turn in your work. Make the other rows at the same pace.
Step 4: Third Row Single Crochets & Chains
For the third row, you will make single crochet stitches and chains alternately. You start off this row with a chain. Follow that up with a single crochet stitch in the second chain from the hook. Then, make another chain and continue alternating between chains and single crochets until you reach the end of the row. When you reach the end, finish with one chain and move onto step 5.

Step 5: Final Row Single Crochets
This is where you’ll finish up your leaf. Make one single crochet into each of the first two stitches (from the previous row), and then skip over the next stitch. Make one single crochet into each of the following three stitches, skip over the next stitch, and make one more single crochet in the final stitch. Congratulations, you have now completed crocheting a maple leaf!
Step 6: Weaving in Ends
Now that you’ve finished your leaf, it’s time to weave in the ends. To do this, take your yarn needle and thread one end through the loops at the back of your work. Gently pull the yarn, so the stitch is secure, and trim off any excess yarn. You can also use a bit of fabric glue to ensure everything stays put!
Step 7: Attaching Your Leaf
If you want to attach your leaf to something, like a crochet scarf or blanket, simply take your yarn needle and thread it through the loops on each side of your leaf (from Step 6). Securely knot each side and trim off any remaining yarn. Be careful not to pull too tightly, as it can distort the shape of your leaf.
Step 8: Finishing Up
Once you’ve attached your leaf, all that is left is to give your project a final check over. Make sure everything looks how you want it, and make any necessary adjustments before declaring it finished! Congratulations on crocheting a maple leaf if you are happy with how it looks!
Step 9. Try Different Yarn
You can try using different yarns to add an extra special touch to your maple leaf. Experiment with different textures and colors to create a unique and eye-catching leaf. You can even try combining two or more colors together for a truly unique look. It will be a great way to show off your creativity and make something totally unique! Have fun with it!
Step 10. Practice and Patience
Crocheting a maple leaf can seem intimidating at first. But don’t give up! With practice and patience, you will soon be able to make perfect maple leaves every time. Don’t forget to have fun as you go along and enjoy the creative process!
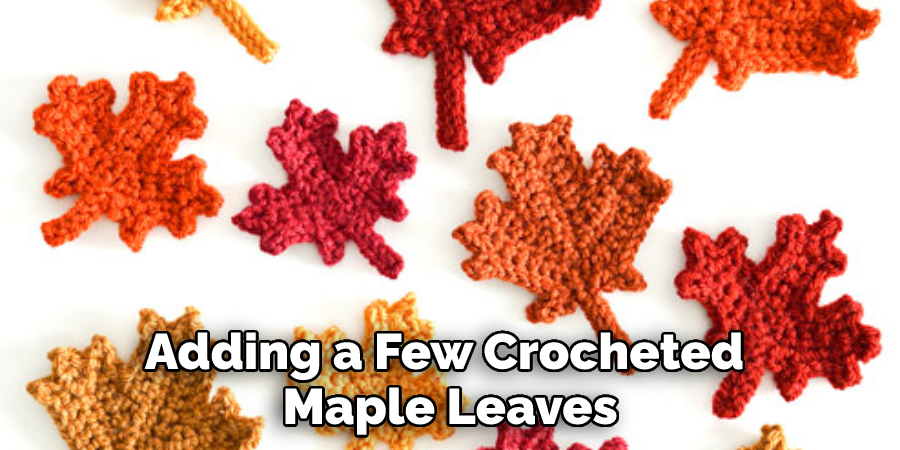
Now you can use your newfound skills to do beautiful projects that everyone will appreciate. Whether you are making a scarf, blanket, or anything else – adding a few crocheted maple leaves will really bring your project to life. Good luck, have fun, and happy crocheting!
You Can Check It Out To Crochet Gnomes
5 Additional Tips and Tricks
- When cropping a maple leaf, it can help keep the stitches tight. A tight stitch ensures that your leaf looks neat and finished.
- To get an extra-defined point in your maple leaf, use a smaller crochet hook size than you normally would.
- Use a contrasting color of yarn for the stem when crocheting a maple leaf – this will help set off its shape really well!
- If you want to make your maple leaves look like they’re blowing in the wind, add some fraying or tassels at the ends of the leaves for extra movement and dimension.
- Finally, be sure to take your time cropping a maple leaf – go slow and steady, and enjoy the creative process! With patience, you’ll soon be a master of this beautiful craft.
With these tips and tricks, you’re now well equipped to make beautiful maple leaves. So what are you waiting for? Grab your crochet hook and get started! You’ll be amazed at how quickly your skills progress.
5 Things You Should Avoid
- Skipping the chain stitch at the beginning of the leaf. The chain stitch is how you create a flat circle which will then be shaped into a maple leaf. Without it, your leaf won’t have a base and won’t take shape properly.
- Using too many or too few stitches per row. You should aim for an even number of stitches in each row to ensure that your leaf looks neat and symmetrical.
- Neglecting to work in yarn ends when you finish crocheting. Make sure to weave all your ends into the finished product so nothing unravels later on!
- Working with blunt crochet hooks can make it hard to maneuver and pull through stitches as needed. Invest in sharp, high-quality hooks for the best results.
- Crocheting too loosely or too tightly can affect how your leaf looks in the end. Keep your tension consistent throughout the project for a successful finished product!
Follow these tips, and you’ll be able to crochet a beautiful maple leaf easily.
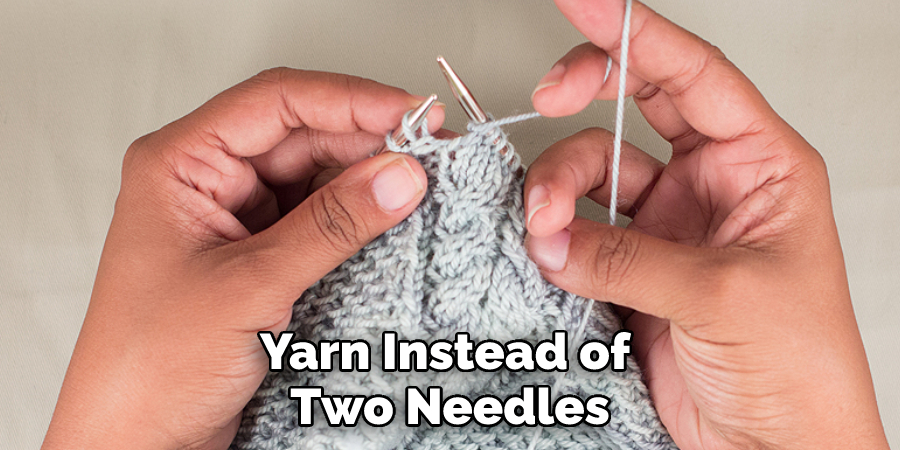
Is Crochet Harder Than Knitting?
It’s hard to say definitively whether crocheting or knitting is harder, as it depends on the individual. However, many people find crochet easier than knitting because you only use one hook and yarn instead of two needles. Crochet also creates a more fluid fabric than knitting, making complex stitches easier to execute.
Additionally, crochet patterns are often simpler and faster to create than knitting patterns. As long as you have basic knowledge, you should find it fairly easy to work up!
Ultimately, how difficult something is for you will depend on how comfortable you are with crafting, so take your time getting familiar with the basics and try out both until you find what works best for you!
Conclusion
Crafting is a wonderful way to express oneself. In the spirit of celebrating autumn, making a crochet maple leaf can be a fun, creative, and unique way to rekindle your love for crafting! Even if you are a beginner, the simple pattern and step by step instructions outlined above will have you crocheting perfect leaves in no time.
However, don’t limit yourself to maple leaves — with determination and patience, you can create any number of other seasonal designs as well! Ultimately, crocheting is about having fun and expressing yourself through creative projects and hobbies.
With this tutorial in mind as a guide, let your imagination lead the way as you craft beautiful autumn decorations that will last throughout the season!
Hopefully, this article on how to crochet a maple leaf has given you the knowledge and confidence to make your own maple leaf! Happy crafting!
You Can Check It Out to Knit Waffle Stitch