
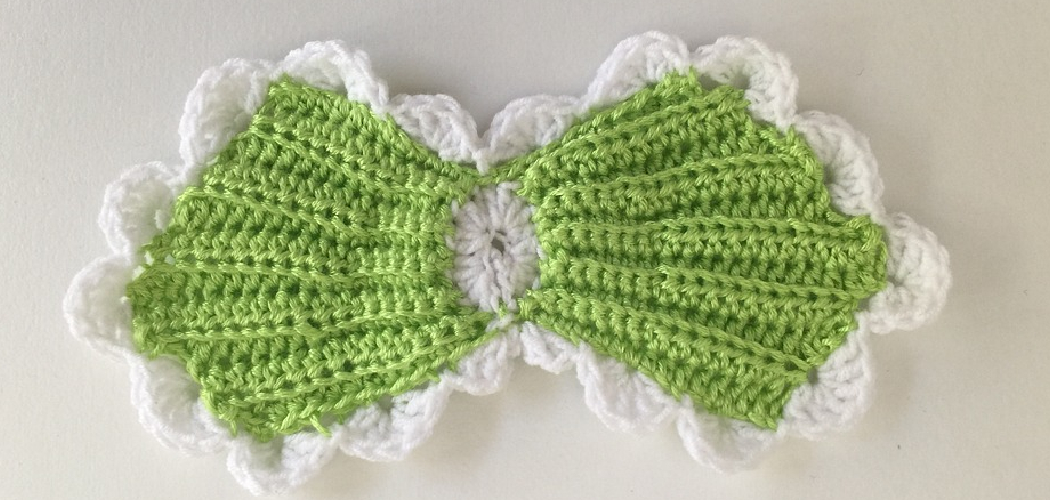
Crocheting is a great way to get creative and make something for yourself or as a gift. It’s also a great way to save money. So if you’re looking for the perfect accessory, why not make your own bow tie? With the tutorial below, you can learn how to crochet a bow tie that looks professional and can be tailored to any color or size.

Can You Crochet a Bow Tie?
Crocheting is a wonderfully versatile craft and can be used to create clothing, decorations, and even jewelry. Many crafters may not know that crocheted bow ties are also possible! With the right stitches and techniques, you can work up a stylish bow tie that looks great with any outfit.
Best of all, it’s much easier than you may think – all you need is some yarn, a crochet hook, and just a bit of time and patience. You can find plenty of helpful tutorials online that will walk you through the process step by step.
Whether you’re looking for an accessory for your own wardrobe or something special to give as a gift, consider crocheting a bow tie – it’s certainly one way to stand out from the crowd!
Why Should You Crochet a Bow Tie?
If you’re looking for an interesting way to spruce up a plain shirt or to add some unique flair to your wardrobe, why not crochet yourself a bow tie? Crocheting is relatively easy to learn, and it’s an enjoyable activity to do on a rainy afternoon.
Whether you use cool colors like deep purple and navy blue, or something more classic like brown and black, crocheting a bow tie is also great fun if you’re feeling creative – you can customize the colors and even create special embellishments like tassels or gems.
It’s also useful for special occasions such as weddings, parties, or simply when you want to make sure that the first impression of your outfit is one of confidence and style. It won’t take long for people to compliment that stylish crochet bow tie!
What You’ll Need
Before you start, you need some basic supplies like yarn, a crochet hook, scissors, and a tapestry needle. Depending on the type of bow tie you want to make, you may need other supplies, such as buttons or interfacing.
For this tutorial, we will use worsted-weight wool yarn in two colors (one for the main body of the bow tie and one for the center). You will also need a 5 mm (H) crochet hook.
7 Steps to Follow on How to Crochet a Bow Tie
Step 1: Make the Bow Tie Center
The first step is to make the center of your bow tie, which will attach to the sides later on. To do this, start by making a chain of 6 stitches with your chosen yarn color (we suggest black). Then single crochet into each stitch across until you have six single crochets in total.
At this point, turn your work and chain one before single crocheting into each stitch until the end of the row – this should give you 12 single crochets in total. Chain 1 again before turning your work and repeating steps 3-4 until your piece measures 2 inches wide by 2 inches tall. Once finished, fasten off and weave in the ends with a tapestry needle.
Step 2: Make Your Bow Tie Sides
Now it’s time to make your bow ties sides! Start by chaining 18 stitches with whatever color yarn you’d like (we suggest white). Then single crochet into each stitch across until the end of the row – this should give you 18 single crochets in total. Chain 1 before turning your work and repeating steps 3-4 until your piece measures 4 inches wide by 4 inches tall.
Step 3: Attach Your Bow Tie to the Center
Now that both pieces are finished, it’s time to put them together! To do this, start by laying out both pieces flat side-by-side so that they line up perfectly at one end.
Take one end of each piece and sew them together using either mattress stitch or whip stitch – whichever method is more comfortable for you! Once firmly attached, flip over both pieces, so they are right side facing outwards before continuing to step 4.

Step 4: Secure Your Bow Tie
Next, all that’s left is securing your bow tie so it stays together! To do this, take any extra yarn or thread used earlier in making either part of your bow tie (we suggest black) and simply wrap it around both pieces from end-to-end once or twice, depending on how secure you would like it to be when worn!
Once finished, knot off securely at either end before trimming away any excess threads or yarns with scissors…and there we have it – our very own crochet bowtie!
Step 5: Embellish Your Bow Tie (Optional)
If you’d like to add any extra embellishments or decorations to your bow tie, feel free to do so! Buttons, fabric interfacing, beads – the possibilities are endless. Just make sure whatever additions you decide on are securely attached before wearing or gifting your bow tie!
Step 6: Wear Your Crochet Bow Tie with Pride
Now that you’ve finished your crochet bow tie, it’s time to show it off! Whether you’re wearing it for a special occasion or just out on the town, you can be sure to turn heads wearing this unique and stylish handmade accessory.
Step 7: Make More
Now that you know making your own bow tie, why not try making a few more? You can experiment with different colors and embellishments to create an entire collection of handmade bow ties. Now you’ll never be without the right accessory for any occasion!
There you have it, seven simple steps on how to crochet a bow tie! With these easy-to-follow instructions, you’ll be able to create a unique and stylish handmade accessory that will surely get noticed. So grab some yarn and a hook, and get crocheting!
Things You Need to Know Before Crocheting a Bow Tie
Crocheting a bow tie can be a fun challenge and result in a beautiful accessory. If you’ve never tried this project before, there are some things you need to know. Firstly, make sure you choose an appropriate type of yarn; the thickness should match the size of your hook so that the stitches aren’t lumpy or too loose.
Keep track of your rows and stitches, as it’s important to keep them even to ensure the finished product looks great. Next, note how tight or loose your stitches are; too tight will make it difficult to progress with new rows, and too loose may stretch out the fabric when worn.
Lastly, use good quality tools – from a durable crochet hook that fits comfortably in your hand to scissors that cut cleanly through the yarn – for maximum satisfaction with your crocheted bow tie.
Benefits of Crocheting a Bow Tie
Crocheting a bow tie can provide countless benefits and do an excellent DIY project. Not only is crocheting a fun and engaging activity, but it also provides a great opportunity to accessorize any outfit. It allows aspiring fashionistas to explore colors, patterns, and textures in creating their unique bow ties.
Plus, it gives you the satisfaction of potentially having crafted something that hasn’t been seen before. Crafting an item completely from scratch is more cost-effective than purchasing pre-made bow ties. Once completed, a handmade crochet bow tie will be sure to create a truly original fashion statement that is sure to turn heads!
4 Common Mistakes People Make When Trying to Crochet a Bow Tie
1. Not Using the Right Size Hook
If you’re using a crochet pattern, it’s important to use the size hook that is specified in the pattern. Using a different size hook can result in your bow tie being too small or too large. Additionally, using a different size hook can affect the gauge of your stitches, which can also impact the size of your finished bow tie.
2. Not Crocheting Tightly Enough
It’s important to crochet tightly when making a bow tie, as loose stitches can make it difficult to shape the tie properly. If your stitches are too loose, your bow tie may be misshapen or look sloppy.
3. Not Measuring Your Work
When crocheting a bow tie, it’s important to measure your work as you go along. This will help you to ensure that your finished bow tie is the correct size. Also, measuring your work as you crochet will help you catch any mistakes you may make so that you can fix them before finishing the tie.
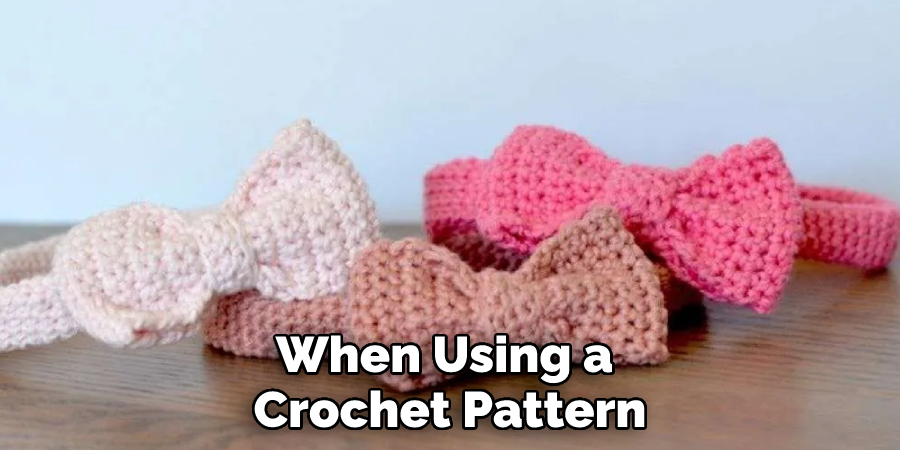
4. Not Following the Pattern
When using a crochet pattern, it’s important to follow the instructions carefully. Skipping steps or not following the pattern correctly can result in a poorly made bow tie that doesn’t look like the photo in the pattern.
If you’re having trouble understanding the pattern, many resources available online can help, such as video tutorials or forums where you can ask questions.
Conclusion
Congratulations -you now know how to crochet a bow tie! This project may seem intimidating but don’t worry -with just basic supplies and following these easy steps, anyone can create their own unique accessory without breaking the bank! So grab some yarn & hooks today & let’s get started on our next creation…happy crafting, everyone!
You Can Check It Out to Crochet a Fox