

The picot stitch is a decorative crochet stitch often used to add extra texture and color to garments, accessories, and home decor projects. It’s a quick and easy stitch to master and will open up a whole new range of design possibilities! In this blog post, we’ll take you step-by-step through the basics of how to do a picot stitch.
Can You Make a Picot Stitch?
If you’re looking for a way to add texture and interest to your crocheting, the picot stitch is a great place to start. A picot stitch is simple yet offers the potential to customize an item with extra details when used strategically. It can be as basic or complex as you want, depending on how many chains you use and how tight you crochet them.
Beginners should take the time to practice this stitch, as it adds a beautiful touch to any project. With some patience and dedication, you’ll be able to make amazing creations using the picot stitch in no time!
Why Should You Make a Picot Stitch?
Picot stitches are a great way to add interesting detail to your handiwork. Not only do they help create a unique look, but they’re easy to make and have many uses. Picot stitches are ideal for adding intricate edging, scallops, and other patterns; you can use them on beading, crochet projects, or clothing edging.
They may take some getting used to when first attempting to create them, but once you get the hang of it, there’s no limit to what you can use them for in terms of creative expression. Plus, with their delicate look and increased durability over plain stitches, picot stitches are sure to draw the eye and stand out while helping your work last longer.
7 Steps to Follow on How to Do a Picot Stitch
1. Choose Your Yarn
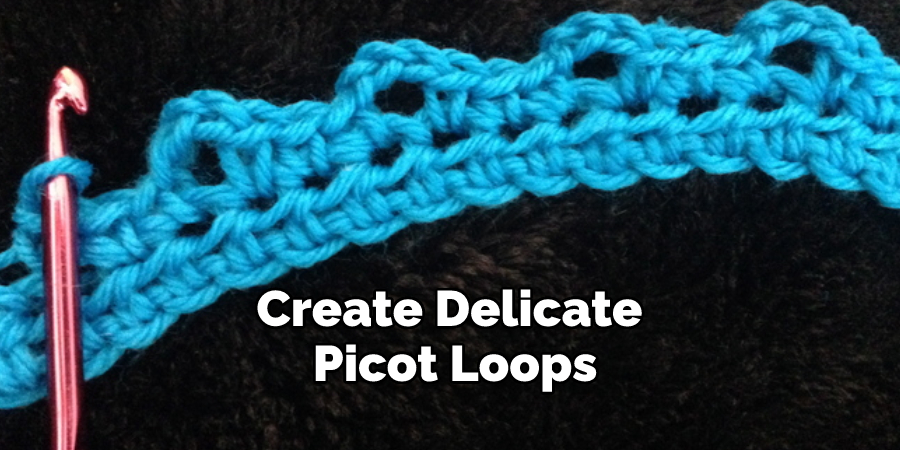
The first step in learning how to do a picot stitch is to choose the right yarn for your project. Picot stitches are typically worked with lace weight or fingering weight yarns, as these yarns are light and airy, which helps to create delicate picot loops.
2. Cast On Your Stitches
Once you have chosen your yarn, you will need to cast on the appropriate number of stitches for your project. For example, for a small project, such as a scarf, you will need to cast around 40 stitches. For a larger project, such as a blanket, you will need to cast on around 100 stitches.
3. Knit 2 Rows
Once you have cast on your stitches, you will need to knit two rows. These two rows will form the base of your picot stitch and help secure your loops. Knit each stitch as normal, and when you reach the end of the row, turn your work so that the wrong side is facing you. Then, repeat this step until you have knitted two rows.
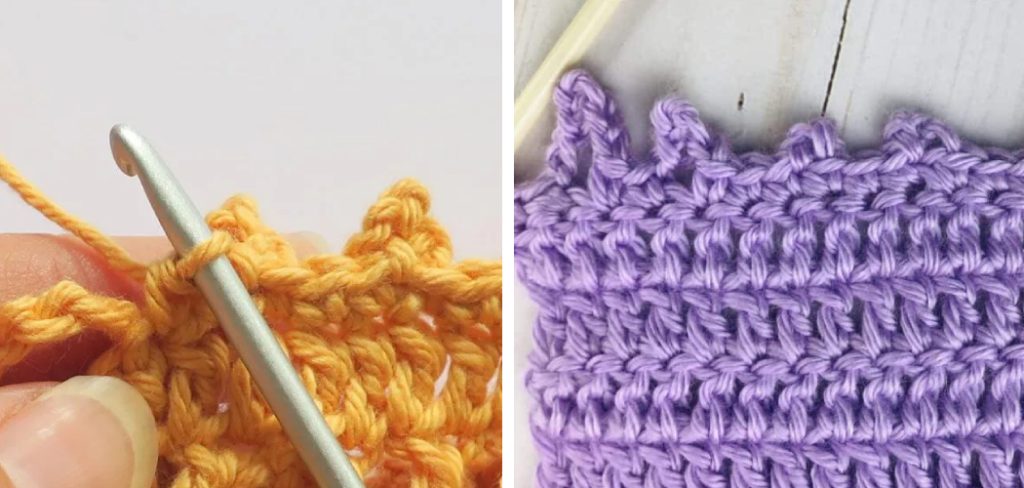
4. Make a Picot Loop
To make a picot loop, you will need to knit two stitches together, then yarn over and knit two more stitches together. This will create a small loop on your needle. To finish the loop, you must slip the first two stitches over the other two.
5. Slip the First Stitch Over the Second Stitch
Once you have made your picot loop, you must slip the first stitch over the second stitch. This will secure your loop and help prevent it from unraveling.
6. Repeat Steps 4-5 Until You Reach the End of Your Row
Once you have slipped the first stitch over the second stitch, you will need to repeat steps 4-5 until you reach the end of your row. This will create a series of picot loops that run along your row of knitting.
7. Bind Off Your Stitches
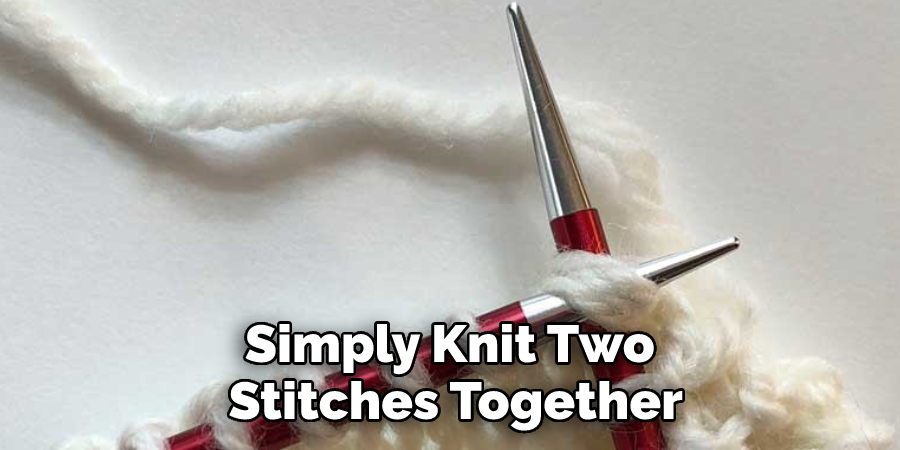
Once you have reached the end of your row, you will need to bind off your stitches in order to finish your project. You will simply knit two stitches together to bind off until only one stitch remains on your needle. Then, pull the yarn through the last stitch to secure it in place.
Congratulations! You have now learned how to do a picot stitch and can start adding some extra texture and interest to your crochet projects. With practice, you’ll be able to create gorgeous pieces with this simple but effective stitch.
Things You Need to Know Before Doing a Picot Stitch
Before attempting a Picot stitch for your next project, it’s important to know the basics of this decorative embroidery technique. The Picot stitch creates small ‘loops’ – traditionally, these have been used as an ornamental detail on collars, cuffs, and other accessories. This stitch is created with evenly spaced loops along the same line.
With the help of a needle and thread in a color that matches your fabric, you can create Picot stitches in one continuous line or multiple parallel lines, giving an eye-catching effect when finished; when learning how to do this stitch, practice making uniform loops first and then begin by making several anchor stitches on your fabric to secure the thread in place before looping over it.
Patience and practice are key ingredients when mastering this cute decorative embroidery technique!
Benefits of Doing a Picot Stitch
Learning the picot stitch has many advantages. First, it creates a visible texture on crocheted items, which can be incredibly attractive and decorative. It is also one of the easier forms of crochet stitches to learn and can be used to create various classically stylish pieces.
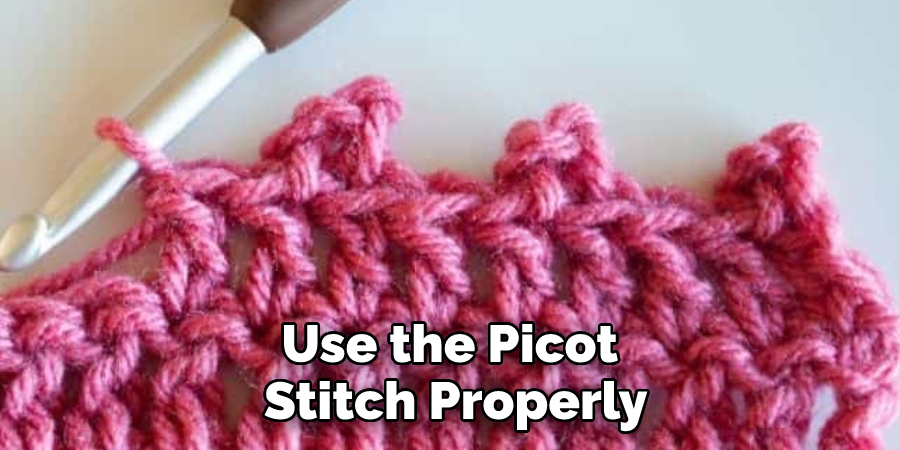
Additionally, it adds strength and durability to thin fabrics, such as those made with fine yarns or threads, making them suitable for clothing or other garments that need to stand up to wear and tear. Lastly, by learning how to use the picot stitch properly, you can adjust patterns accordingly and customize them as needed for any project.
6 Common Mistakes People Make When Trying to Do a Picot Stitch
1. Not Pulling the Thread Taught Enough
One of the most common mistakes people make when trying to do a picot stitch is not pulling the thread tight enough. This can cause the picot stitch to be loose and sloppy-looking. Make sure to pull the thread tight after each stitch so that the picots are nice and even.
2. Not Making the Picots the Same Size
Another common mistake is not making all of the picots the same size. This can give your work an unfinished and amateurish look. To avoid this, measure each picot’s length before making it, and ensure they are all the same size.
3. Making the Picots Too Large or Too Small
The size of your picots is important in achieving a professional-looking finish. If they are too small, they will be difficult to see and may get lost in your work. If they are too large, they will look out of proportion and may overwhelm your work. Aim for picots that are about 1/8” to 1/4” long.
4. Not Staggering the Picots
Another common mistake is not staggering the picots, which means that all of the picots are lined up in a row instead of being offset from each other. This can give your work a very “busy” look and can be difficult to fix once you have started stitching. To avoid this, start each row of picots offset from the previous row so that they are staggered.
5. Not Weaving in Ends Securely
If you do not weave in your ends securely, they may come undone and ruin your work. To avoid this, take care to weave in your ends securely so that they cannot come undone easily. You can also knot your thread before trimming it close to your work to add an extra layer of security.
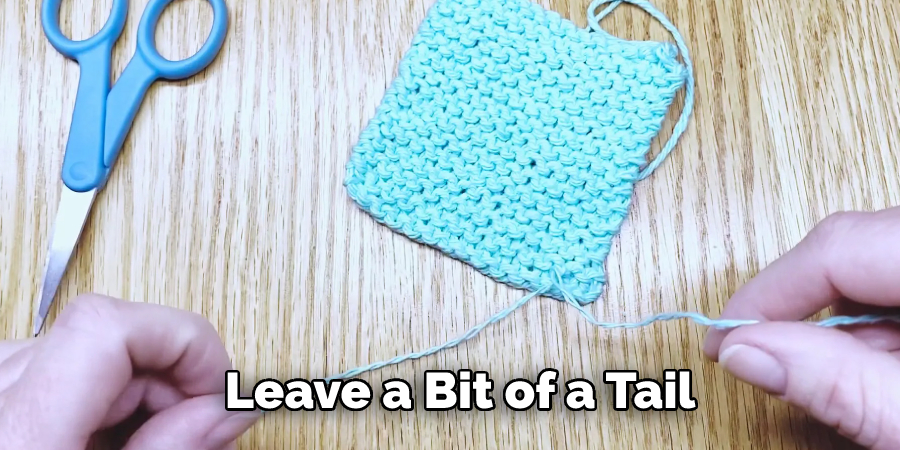
6. Trimming Picot Threads Too Short
Finally, another common mistake is trimming the threads that extend beyond the edge of your work too short. If you do this, it will be difficult to secure them properly, and they may come undone easily. Instead, leave a bit of a tail to secure them properly before trimming them close to your work.
You Can Check It Out To Crochet a Snake
Can I Use a Crochet Hook to Make a Picot Stitch?
A picot stitch is the classic lacy-looking edge often seen on crocheted doilies and other decorative items. It can be created by using a crochet hook, although some people prefer to use a smaller steel hook to make the stitches even neater and smaller.
A crochet hook gives you more freedom to create different looks, as the size of the hook determines the length of the stitch. If clean lines and sharp points are desired, then it’s best to go with a small steel hook to make the picot stitch.
Practice makes perfect whether you use a crochet hook or a steel one! With a little patience and dedication, your work will soon look like something from an antique store!
Are There Any Special Tools Needed for The Picot Stitch?
The Picot stitch is an intricate crochet pattern that creates a decorative chain of small link-like stitches. Typically, the same standard crocheting supplies are needed to complete this technique as any other. This includes a crochet hook and yarn or thread.
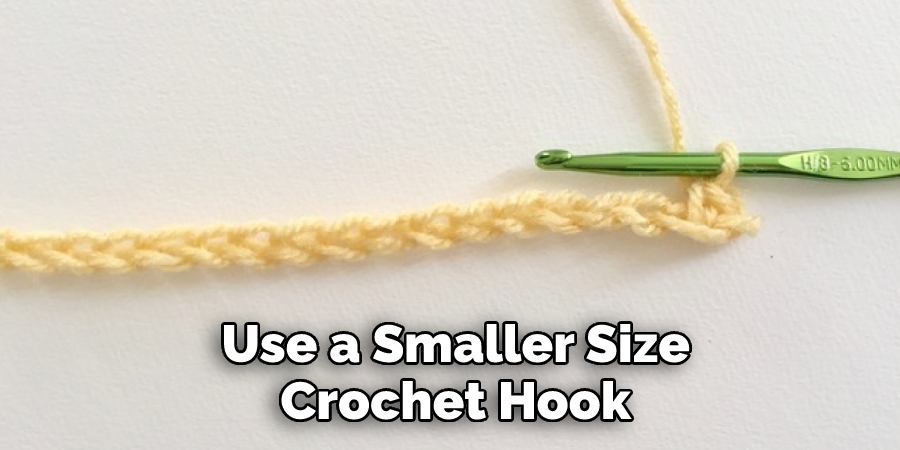
However, some crocheters find it easier to use a smaller size crochet hook to get the perfect Picot stitch. Depending on the pattern type, a steel size 7 or 8 crochet hook makes creating these delicate stitches much less stressful and therefore encouraged in some patterns.
Additionally, some projects may require locking stitch markers to track the pattern rounds and their progression. All in all, familiar supplies for most crocheters will do the trick and make The Picot Stitch beautiful.
Can I Use the Picot Stitch on Other Fabric Types Besides Crochet or Knitting Yarns?
It’s definitely possible to use the Picot stitch on other fabric types besides crochet or knitting yarns. The Picot stitch is a decorative technique that involves making a series of loops, creating an intricate and beautiful pattern of soft bumps.
It’s traditionally used for seasonal sweaters but can also be used to embellish clothing items such as blouses, scarves, bags, or even wall hangings.
Using the stitch on canvas, embroidery floss, ribbon, fleece, and other fabrics add texture and dimension – perfect for shawls, throw pillows, quilts, and more! With a little practice and patience, anyone can master this lovely detail in no time.
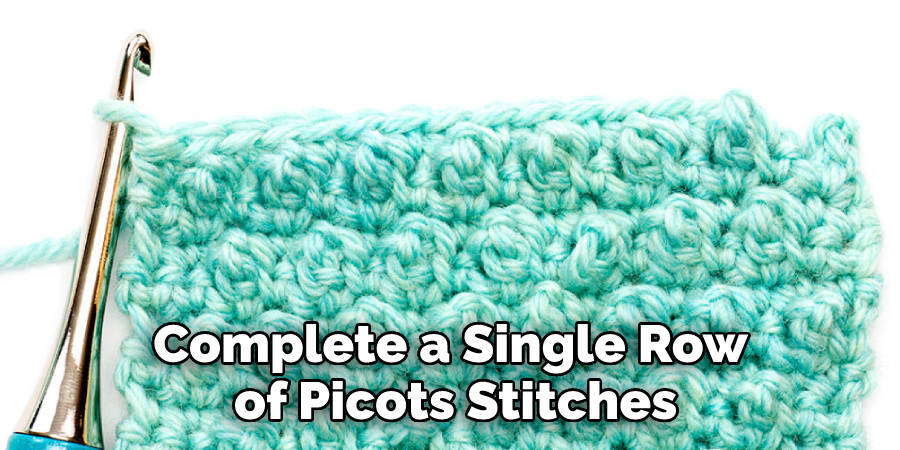
How Long Does It Take to Complete a Single Row of Picots Stitches
It often takes a novice embroidery enthusiast several minutes, or up to an hour, to complete a single row of picots stitches. The length of time depends on the stitcher’s skill level and the project’s size. For an experienced stitcher with steady hands, speed may be achievable immediately.
However, regardless of the skill level, practice and patience is a must when it comes to this style of stitching. Picot stitches are commonly used for edging borders or making buttonholes in fashion items such as dresses and blouses, creating delicate curves that add beautiful texture and detail.
This allows for flexibility with pattern-making design elements and challenging goals for tackling more complex projects.
Conclusion
The picot stitch is an easy yet elegant way to add texture and color variation to any project!
With just a few simple steps—beginning with an even number of chains, slip stitching into the second chain from the hook, and creating a bump by chaining three before slip stitching again—you can quickly master this decorative technique and bring some extra life to all sorts of projects! Thanks for reading our post about how to do a picot stitch.
You Can Check It Out to Crochet a Worry Pet