

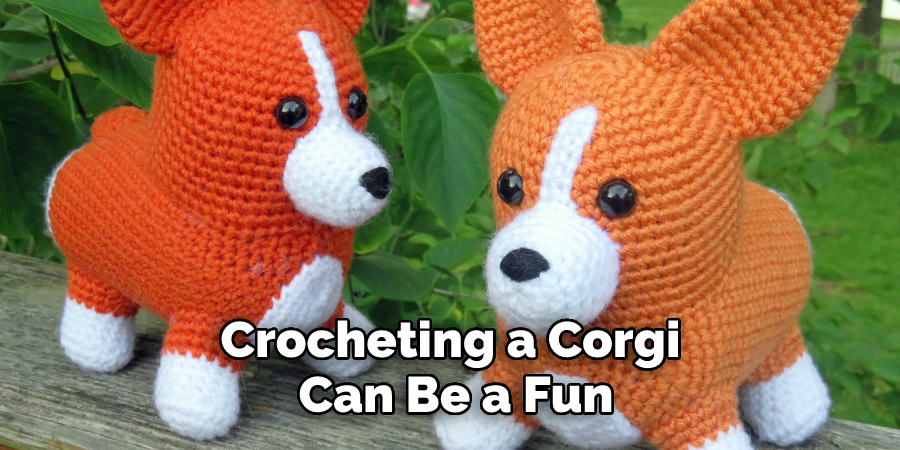
Start your day off right by learning a new skill. You must know how to crochet a corgi. If you’re looking to add something cozy and cute to your daily routine, crochet is the perfect activity for you! Not only will it help decrease stress and anxiety, but it’s also led to amazing creations time and time again.

In this blog post, we’ll be teaching you how to crochet a super adorable corgi that can take pride in place in your home or make for an awesome gift for someone special! Join us as we show you all the tips and tricks needed for crocheting perfection.
Tools You Will Need
- Yarn (any weight will do, although thicker yarns such as worsted and super bulky work best)
- Crochet hook size that matches your chosen yarn (a smaller hook is better if you’re using a thicker yarn)
- Stuffing material
- Two black safety eyes
- Tapestry needle
- Scissors
6 Steps Guide on How to Crochet a Corgi
1. Make a Magic Loop or Chain of Four Stitches
Starting to crochet a Corgi is easy and fun! Begin by making a magic loop or chain of four stitches, then join them together in a round. This will create the foundation of your Corgi; the ring that you will use to start with all of your other stitches.
From here, pick up any crochet pattern to start crocheting those signature corgi features–whether it’s fur, floppy ears, or chubby cheeks–you can bring your favorite pet pup to life in fiber art form!
2. Work Three Single Crochet (Sc) Stitches
To begin a Corgi crochet pattern, it is essential to create an initial circle that will be the base of the project. To do this, start by making a magic ring with yarn and then work three single crochet stitches into the ring.
Afterward, you will need to work two single crochet stitches into each stitch from the previous round until you have reached a total of 18 stitches in your circle. Once this has been accomplished correctly, you can continue with the rest of your pattern and use this base as the foundation for creating a cute Corgi!
3. Increase One Sc in Each Stitch
If increasing one stitch in each round is your goal for crocheting a Corgi, then you’re off to a good start. Incorporating an extra stitch into the round adds to the overall size of the final project and creates a more complete design. Make sure you finish with 36 total stitches and keep track of the number of stitches you’ve added as you go around.
It may be helpful to take a moment and count your progress periodically, making sure not to miss any stitches before continuing. Once you reach 36 stitches, you’ll have reached an important milestone that puts you well on your way to crafting your very own adorable plush Corgi!
4. Work Even in Sc
Crocheting a Corgi can be a fun and rewarding activity that even beginners can take on with relative ease. To crochet a Corgi, you will need some basic supplies, such as yarn and needles. Start by chaining the desired number of stitches, then work in single crochet (sc) until your piece measures five inches from the starting edge.
Once you reach this mark, create space for the eyes or any other features of your Corgi using increases or decreases. Then keep working in sc until you have the length and width you desire. Finish with a slip stitch before breaking off the yarn and weaving in your ends to secure them. Following these steps will help ensure that your Corgi looks perfect!
5. Create the Corgi’s Face
Creating the face of a crochet corgi is easy. Begin by placing two safety eyes at the desired spot of your fabric and carefully embroider the nose and mouth with black yarn or thread. Be sure to use black yarn in particular because it best resembles the facial features of a real-life corgi!
You must stitch with care here as these features are what bring life to your crocheted dog. The result should be a realistic-looking canine that will melt hearts!
6. Stuff Your Work Firmly
Crafting your crochet corgi is a fun and rewarding project. After you’ve finished up with all of the necessary stitches, it’s important to ensure that your masterpiece is stuffed correctly.
To do so securely, take the time to tightly stuff it with an appropriate amount of filling – just enough for perfect fluffy plumpness! Once finished, finish off with an invisible decrease for an extra polished look.
This will help to make sure that your stuffed toy never loses its stuffing and stays firmly in place. Weaving in the ends securely afterward will lock everything into place and ensure that your project looks as professional as possible!
Tips to Crochet a Corgi
- When crocheting a corgi, it is important to choose the right yarn. Corgis come in a variety of colors, so you will want to choose a yarn that closely resembles the color of the corgi you are trying to recreate. Additionally, you will want to choose a yarn that is soft and comfortable to wear, as corgis are known for being very cuddly.
- Once you have chosen the right yarn, you will need to crochet the body of the corgi. To do this, start by crocheting a large oval shape. Then, decrease the size of the oval until it resembles the body of a corgi. Once you have done this, you can move on to crocheting the legs.
- To crochet, the legs of your corgi, start by crocheting two small circles. These will be the paws of your corgi. Then, attach these circles to the body of your corgi using single crochet stitches. Next, crochet two slightly larger circles. These will be the upper legs of your corgi. Finally, attach these circles to the body using double crochet stitches.
- The next step is to crochet the head of your corgi. To do this, start by crocheting a large circle. This will be the base of the head. Then, decrease the size of this circle until it resembles the head of a corgi. Once you have done this, you can move on to crocheting the ears.
- To crochet, the ears of your corgi, start by crocheting two small triangles. Then, attach these triangles to the head using single crochet stitches. Make sure that you place them symmetrically on either side of the head so that your corgi’s ears look even.
- The next step is to crochet your corgi’s tail. To do this, start by crocheting a long chain stitch. Then, coil this chain around itself until it resembles a spiral shape. Finally, attach this spiral shape to the backside of your corgi’s body using single crochet stitches.
Get the Perfect Plush Pooch: A Tutorial to Crochet a Corgi
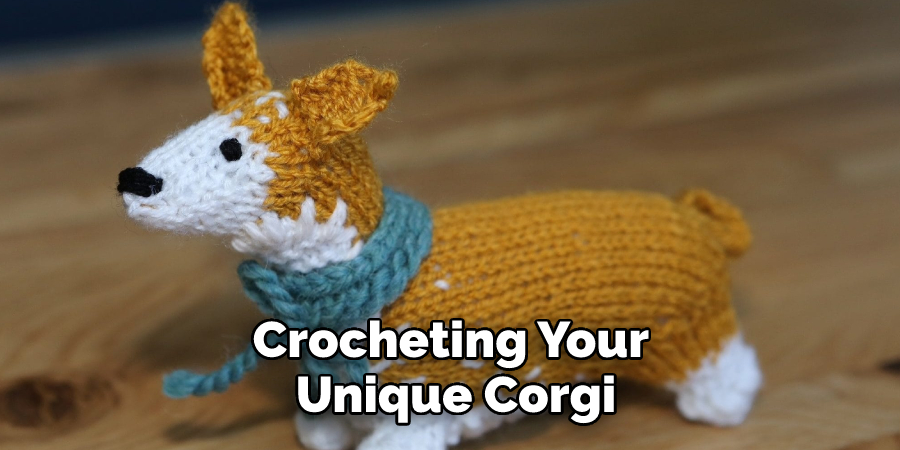
If you are looking for the perfect pet, but can’t take care of a live animal, then crocheting your unique corgi may be the solution for you. Crocheting is a great way to express creativity and create something handmade and special. After all, what can beat a plush pooch that was made with your own two hands?
To get started on your cutest project yet, here are some tips to crochet a corgi at home. First of all, gather all the necessary supplies such as yarns in various colors, stuffing materials, felt or fabric for facial details and eyes, and a crochet hook.
Secondly, scope out some sample stuffed animals which will provide reference points while creating your very own beloved version. Finally, follow an online tutorial or use pictures as guidelines while crocheting patiently stitch-by-stitch until it’s complete! Before you know it you’ll have your lovable homemade pet – enjoy!
Crafting Your Doggo Made Easy: How To Create an Adorable Corgi Through Crocheting
If you’re looking for a new and cute crafting project to try your hand at, why not give crocheting your doggo a shot? Crafting an adorable corgi can be relatively easy, and the result will be worth all the effort! All you’ll need is a few simple materials such as yarn, a crochet hook, and stuffing material.
Once you’ve gathered those items and brushed up on your crocheting skillset, it’ll be time to start stitching. Keep in mind that while this project won’t take long to finish, it may require some patience depending on how experienced you are with crochet.
With each stitch of yarn comes one step closer to having your very own doggo friend that you created with your own two hands!
Unleash Your Creativity With This To Crochet a Corgi Tutorial
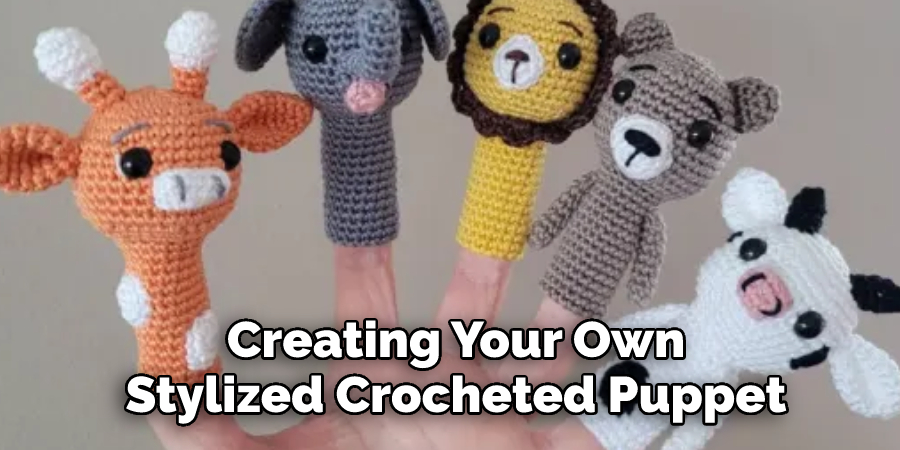
Crocheting can seem like a daunting task without any idea where to begin. However this helpful how-to on crocheting a corgi is ideal for helping more creative types unleash their true potential. It gives detailed information on the tools and materials you will need, as well as a foolproof technique for creating your own stylized crocheted puppet.
Armed with just the basics of crochet technique and this comprehensive tutorial, even budding crafters can create their very own unique playset from rolls of yarn! Crochet isn’t just easy and fun to do, but it’s also an activity that encourages artistic expression with plenty of room to personalize designs.
So find your crochet hooks, snag some skeins of wool, and before you know it you’ll be dancing with your very own bunny-eared bundle of sweetness!
Conclusion
Now that you know how to crochet a corgi, there’s no limit to the cute animals you can make. Just follow the pattern and have fun! If you run into any trouble, don’t hesitate to ask for help from a friend or fellow crocheter. With a little practice, you’ll be cranking out critters in no time.
You Can Check It Out to Make a Spider Out of Paper and Scissors