

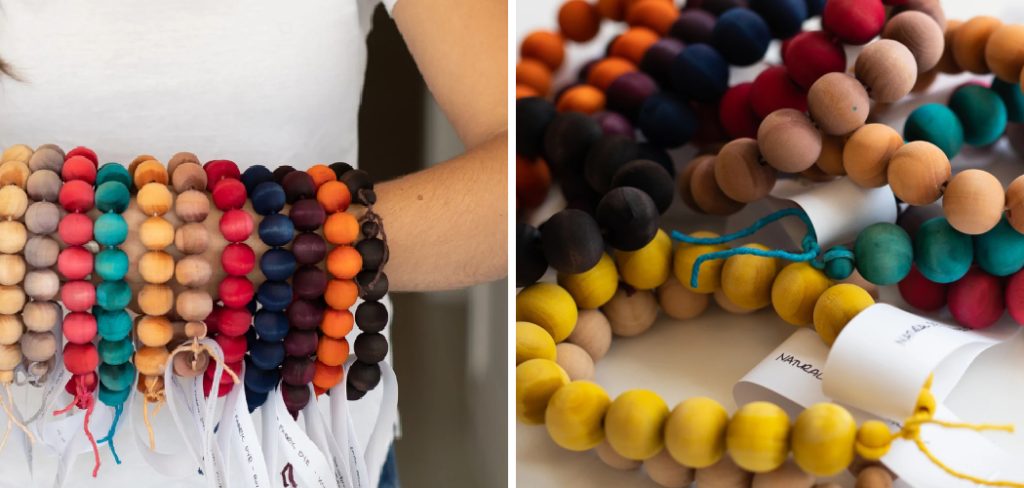
If you’re looking for a unique craft project that is sure to impress your friends and family, look no further than learning how to dye wooden beads. Dyeing wooden beads aren’t as hard as it may seem – all you need are some simple supplies and a bit of creativity!
In this article, we’ll walk through the steps necessary to dye and finish off your beautiful wooden beads in whatever color or design you desire – perfect for making jewelry, buttons, ornaments, or any other project requiring awesome-looking wood accents. Let’s get started!
Tools You Will Need
- Wooden beads of your choice
- Dye suitable for wood (e.g., water-based dye, oil-based dye, etc.)
- Sandpaper or steel wool
- Sealant (optionally)
6 Steps Guide on How to Dye Wooden Beads
1. Choose Your Wooden Beads
When choosing wood to dye for wooden beads, it is important to select light-colored woods such as maple, cherry, or pine. These woods will produce the best results when dyed as they contain fewer natural oils which can decrease the amount of dye absorbed by the wood.

Furthermore, these woods are typically easier to carve and drill than darker-colored softwoods and hardwoods, making them ideal for crafting jewelry and other small objects. With such a great selection of color possibilities available through dyeing wooden beads, those looking to create special pieces using this craft option have come to the right place!
2. Sand Down the Surface
Before you can start dyeing Wooden Beads, an important step that shouldn’t be overlooked is sanding down the surface of each bead. This helps remove any dirt or oils to ensure that when you add the dye.
It will be able to penetrate the wood properly and give you a beautiful even color. Whether you use sandpaper or steel wool, this basic step will make all the difference in how your finished beads look. Don’t skip out on the sanding!
3. Apply the Dye According to the Instructions
Read the instructions provided on the package of the dye you selected. Once you understand how to use it, apply the dye evenly on each bead. Take your time to make sure no bead is left behind or overly saturated. After that, let each bead dry completely before taking on the next step.
Remember, each bead must get even coverage so none of them look inconsistent when put together. So take your time with this process and make sure all beads are properly coated with the dye. Good luck and happy crafting!
4. Create a Smooth, Even Surface
Once your wooden beads have been coated in the primer and allowed to dry, there is one last important step before you add the dye. To assure an even surface for your dye to adhere to, it is important to lightly sand down your beads while they are still dry with either fine-grit sandpaper or steel wool.
This will buff away any sharp edges that can occur while painting, giving you a nice smooth finish on each bead when they dry yet again before adding the dye. This final sanding goes a long way in making sure that your beads have that uniform color and sheen when complete.
5. Apply Varnish Over the Top of Your Beads
Applying a sealant or varnish over-dyed wooden beads is an optional but recommended step for those planning to use them in high-humidity areas or outdoors. Not only does this help to protect the color and finish of the beads, but it also adds a vibrant shine that can bring out the best in your creations.
This extra level of protection helps safeguard against exposure to moisture, dust, and other elements that could lead to the degradation or fading of the dye. Taking this one extra step will provide lasting enjoyment and satisfaction with your bead projects.
6. Let Your Beads Dry Completely
Finishing your wooden beads is an important step in their creation and how you care for them going forward. Letting your beads dry completely ensures that all of their inherent properties are sealed, at least to a certain degree, so that they can be used in your projects without fear.

Once the drying process is complete, you may now use and admire your one-of-a-kind wooden beads in all kinds of home decor and jewelry projects!
With a little bit of effort and creativity, you can now easily dye wooden beads in any color or design that you desire – perfect for making jewelry, buttons, ornaments, and more. Have fun creating!
Tips to Dye Wooden Beads
- When it comes to dying wooden beads, the type of wood you use is important. Softer woods like pine or cedar will absorb the dye more easily than harder woods like oak or maple. If you’re unsure what type of wood your beads are made from, it’s best to err on the side of caution and choose a softer wood.
- Before you start dying your beads, you’ll need to prepare them. First, sand the beads with fine-grit sandpaper to rough up the surface and help the dye adhere better. Then, wipe the beads down with a damp cloth to remove any dust.
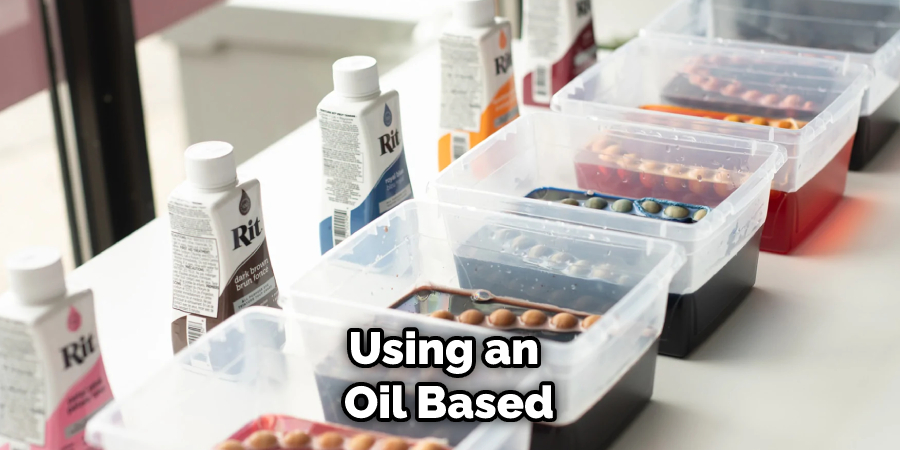
- There are a variety of dyes that can be used to color wooden beads, including water-based dyes, oil-based dyes, and alcohol-based dyes. Water-based dyes are the easiest to work with, but they may not be as long-lasting as other types of dyes. Oil-based dyes are more durable, but they can be more difficult to apply evenly. Alcohol-based dyes are also durable, but they can cause the wood to crack if not used properly.
- Once you’ve chosen your dye, it’s time to apply it to the beads. If you’re using a water-based dye, you can simply dip the beads in the dye and allow them to soak for a few minutes. If you’re using an oil-based or alcohol-based dye, you’ll need to use a brush to apply the dye evenly over the surface of the beads.
- After you’ve applied the dye, set the beads aside in a well-ventilated area and allow them to dry completely. This can take anywhere from a few hours to a few days, depending on the type of dye you used and how thickly it was applied.
- Once your beads are dry, you may want to apply a clear coat of varnish or lacquer to help protect them from wear and tear. This step is optional, but it’s especially important if you plan on using your beads for jewelry or other items that will see a lot of use.
- Once your beads are dyed and dry (with or without a clear coat), store them in an airtight container in a cool, dark place until you’re ready to use them.
How to Create Stunning Wooden Beads with Dye?
Creating stunning wooden beads with dye can be a fun and satisfying craft project. It’s easy to make your DIY jewelry from just a few supplies, like various shades of dye, wood beads of all shapes and sizes, an old toothbrush for application, and water or some kind of sealant to set the color.
Start by making sure your wood beads are dust-free, then select what colors you’d like for each of your custom beads. Dip the toothbrush in each color separately and splatter them over the bead – this is when you can get creative!
When you’re done applying all the colors you want to use, let them completely dry before submerging them in warm water mixed with the sealant – this will give the beads their vibrant coloring after they’re dried off and polished. With some simple steps, you can create beautiful pieces of wooden jewelry perfect for yourself or as gifts to others!
How to Make Your Own Colorful Wooden Bead Projects?
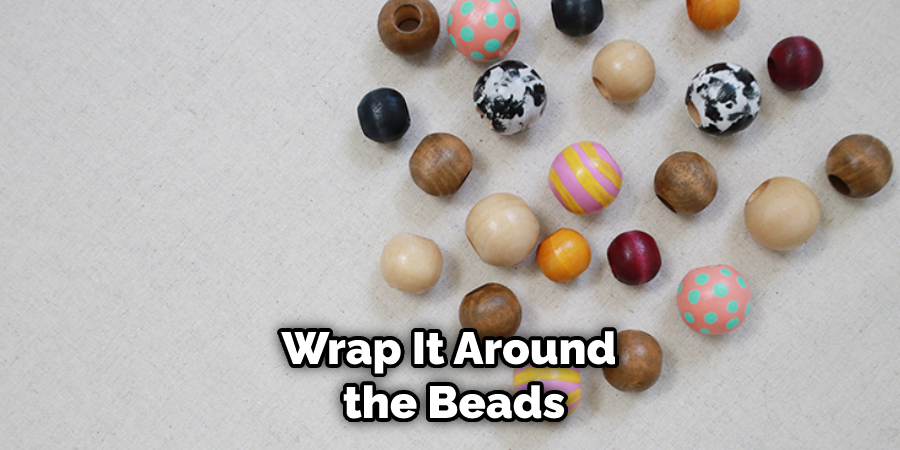
Making your own colorful wooden bead projects is a great way to express yourself while creating something unique and one-of-a-kind. All you need to get started is some kind of string able material like wire, twine, or thread and wooden beads of different shapes and sizes. Start by laying out the design you intend to make on a work surface in front of you.
Take the hardest reset halo home lights wire and wrap it around the beads so they are connected in the pattern that you created. You can also add additional decorative elements such as charms, gemstones, tassels, and more to complete your project. Investing the time in making these unique pieces will be worth it at the end when you’re admiring how beautiful your finished product looks!
How to Ensure a Long-Lasting Finish on Your Wooden Bead Projects?
Crafting with wooden beads provides an easy way to make personalized works of art that can easily be painted, stained, and sealed for a long-lasting finish. Properly caring for the wood before and during the project will ensure a lasting finish. Begin by sanding the wood to create a smooth texture. Then, apply a coat of paint or stain to give it color.
This layer should then be sealed with either a clear coat of lacquer that offers water resistance or polyurethane, which will take your project from nice to spectacular!
Finally, if you’re looking for how to hard reset Halo Home lights for your wooden bead projects after assembling them, simply press and hold the “on” button for at least 10 seconds until the light blinks rapidly. That’s how easy it is to ensure your project has a long-lasting finish!
Conclusion
Learning how to dye wooden beads is easy and fun! You can use attest to the fact that you did follow these instructions by lightly rubbing a damp cloth over the bead. If the color comes off on your cloth, then it wasn’t sealed properly and you’ll need to start again.
These wooden beads make great accents for all sorts of projects like jewelry, dream catchers, ornaments, and more. With so many different colors available, the possibilities are truly endless. So get creative and have fun!
You Can Check It Out to Dye Paper Doilies