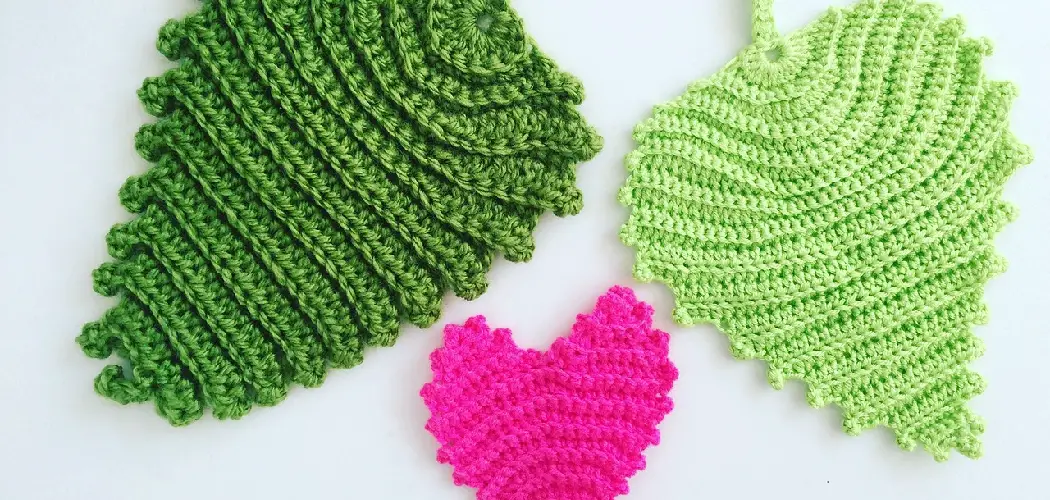
Crocheting shapes can be an incredibly rewarding and creative experience. Not only is it a great way to create something beautiful and unique, but it also allows you to express your creativity. Learning to crochet shapes provides endless possibilities for creating items like hats, scarves, blankets, bags, and more. With the help of tutorials found online or in books, you can easily learn the basics of crocheting shapes and create beautiful projects that will last a lifetime.
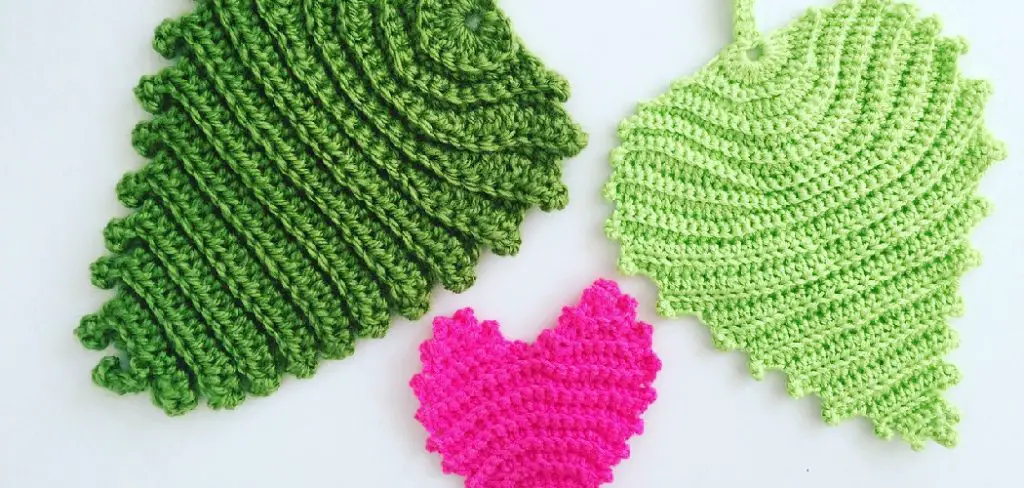
Crocheting shapes is a fun, creative, and versatile way to incorporate unique accents into your projects. Crocheting small shapes such as circles, squares, triangles, and stars can be used to create appliques or other decorative elements. It can also be used to make original toys and sculptures without needing a pattern. Crocheting shapes is also a great way to add texture and dimension to your project. You can find step-by-step instructions on how to crochet shapes in this blog article.
Tools & Materials You Will Need
- Crochet hook: A crochet hook is a special tool used to make crocheted creations. It comes in various sizes and shapes, depending on the type of project you are working on.
- Yarn: You can find yarn in many different textures and colors at your local craft store or online. Choose a weight and color that best suits your project.
- Scissors: You’ll need a pair of scissors to cut the yarn when you are finished with your project.
- Needle: A needle is used to close off stitches or weave in ends after you’ve completed a shape or pattern.
- Tape measure: A tape measure will help you gauge the size of your crochet shapes and ensure that they are all even in size.
- Stitch markers: Stitch markers are used to count stitches and mark the beginning of each round when crocheting circles or other shapes.
- Ruler: A ruler is handy to have when measuring your crochet shapes.
- Tapestry needle: A tapestry needle can be used to add decorative edging to finished projects or weave in any loose ends of yarn.
- Button: Buttons can be added for decoration on finished crochet shapes.
- Safety pins: Use them to secure parts of the project while you are working on them.
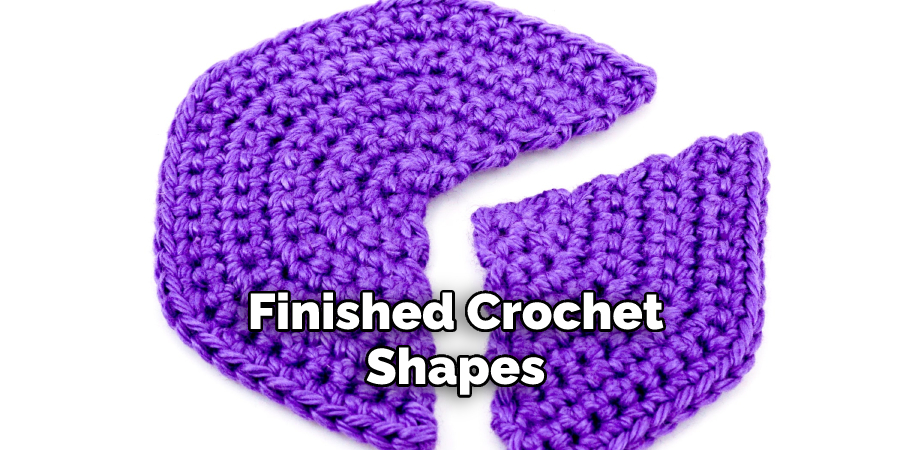
Depending on the type of crochet shape you want to make, there may be a few basic stitches you’ll need to know. Follow along with our tutorials and tips for creating a number of different crochet shapes, from squares and rectangles to circles and triangles.
11 Step-by-Step Processes for How to Crochet Shapes
Step 1: Inspect the Yarn
Choose a yarn that suits your project. Check the label to ensure it is the right weight and thickness for what you are making. Hooks come in various sizes, and the size of the hook used will determine the size of the stitches created. So, choosing the correct hook is key when creating a specific shape. Make sure your yarn is smooth and free of any knots or tangles. Otherwise, it will be difficult to work with. You can also use a yarn winder to help keep your yarn organized and tangle-free. It is also important to check the dye lot number when buying multiple skeins of yarn, as there can be slight variations even within the same color.
Step 2: Chain Stitch
Chain stitching is the most basic stitch used when crocheting. Start by making a loop, then insert your hook into the loop and pull up a loop of yarn. Then, pull it through the loop already on the hook for one chain stitch. Repeat this until you have as many stitches as you need for your shape. Remember to keep the stitches loose enough so that they can be easily worked into later on. The number of chain stitches you make will determine the width of your project. If you are unsure how many to make, test your gauge by making a small swatch first.
Step 3: Single Crochet Stitch
The single crochet stitch is a basic stitch that can be used to create different shapes and forms. To make a single crochet, insert the hook into the chain stitch, wrap the yarn around it, and draw it through the loop already on the hook. Then, wrap the yarn around the hook again and pull it through both loops. Repeat this until you have as many stitches as needed for your shape. The single crochet stitch creates a tight, dense fabric and is perfect for creating shapes that require stability. You can also use this stitch to create decorative edging on your finished projects.
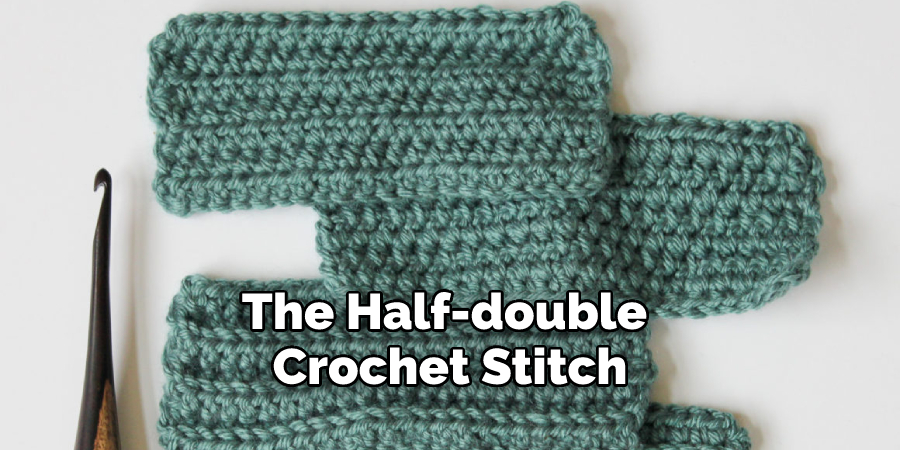
Step 4: Half Double Crochet Stitch
The half-double crochet stitch is a bit more complicated than the single crochet stitch but can be used to create shapes with more dimension. To make a half-double crochet, wrap the yarn around the hook twice, then insert it into a chain stitch. Pull up a loop and draw through all three loops on the hook. Repeat this for as many stitches as needed. This stitch creates a slightly looser fabric than a single crochet and is great for creating shapes that require more flexibility. It can also be used to add texture and depth to your finished projects.
Step 5: Double Crochet Stitch
The double crochet stitch is another type used for crocheting shapes requiring more texture and dimension. To make a double crochet, wrap the yarn around the hook twice and insert it into a chain stitch. Pull up a loop and draw through two loops on the hook. Then, wrap the yarn around the hook again and draw it through both remaining loops. Repeat this for as many stitches as needed.
This stitch creates a more open and airy fabric, making it ideal for creating shapes with lace-like patterns or for adding decorative accents to your projects. The double crochet stitch can also be used to create beautiful scalloped edges on your finished shapes.
Step 6: Treble Crochet Stitch
The treble crochet stitch is a more complicated stitch that is used to create shapes with intricate texture and dimension. To make a treble crochet, wrap the yarn around the hook three times, then insert it into a chain stitch. Pull up a loop and draw through two loops on the hook. Then, wrap the yarn around the hook again and draw it through two loops.
Repeat this until you have as many stitches as needed for your shape. This stitch creates a tall and open fabric, making it perfect for creating large shapes or adding interesting patterns to your projects. It is also great for creating lacy and delicate designs. You can also use this stitch to create interesting borders and edging on your finished shapes.
Step 7: Increase & Decrease
Once the basic stitches have been mastered, increasing and decreasing can be used to manipulate the shape of the crochet piece. To increase, simply add one or more extra stitches in a single stitch. To decrease, combine two or more stitches into one stitch. This can be used to make the shape wider, taller, or thinner as needed. Practice increasing and decreasing with different stitches to create a variety of shapes. You can also use this technique to create ruffles, flares, and other interesting shapes in your projects.
Step 8: Crochet Circles
To make a crochet circle, start with a chain of six stitches and then join them to form a ring. From there, single crochet around the ring until you reach the desired size for your circle. To increase the size, add extra single crochets in each round. To create a flat circle, increase at regular intervals. For a more curved shape, increase frequently in the beginning and gradually decrease towards the end. You can also use different stitches to create circles with varied textures. You can also use this technique to create crochet spheres, which are perfect for making stuffed animals or decorative items.
Step 9: Crochet Squares
Start by making a chain of four stitches and then join them to form a ring. Single crochet into the ring, then make three chains. Make two double crochets in between each single crochet, and continue this pattern until you reach the desired size for your square. To make the corners, add three double crochets in one stitch. Continue this pattern until all sides of the square are equal. You can also use different stitches and color variations to create different patterns on your square. Crochet squares can be used to create blankets, scarves, and other decorative items.
Step 10: Crochet Triangles
To make a triangle shape, start with a chain of four stitches, join them to form a ring, and then single crochet into the ring. Make two chains, then make two double crochets in between each single crochet until you have three sides. To increase the size, add extra double crochets in each round. You can also vary the number of chains in between each double crochet to create different triangle shapes. Crochet triangles are ideal for making bunting, shawls, and other decorative items.
Step 11: Finishing your Project
To finish off your project, cut the yarn, leaving a tail of about six inches. Pull the tail through the last loop on your hook and pull tight to secure it. Weave in any remaining loose ends using a crochet hook or yarn needle. Blocking is also important for creating polished and professional-looking shapes. Simply lay your project flat on a towel, spray with water until damp, then gently shape it into the desired shape and let it dry completely. This will help to even out any imperfections and give your project a neat and tidy appearance.
You can create unique pieces for any project by mastering the basics of crocheting shapes. With practice and experience, you can even use increasing and decreasing to manipulate the shape of your crochet pieces.
Tips for How to Crochet Shapes
- Make sure to use the right size of crochet hook to match the type and weight of yarn you’re using. This helps avoid too much tension on your hands and wrists when crocheting.
- Be mindful of your posture while crocheting; ensure you are seated upright, with your feet flat on the floor and elbows at your sides for better hand control.
- Always use sharp scissors when cutting yarn, as dull scissors can cause pulls in the yarn that could ruin a project.
- Take breaks from crocheting often to avoid strain or fatigue on your hands and wrists.
- When measuring or cutting shapes, be sure to do so accurately. Crochet is an art form; taking the time to measure precisely can result in a better-looking finished product.
- To avoid tangles when working with multiple yarn colors, keep separate balls of each color in a bag and roll them back up after use.
- When changing colors when crocheting, always finish the last stitch of one color before beginning the first stitch of another. This will keep your finished product tidy and neat.
- Familiarize yourself with any special abbreviations used in the crochet pattern you follow – this will make it much easier to understand and complete the project. Following the instructions carefully will ensure that you create the desired shape with your crochet work.
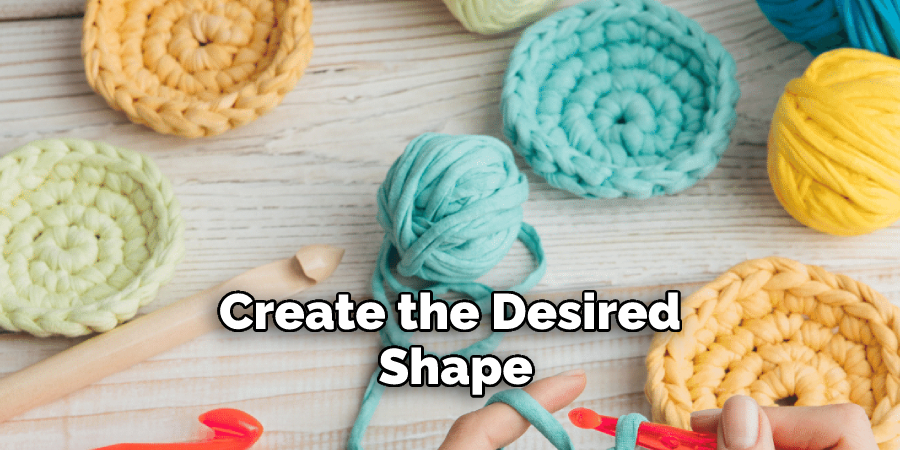
These simple tips and techniques will help make crocheting shapes easier, more efficient, and more enjoyable.
How Do You Fix Mistakes When Crocheting a Shape?
- Identify the mistake you have made: take a step back and observe the pattern of stitches to see where the mistake has occurred.
- Unravel your work until you reach the stitch before the one with the mistake, then pull up a loop on your hook as if you are going to start another stitch.
- Inspect your work carefully to see what went wrong and how you can fix it.
- Make the necessary corrections, like pulling a loop through the second stitch from the hook if you accidentally skipped one or undoing the last few stitches if your pattern doesn’t look right.
- Once you’ve fixed the mistake, continue crocheting as normal in your pattern.
- If you are having trouble figuring out how to fix the mistake, take a break and return to it later when you have had time to think it through. Taking breaks can help you gain perspective on the problem and simplify troubleshooting.
By taking the time to identify and correct these errors, you will save yourself from having to unravel large portions of your work later. With some practice and patience, you will be able to crochet shapes with confidence.
What Are Some of the Most Advanced Crochet Shapes You Can Learn?
Crocheting shapes can be a fun and creative way to use your skills and make something unique! From basic granny squares to more complex designs, you can learn many crochet shapes. Here’s a breakdown of some of the most advanced crochet shapes out there:
- Amigurumi: This type of crocheting involves creating 3-dimensional figures such as animals, people, or other items. It requires a lot of concentration and skill since you are constructing the shape out of separate pieces and then connecting them together.
- Tunisian crochet: This type of crocheting is also known as an afghan stitch and creates a unique grid-like pattern. The process consists of picking up loops from the previous row and then working them into a new stitch.
- Filet crochet: This type of crochet creates lace-like designs with many intricate details. It requires creating a grid of chains, double crochets, or other stitches and then joining them together to form a picture or design.
- Intarsia crochet: This technique creates images such as animals, landscapes, and other patterns using multiple colors of yarn. It involves carrying the unused color behind the stitches you’re currently working with so that the pattern will remain intact when you switch back to it.
- Granny squares: This classic crochet shape consists of multiple rounds made with chains, slip stitches, and double crochets. It’s simple yet can also be quite intricate, depending on the combination of colors and stitches you choose to use.
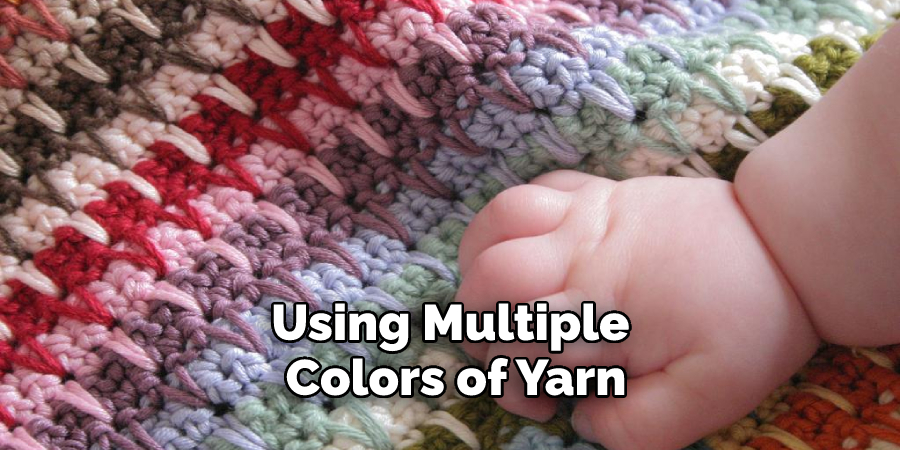
No matter which type of crochet shape you decide to learn, it’s important to practice and experiment with different stitches until you feel comfortable.
Frequently Asked Questions:
Q: Can I Use Any Type of Yarn for Crocheting Shapes?
A: It’s important to match the type and weight of yarn with the appropriate size crochet hook for best results. However, feel free to experiment with different types of yarn to create unique textures in your projects.
Q: Can I Crochet Shapes with One Hand?
A: Yes, it is possible to crochet shapes with one hand. There are various adaptive techniques and tools available for individuals who may have physical limitations but still want to enjoy crocheting. You can also try using a loom or hook holder for added support and stability while crocheting.
Q: What If I Don’t Know How to Read Crochet Patterns?
A: There are plenty of resources available online for learning how to read and understand crochet patterns. You can also reach out to local crafting groups or take a class at your local craft store for hands-on instruction. With practice, you will become more familiar with common abbreviations and techniques used in crochet patterns.
Conclusion
In conclusion, crocheting shapes can be a fun and creative way to do beautiful projects. With some practice, even the most novice of crocheters can create amazing works of art out of yarn. You can crochet many different shapes, from basic squares and circles to more complicated animals and figures. To start your own crochet shape projects, you need some yarn, a crochet hook, and lots of imagination.
With these three tools in hand, you can create unique masterpieces that will bring joy to those who see them. I hope this article has been beneficial for learning how to crochet shapes. Make Sure the precautionary measures are followed chronologically.
You Can Check It Out to Crochet a Flower Blanket

