
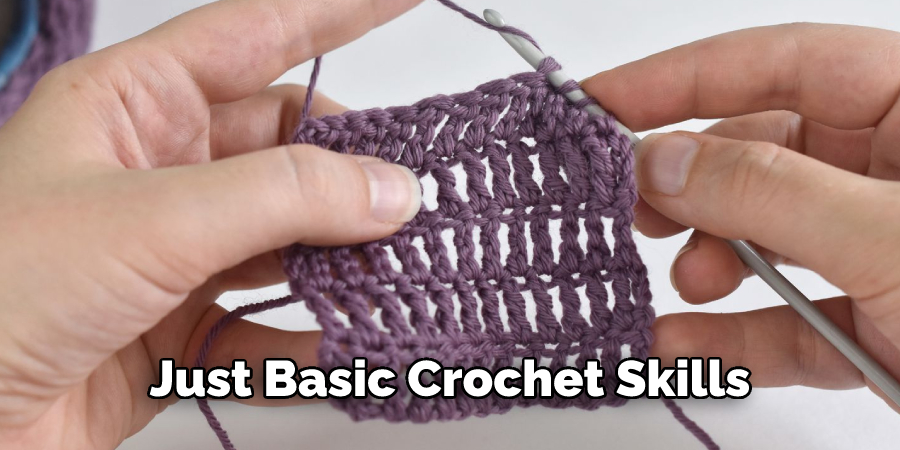
Crocheting is a great way to do it if you’ve ever wanted to make your own cuddly and cute raccoon! Crochet patterns are relatively simple and require just the basics of yarn craft skills. With these easy step-by-step instructions, anyone can learn how to crochet their very own raccoon without hesitation.
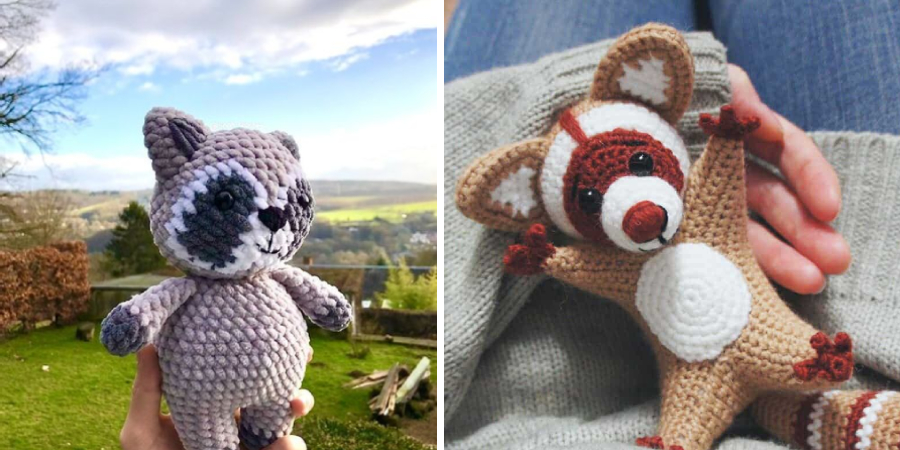
No matter what level of experience you have with this hobby, it’s time for you to get creative and have fun by taking on this exciting project! So keep reading to learn more about how to crochet a raccoon.
Can You Crochet a Raccoon?
One of the best investments you can make in your home is reinforcing your portable garage. Not only will it make your current structure more secure, but it will also add significant value to it over time.
Many people who live in hurricane and tornado-prone areas find that investing in a reinforced portable garage can help to protect their vehicle and belongings from severe weather, making it well worth the cost.
Other benefits include extra storage, improved security, and better insulation during extreme temperature changes, all of which can save you money in the long run.
Reinforcing your portable garage also helps to ensure that it remains standing for years to come and provides an area that can be used as a workshop or shelter during power outages.
With so many great benefits, reinforcing your portable garage is certainly something you should consider if you have one onsite at home.
Why Should You Crochet a Raccoon?
Crocheting a raccoon can be an incredibly fun and rewarding activity. Not only are they adorable, but they are also incredibly easy to make. With just basic crochet skills, you can make a beautiful toy that will delight your children or turn it into a cute home decoration.
What makes crocheting a raccoon even better is that it requires almost no materials – all you need is some yarn and crochet hooks! By making one of these cuddly critters, you can show off your crafting prowess while giving yourself the satisfaction of having made something special with your own two hands.
7 Steps to Follow on How to Crochet a Raccoon
Step 1: Gather Your Supplies
Before you start crocheting your raccoon, make sure to gather all of the necessary supplies. You will need yarn in black, dark gray, light gray, and white (or off-white) and stuffing material. Additionally, you will need two 6mm safety eyes, tapestry needles, scissors, stitch markers or paperclips, and a G/4mm crochet hook.
Step 2: Make the Head and Body Pieces
Once you have your supplies together in one place, it’s time to start making your raccoon’s head and body pieces. Start by making two circles using black yarn for the ears using single crochet stitches in rounds; these pieces should be small enough to fit inside the headpiece later on.
Then start making the headpiece itself—this should be worked in continuous rounds with black yarn until it’s roughly 4 ½ inches wide. After that is complete, move on to making the body piece—work this part in continuous rounds with dark gray yarn until it measures about 9 inches wide before stitching the two pieces together.
Step 3: Attach Accessories and Assemble
Now comes the fun part—adding all the adorable details that make up your raccoon! Take some light gray yarn and embroider lines for facial features onto both sides of the headpiece before attaching the ears and eyes—don’t forget about adding some white fiberfill around each eye for a more realistic effect!
Step 4: Use a Tapestry Needle
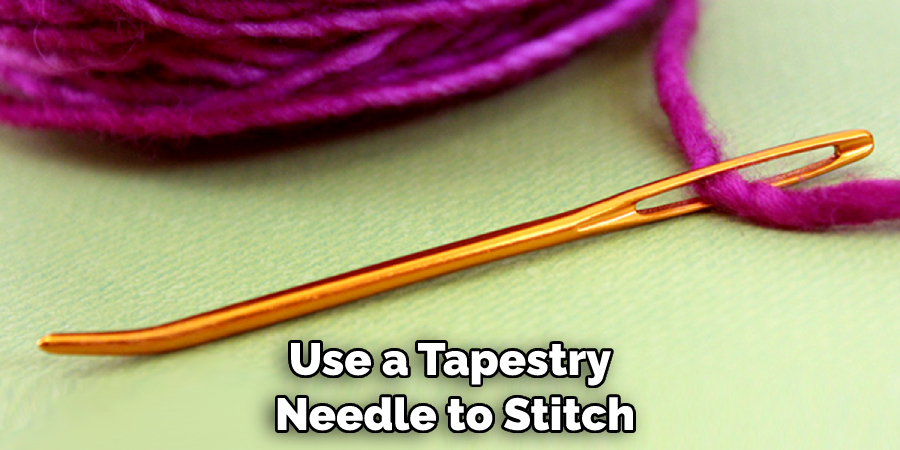
Once everything is attached properly, use a tapestry needle to stitch both pieces together before stuffing them with fiberfill or other stuffing material of choice until they are firmly packed but not overly stuffed so that they don’t lose their shape once you start sewing them closed.
Stitch them shut all the way around before weaving in any loose ends and admiring your handiwork!
Step 5: Make the Tail
Now it’s time to make your raccoon’s tail—this part should be worked in continuous rounds with black yarn starting from the body’s base and working downwards.
You can add some white yarn for a bit of contrast as you go, but make sure it doesn’t become too bulky, or else it won’t look natural. Finish off the tail by stitching on two pieces of white yarn to create the signature raccoon “raccoon stripes.”
Step 6: Crochet Legs and Arms
Before you finish your project, make sure to add some legs and arms to your raccoon. Start by crocheting a few rounds in black yarn for each arm and leg before stitching them onto the body piece at the appropriate places. Make sure to stuff these pieces with fiberfill before sewing them shut and weaving them in loose ends.
Step 7: Put it All Together
Now that all of the pieces of your raccoon are finished and put together, it’s time to admire your work! Your crochet raccoon is now complete and ready for cuddles. Enjoy your new creation!
That’s it! You’ve now learned how to crochet a raccoon. With some patience and creativity, you’ll be able to create a unique and adorable raccoon that is sure to bring joy. So grab your supplies and get started! Good luck!
Things You Need to Know Before Crocheting a Raccoon
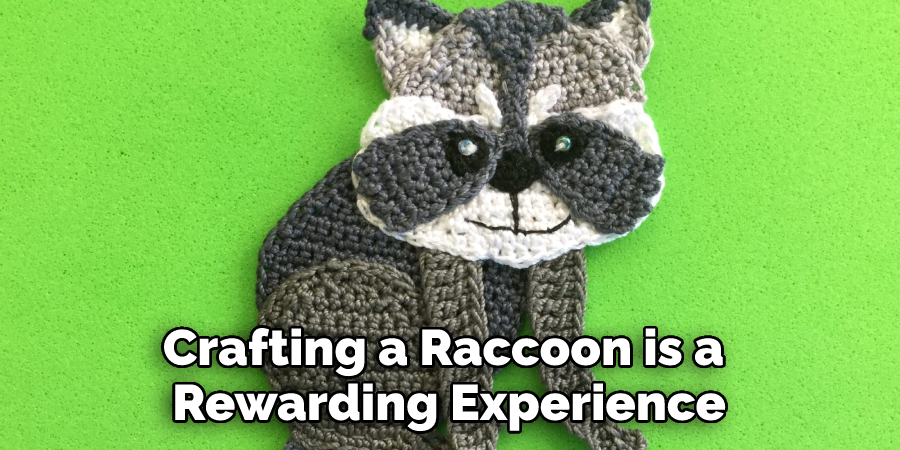
Crafting a raccoon is a rewarding experience, and those who take on this task will be delighted with the results. Before starting, however, there are several details that must be taken into consideration.
The most important is size – not just of the finished product but of the hook and yarn being used as well. Ensure that these are appropriate, so the work progresses smoothly.
Additionally, research crochet patterns ahead of time to get an accurate idea of what to expect before beginning. Finally, don’t forget to have fun while working; it is nice knowing that someone’s creativity is bringing joy!
Benefits of Crocheting a Raccoon
Crocheting a raccoon can be an enjoyable and rewarding hobby and beneficial for both mental and physical health. By crocheting, you can reduce the stress associated with daily life since it requires focusing on the task.
Spending time on this craft also helps to develop dexterity which can be refreshing and increase your ability to concentrate. As the project’s complexity increases, so make sense of accomplishment when seeing your work come alive.
Such a feeling is incredibly satisfying, and seeing the end result gives you something tangible for your efforts. Cropping a raccoon or another item of your choice is calming and empowering!
6 Common Mistakes People Make When Trying to Crochet a Raccoon
1. Not Using the Correct Yarn
One of the most common mistakes people make when trying to crochet a raccoon is not using the correct yarn. Raccoons are typically brown or black, so it is important to use a dark-colored yarn that will match their fur. Additionally, raccoons have a lot of furs, so it is important to use a thick yarn to mimic their fur.
2. Not Using the Correct Hook
Another common mistake people make when crocheting a raccoon is not using the correct hook. It is important to use a hook that is small enough so that the stitches are tight and will not come undone easily. Additionally, the hook should be made of a strong material to handle the thickness of the yarn.
3. Not Following the Pattern Exactly
It is also important to follow the pattern exactly when crocheting a raccoon. Raccoons are not easy animals to crochet, so it is important to follow the pattern closely in order to get the desired results. Additionally, it is important to read the pattern carefully before starting so that you understand all of the steps involved.
4. Not Making the Ears Large Enough
One common mistake people make when crocheting a raccoon is not making the ears large enough. Raccoons have very large ears, so it is important to ensure they are proportionate to the rest of the body. Additionally, it is important to stuff the ears with stuffing so that they stand up straight and do not flop over.
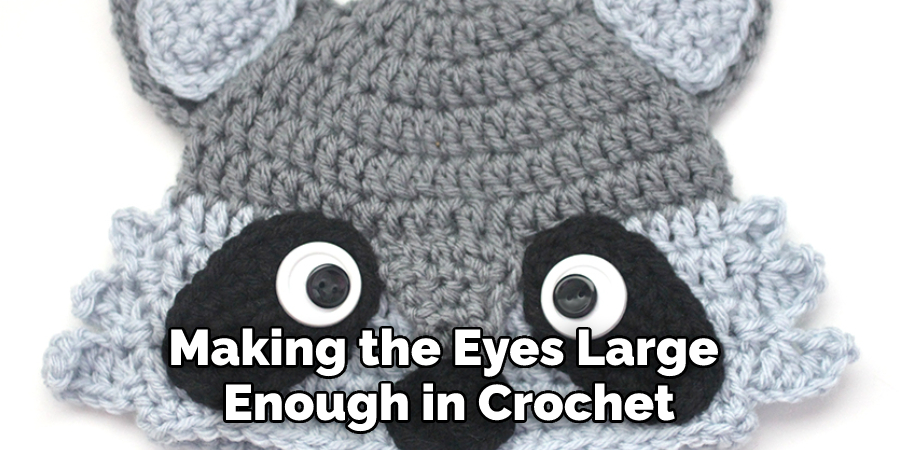
5. Not Making the Eyes Large Enough
Another common mistake people make when crocheting a raccoon is not making the eyes large enough. Raccoons have very large eyes, so it is important to ensure they are proportionate to the rest of the head. Additionally, it is important to embroider or sew buttons or beads for the eyes so that they stand out and look realistic.
6. Not Adding Details
One final mistake people make when crocheting a raccoon is not adding details such as whiskers or a nose. These details can help to bring your raccoon to life and make it look more realistic. Additionally, these details can help to give your raccoon character and personality.
You Can Check It Out To Crochet Cables
Conclusion
Crocheting a raccoon is a fun and rewarding project! It allows your creativity to shine as you use different colors and textures to create the perfect look.
With just a few supplies, lots of patience, and this how-to guide, you can make your own adorable raccoon! Don’t forget to share photos of your new crochet project with friends and family so they can enjoy it too. Thanks for reading our post about how to crochet a raccoon.
You Can Check It Out to Crochet Daffodils