
Are you ready to take your crochet amigurumi projects to the next level? Embroidering offers endless design possibilities for one-of-a-kind creations. Whether you are a beginner or a seasoned crocheter, this article will guide you through how to embroider on crochet amigurumi.

From fabric and yarn selection to creative stitching techniques, we’ll help you expand your skills and create stunning finished pieces that make excellent gifts or decorations. You’ll be amazed at what these little works of art come out looking like!
Tools You Will Need
- Embroidery hoop
- Embroidery floss or yarn
- Sharp embroidery needle
- Fabric marking pen or pencil
- Scissors
6 Steps Guide on How to Embroider on Crochet Amigurumi
Step 1: Select Your Fabric
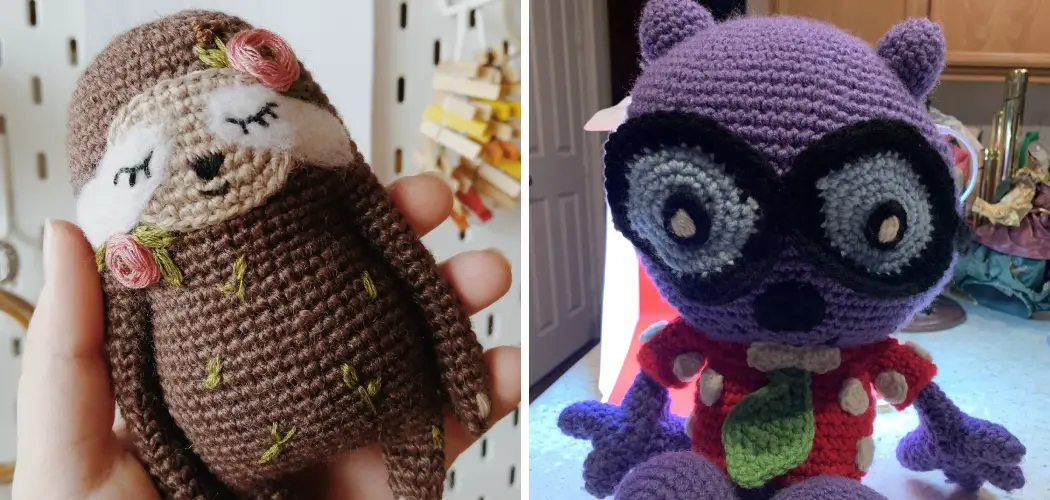
Adding intricate embroidery to a crochet amigurumi can create an amazing final result for the craft project. Selecting the best fabric is key to achieving this effect. Fabrics like cotton and linen, or even wool felt, provide excellent smoothness when drawing threads through them for an even stitch that looks professional.
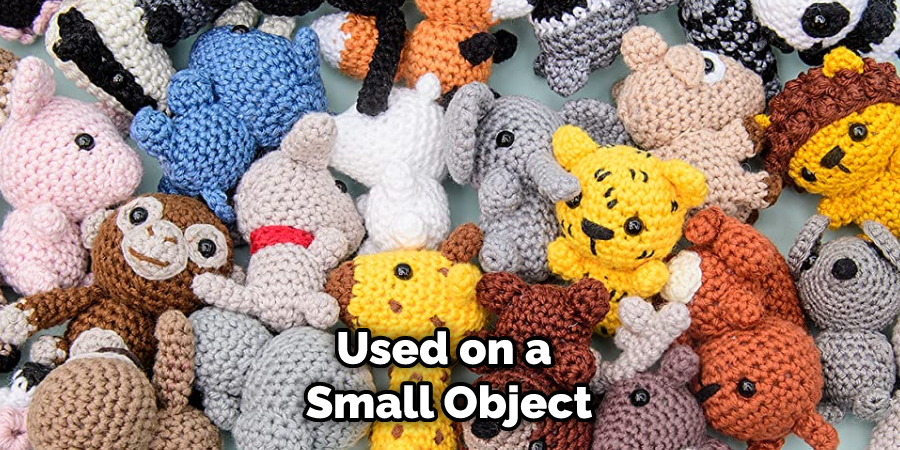
Look for fabrics with colors closely matching what you wish your embroidery to look like as colors can always be adjusted with thread colors but not fabric colors. A lightweight fabric will give you maximum flexibility to shape and adjust the finished image into 3D form when used on a small object such as an amigurumi.
If a large object is being created, including furniture cushions, heavier fabrics may be necessary to handle heavier stitching requirements.
Step 2: Place the Fabric in an Embroidery Hoop
Embroidering on crochet amigurumi is a fun and creative way to customize the look of your finished projects. To get started, place your crocheted amigurumi inside an embroidery hoop so that the fabric of your project is tightly held in place. Make sure to adjust the tension on the hoop so that it’s as tight as possible but still comfortable to stitch onto.
This will create a more even surface texture for your embroidered stitches to take hold and also allow you to easily manage any loose ends or threads around the exterior of your crochet piece. Once complete, you’ll have a unique, personalized item that any proud crafter would be happy to call their own!
Step 3: Mark Your Design
Embroidering on amigurumi is a great way to add a unique touch to your crochet creations. Before you begin, mark your design on the crocheted surface with an erasable fabric pen or tailor’s chalk, tailoring pins, and string tracing. If you plan to embroider eyes, mouths, and other facial features, this step is especially important. Take your time accurately marking all of the details in the pattern.
After all, without an accurate template, the embroidered design won’t match the desired outcome! Once your template is complete it’s time to thread needles with specialty threads or yarn and let the stitch work begin. Get creative with colors and stitches —there are no absolute rules when it comes to adding custom embellishments to amigurumi!
Step 4: Thread Your Needle
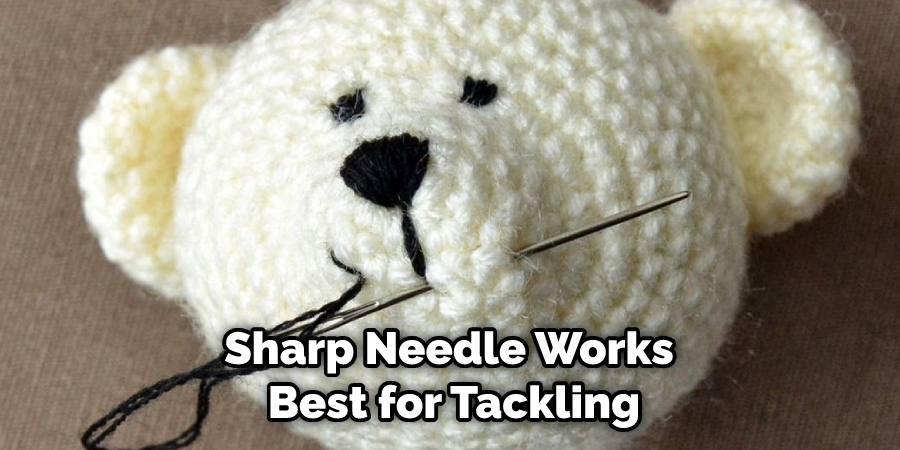
To create embroidered details on your crochet amigurumi, threading a needle is an essential task. Starting with the right type of needle can make all the difference in the outcome of your project.
Sewing needles come in various sizes and shapes. For most crochet fabric, a sharp needle works best for tackling detailed designs. Be sure to select one size that easily fits through all the loops and stitches of your amigurumi piece.
Threading a needle also requires some skill and patience – start by gently pulling off several inches of thread from the spool, find the eye of the needle, insert it through part way, and hold it snugly between your fingers.
Finally, insert enough thread so you have extra slack at both ends while still maintaining a secure tension, knot the ends together and now you are ready to begin adding those intricate touches to your masterpiece!
Step 5: Start Stitching
Embroidering on crochet amigurumi can be a great way to make beautiful stuffed animals or colorful decorations. Starting stitching is easy; the process only requires a needle, embroidery thread, and an idea of what you would like to create. Embroidering allows creativity to flow through stitches and colors in one-of-a-kind designs that can be as simple or elaborate as your imagination desires.
It’s important to remember that when embroidering on crochet pieces, the stitches should follow the unique texture of the fabric for patterns with beautiful texture and layered look. So grab those needles, start stitching, and create art that shows off your personality!
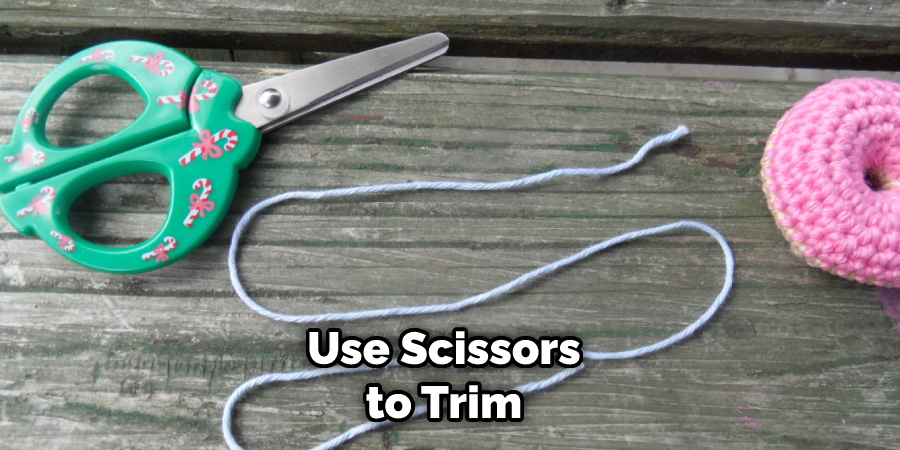
Step 6: Cut Away Excess Fabric
Embroidering fabric onto crochet amigurumi can be a fun way to create unique and beautiful pieces. To begin, lay out the shape of your amigurumi figure on scrap fabric. Once you’re happy with the shape you’ve chosen, use scissors to trim away any excess material around the edges. Be sure to leave a small margin of excess fabric.
This will ensure that the piece is securely attached when you sew the crochet to the cutaway fabric. Gently attach pieces of fabric using a running stitch, or if needed you can secure corners using a backstitch for a clean edge. With a few simple steps and some practice, it’s easy to add another level of complexity and texture to your crocheted creations!
Have fun creating all kinds of unique designs for your projects.
Tips to Embroider on Crochet Amigurumi
- Choose the right needle. When embroidering on crochet amigurumi, you will want to use a needle that is small and sharp. A tapestry needle or crewel needle will work well. Avoid using a regular sewing needle, as this can damage the yarn.
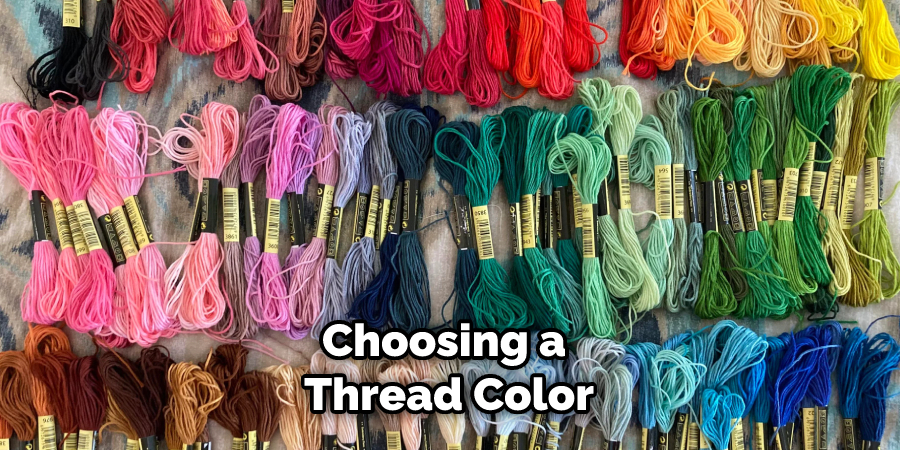
- Use a contrasting color of thread. When choosing a thread color, it is best to choose one that contrasts with the yarn color. This will make your stitches more visible and prevent them from getting lost in the fabric.
- Knot the end of the thread. Before you start stitching, you will want to knot the end of the thread to prevent it from unraveling. You can do this by making a small loop and tying it off with a double knot.
- Insert the needle from back to front. When starting a stitch, you will want to insert the needle into the fabric from the back to the front. This will help to hide the knot on the back side of the work.
- Pull the thread through to the backside. Once you have inserted the needle into the fabric, you will want to pull it through to the backside. Make sure that you leave a tail of thread on the back side so that you can later weave in any loose ends.
- Insert the needle into the next stitch location. For each subsequent stitch, you will want to insert the needle into the next stitch location. As you do this, be sure to keep your stitches even and consistent in size.
- Pull the thread through to the backside again. After inserting the needle into the next stitch location, you will want to pull it through to the backside again. As before, make sure that you leave a tail of thread on the back side so that you can later weave in any loose ends.
- Repeat steps 6 and 7 until your desired pattern is complete. Continue inserting and pulling through stitches until your desired pattern is complete. Remember to keep your stitches even and consistent in size throughout.
How to Create Unique Designs with Embroidered Crochet Amigurumi?
Amigurumi, the Japanese art of crocheting stuffed animals or characters made from yarn and fabric, can be a great way to create one-of-a-kind designs. To give your projects an extra unique twist, try adding embroidery!
With just a few basic supplies such as embroidery thread and needles, you can create intricate and detailed patterns that pop against the crocheted fabric. Embroidered crochet amigurumi make great gift ideas for friends and family members who are sure to appreciate the artistic touch and attention to detail.
Whether you’re looking for a fun new project or want to personalize something special for your loved ones, adding embroidery to amigurumi is a fantastic way to get creative with crochet!
How to Choose the Right Needle for Embroidering on Crochet Pieces?
Choosing the right needle when doing embroidery on crochet pieces is crucial to your success. Starting with a needle that isn’t up to the job can leave you frustrated and hampered by technical issues – typically something that’s too long, too thick, or too wide.
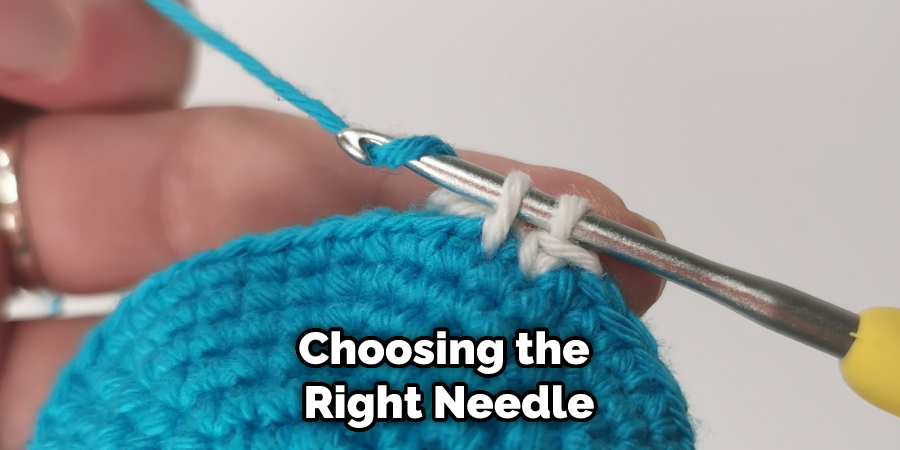
To prevent this from happening, consider what type of yarn you’ll be using and choose a suitable size needle with an eye wide enough to fit the thread or yarn; typically the longer and thicker kind used for tapestry work is ideal for large-holed threads. Use a blunt end needle for softer yarns and a sharp tip for small threads.
Lastly, make sure that your needle is made from material that won’t damage your crochet piece as some cloth can be more delicate than others. With a bit of research, you can learn about both the needles available locally, and those manufactured internationally, allowing you to find just the right tool for embroidering on your unique crochet projects!
How to Hide Knots and Loose Threads When Embroidering on Crochet Amigurumi Projects?
Embroidering on amigurumi crochet projects can be challenging, especially when it comes to hiding knots and loose threads. While hand-weaving the knots can be tricky, there are a few simple tricks to help you achieve a finished look.
Before knotting the thread, wrap opposite ends around each other 4–5 times and make sure they lay flat over the piece. Secure these wraps with a single knot that is located above your work. When it comes to excess thread, carefully close in the project after attaching all pieces and use your embroidery needle to neatly tuck away any strands that may remain exposed.
This method creates an almost seamless finish and prevents the ends from being tugged out of place. With these helpful hints, you’ll soon be creating beautiful amigurumi crochet projects with expertly concealed knots and loose threads.
Conclusion
Now you know how to embroider on crochet amigurumi! The possibilities are endless! With a bit of practice, soon you’ll be able to create beautiful embroidered pieces that can be used as decorations or gifts. So get stitching and enjoy the process! Good luck! If you need any help along the way, we’re always here for you. Happy crocheting!