

Knitting is an incredibly therapeutic and rewarding craft, with the ability to produce gorgeous items from a simple ball of yarn. Knowing how to turn a heel in knitting is one of the milestones in the journey of mastering this timeless skill enjoyed by generations around the world.
In this post, we’ll take you through all you need to know about turning a heel, providing step-by-step instructions on how to do it, as well as tips and tricks for success. Don’t worry if it seems a little daunting at first. The more you practice, the easier it will become. So pull out your beloved knitting needles, and let’s get started!
What is a Heel?
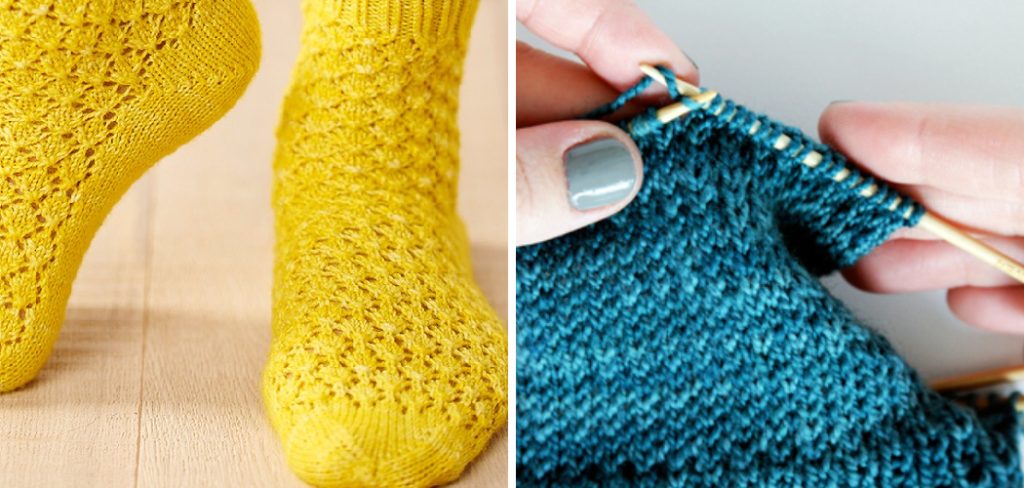
The heel is the part of knitted fabric that covers and wraps around the back of the foot. It is usually made from some type of ribbing pattern to provide extra stretch, fit, and comfort. The heel must be able to stretch in order for the sock or sweater to fit properly.
How it’s done will depend on the particular pattern you’re using, but the basic principles are the same. The heel is usually created using short rows, which involve turning your work in the middle of a row instead of working across to the end. This creates an extra bit of fabric that extends up and around the foot, forming the heel.
Why is Heel Important in Knitting?
The heel is an important part of knitting as it creates a curved shape on the back of a sock or sweater. When turning the heel, you create the first bend in the sock that will help to accommodate the ankle and foot. It also helps to create a more comfortable fit for your project. Without properly turned heels, socks and sweaters may feel uncomfortable to wear.
When knitting a sock, the heel helps keep it from bunching up around the ankle and foot. The heel gives you more control over how your project looks when wearing since it creates a snugger fit. It also allows for better mobility since the heel is curved rather than straight.
The same goes for sweaters. The heel helps keep the fabric from bunching up at the back of the sweater, and the curved shape will allow for better mobility and a more comfortable fit.
It’s important to know how to turn a heel in knitting because it will help you create projects that are functional and look great when worn. Knowing how to turn a heel properly will also make sure that your project fits comfortably and looks great!
By taking the time to learn how to do it, you’ll be creating projects with hems that last longer, look better, and are more comfortable to wear. Your projects will have improved shape and fit, giving them a professional finish.
Required Items
To turn a heel in knitting, you will need the following items:
- Yarn (choose your preferred yarn weight and color)
- Needles that suit your chosen yarn weight
- Measuring tape or ruler
- Scissors
- Tapestry needle for weaving in ends.
10 Steps on How to Turn a Heel in Knitting
Step 1: Cast the Loop
Begin by knitting the number of rows specified in your pattern. For example, if your pattern calls for a 20-row repeat, then you will need to knit those 20 rows before beginning the heel-turning process.
Step 2: Turn Your Work
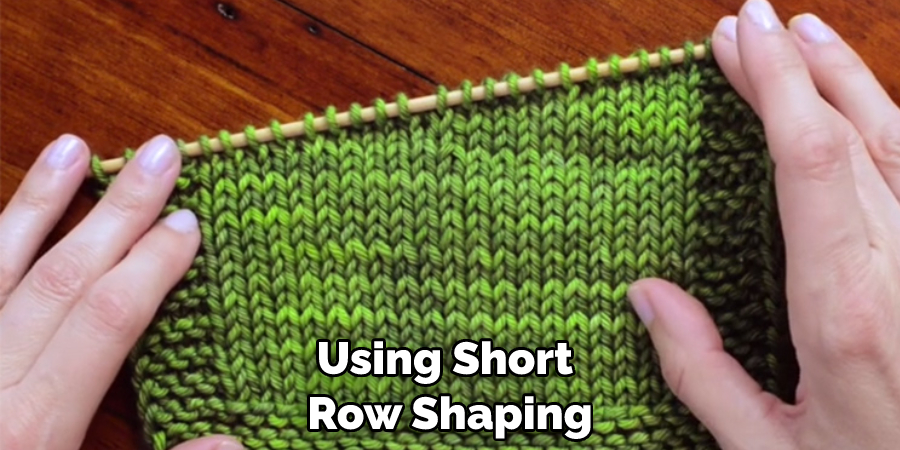
When the number of repeats is reached, turn your work and begin working back in the opposite direction. This is where you will create your heel by using short-row shaping.
Step 3: Make Shaping
Once you have turned your work, begin making the heel shaping by knitting a few stitches and then turning your work again without knitting to the end of the row. How many stitches you knit depends on your pattern. For example, if your pattern calls for a 10-stitch repeat, knit only 10 stitches before turning your work.
Step 4: Create the Heel Flap
Repeat this process of knitting a few stitches and then turning until you have created a heel flap that is the same width as the heel portion of your pattern (again, refer to your pattern for the exact stitch count). When you reach the last turn of the row, leave the remaining stitches unworked.
Step 5: Knit Across
Now that you have created a heel flap for your pattern, it’s time to begin knitting across it. Start by turning your work and knitting back across all of the stitches in the heel flap. You will be able to see how your progress is taking shape as you knit.
Step 6: Wrap & Turn
When you reach the center of the heel flap, it’s time to start wrap and turn (W&T) shaping. The W&T technique involves wrapping the next stitch on your left-hand needle before turning your work around and knitting back in the opposite direction. This will create a gap in the heel flap that will be used to form the heel.
Step 7: Continue Wrapping & Turning
Continue wrapping and turning until you reach the end of the heel flap. How many times you do this depends on your pattern, so refer to it for specific instructions.
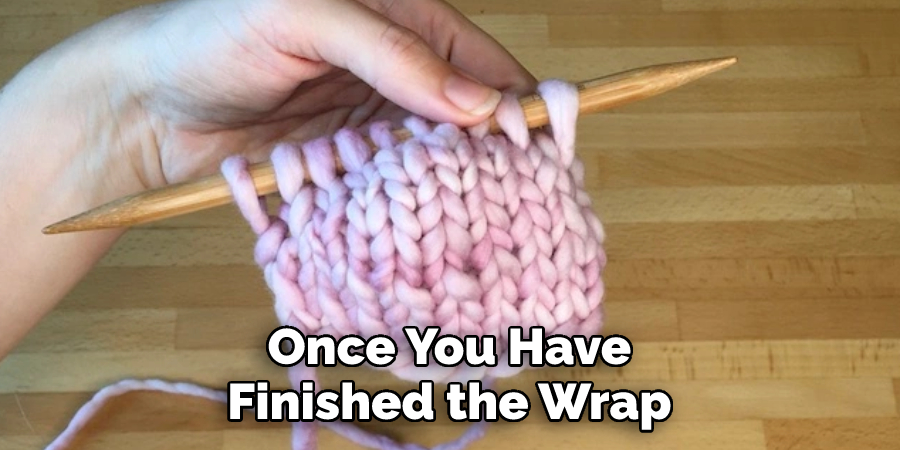
Step 8: Unwrap Stitches
Once you have finished the wrap and turn rows, it’s time to begin un-wrapping the stitches. To do this, work across the heel flap until you come to the first wrapped stitch. Carefully unwrap this stitch by inserting your right-hand needle into the wrapped yarn loop and lifting it over your left-hand needle.
Step 9: Continue Unwrapping
Continue un-wrapping all the stitches until you reach the end of the heel flap. This will reveal a series of gaps that were created with the wrap-and-turn technique. Unwrapping the stitches will also ensure that the heel fits properly.
Step 10: Secure the Heel Flap
When all of the stitches are unwrapped, it’s time to secure the heel flap by knitting across it one final time. This will give your heel a neat and tidy finish.
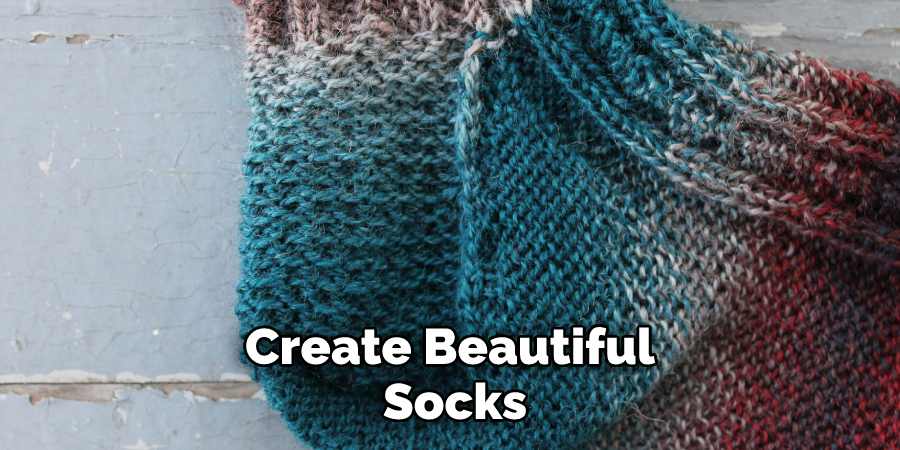
Voila! Your heel is now complete and ready to be used for your project. You can use this technique to create beautiful socks and sweaters that fit perfectly. The heel is an essential part of any knitted garment, so it’s important to understand the basics of how to turn a heel before attempting more complex projects.
10 Safety Measures to Take While Knitting Heel
- Choose garments that are free of lint and lose threads. Wearing baggy clothing can often lead to catching your needles on fabric and having accidents.
- Make sure that you have the right needles and yarn for your project. You should also make sure that each needle is properly sized for the yarn that you are using.
- Before beginning, make sure that there is no clutter or small items within reach of your work area. This can help prevent the risk of any accidents.
- Taking regular breaks when knitting a heel can help to prevent fatigue and keep concentration levels up.
- Always double-check the size of your needles and yarn before starting so that you are sure that they are compatible.
- Ensure that all knitting tools have smooth edges to avoid chafing your hands or fingers as you work. Without smooth edges, needles and hooks can cause accidents.
- If you need to make adjustments or corrections when knitting a heel, always use a stitch marker so that you do not lose your work.
- Make sure to use the right type of needle for each piece of yarn that you are working with. Without the right needle, it can be difficult to work with the yarn.
- When gripping your needles, make sure to hold them firmly and with a relaxed grip. Holding them too tight can cause fatigue in your hands, and you may end up dropping stitches or making mistakes.
- Keep track of the pattern that you are using when knitting a heel. This will help prevent confusion and ensure that the final product is exactly what you want.
Following a pattern can also help keep mistakes to a minimum. When in doubt, refer to the pattern for the next step. Make sure that you turn your heel in knitting safely and successfully.
Conclusion
So there you have it, a step-by-step guide on how to turn a heel in knitting. Remember to take your time and relax – you’ll get the hang of it before you know it! If you’re still having trouble or if this method just isn’t working for you, don’t hesitate to try another one.
There are lots of ways to turn a heel, so find the one that works best for you. Don’t worry if it takes a few tries to get it right – that’s part of the learning process. Just keep practicing, and don’t give up! With enough patience and perseverance, you’ll be a pro at turning your heel in no time. With this information, you now have all the tools necessary, and happy knitting!
You Can Check It Out to Hold Yarn when Knitting