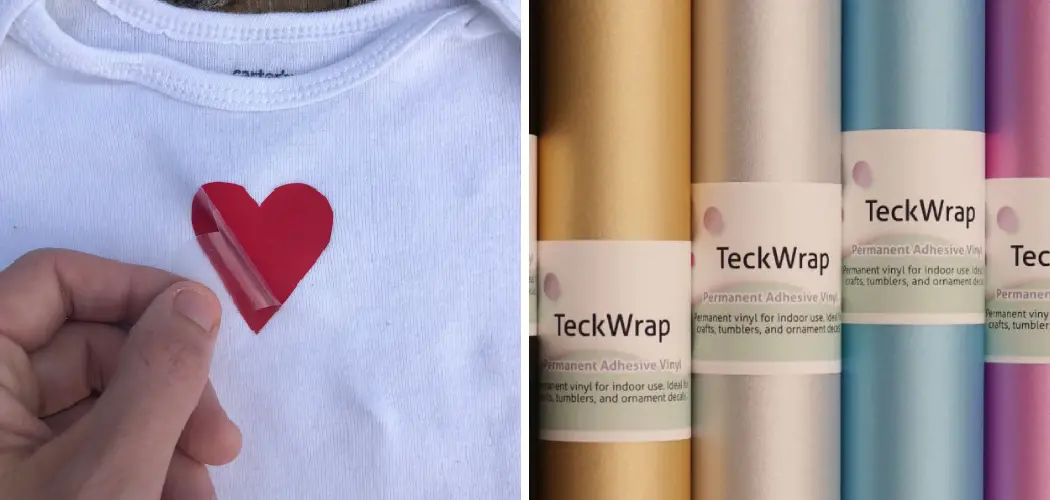
When it comes to working with vinyl, one of the most common questions is: how do I tell the difference between HTV and permanent vinyl? Both types of vinyl are used in various crafting projects, but they have very different properties and uses. For anyone new to using a cutting machine or crafting with vinyl, the different types of vinyl available can be confusing.
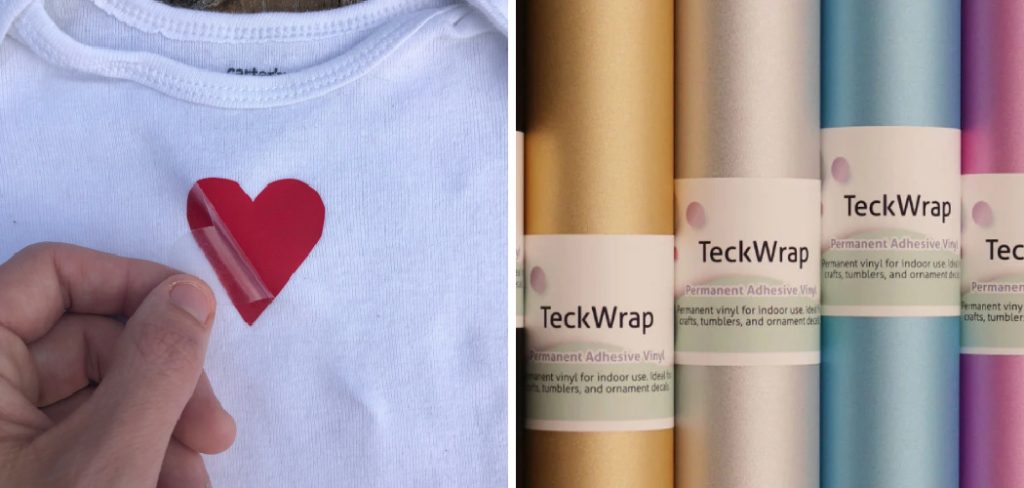
Two common types are heat transfer vinyl (HTV) and permanent adhesive vinyl. They may sound similar, but they have distinct characteristics that make them suitable for different projects. In this guide on how to tell the difference between HTV and permanent vinyl, we’ll go over everything you need to know about distinguishing between these two materials.
What is HTV?
HTV, or heat transfer vinyl, is a type of vinyl that is designed to be used with a heat press or iron. It has a heat-activated adhesive on one side and typically comes with a clear carrier sheet on top.
This carrier sheet protects the vinyl and helps you position it correctly before applying heat. HTV comes in a variety of colors, patterns, and finishes, making it perfect for creating customized designs on fabric items like t-shirts, tote bags, and hats.
8 Things to Know Before You Start
Before we dive into the differences between HTV and permanent vinyl, here are a few things you should keep in mind when working with either type of vinyl:
1. Always Mirror Your Design Before Cutting
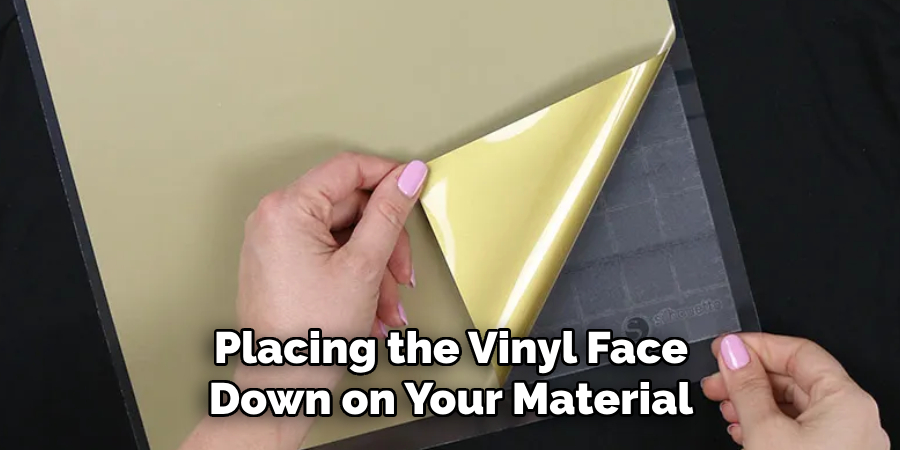
Since you will be placing the vinyl face-down on your material, it’s essential to flip your design horizontally before cutting. This ensures that it will appear correctly when applied. If you forget to mirror your design, it will appear backward once applied.
2. Use the Right Cutting Tool and Settings
To cut HTV and permanent vinyl properly, you will need a cutting machine like a Cricut or Silhouette. It’s essential to have the right blade and cutting settings for each type of vinyl. For example, HTV is typically thinner than permanent vinyl and may require a different blade and cutting depth.
3. Weed Your Design Carefully
Weeding is the process of removing any excess vinyl from around your design. With HTV, you will need to weed away the negative space, leaving only your desired design on the carrier sheet. For permanent vinyl, you will be weeding away the actual design, leaving behind the negative space. Take your time when weeding to avoid any mistakes.
4. Test Your Design and Placement Before Applying Heat
Before you apply heat to your design, it’s always a good idea to do a test run on a scrap piece of fabric or material. This will allow you to make any necessary adjustments before applying it to your final project. You should also use a ruler or measuring tape to ensure your design is placed correctly before pressing.
5. Use the Right Temperature and Pressure
When using a heat press or iron with HTV, it’s essential to use the correct temperature and pressure for the type of vinyl you are using. Too much heat or pressure can cause the vinyl to melt or not adhere properly. Most HTV materials will come with recommended heat and pressure settings, so be sure to follow them carefully.
6. Peel Hot or Cold?
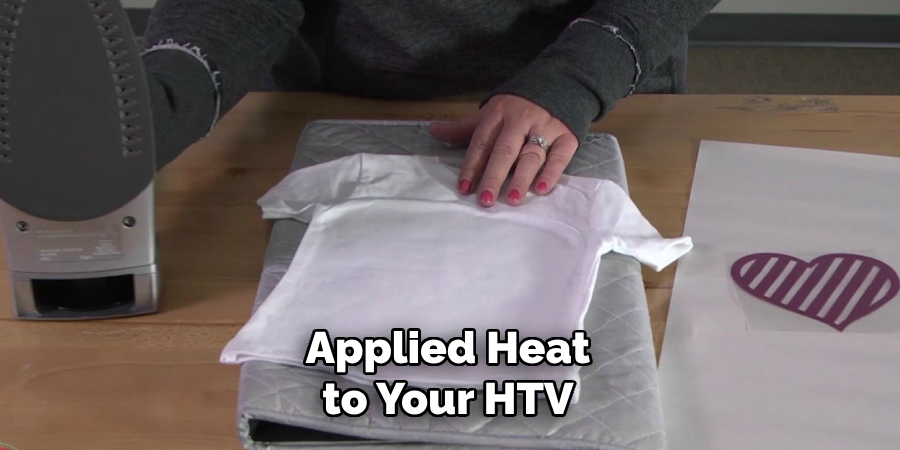
After you have applied heat to your HTV, it’s important to know whether you should peel the carrier sheet off while it’s still hot or let it cool first. Some types of HTV are meant to be peeled when hot, while others should cool down before peeling. Be sure to check the instructions for your specific vinyl.
7. Wash and Care Instructions
Depending on the type of HTV or permanent vinyl you are using, there may be different washing and care instructions to follow. Some HTVs can withstand multiple washings, while others may start to peel or crack after a few. Be sure to check the label or instructions for proper care.
8. Practice Makes Perfect
Working with vinyl can take some practice, so don’t be discouraged if your first few attempts don’t turn out perfectly. Keep practicing and experimenting with different techniques and designs to find what works best for you.
In conclusion, HTV and permanent vinyl may look similar, but they have different properties and uses. HTV is best for fabric items that need to stretch and move, while permanent vinyl is ideal for more rigid surfaces like glass or metal.
Remember to always mirror your design, use the right cutting tools and settings, weed carefully, test before applying heat, use the correct temperature and pressure, follow recommended washing and care instructions, and keep practicing. With these tips in mind, you’ll be able to tell the difference between HTV and permanent vinyl with ease.
10 Steps on How to Tell the Difference Between HTV and Permanent Vinyl
Step 1: Check the Label or Packaging
The first and easiest way to tell the difference between HTV and permanent vinyl is by checking the label or packaging. Most vinyl materials will be clearly labeled, stating whether they are HTV or permanent adhesive vinyl. This is especially helpful if you are new to working with vinyl and need a quick way to distinguish between the two.
Step 2: Look at the Carrier Sheet
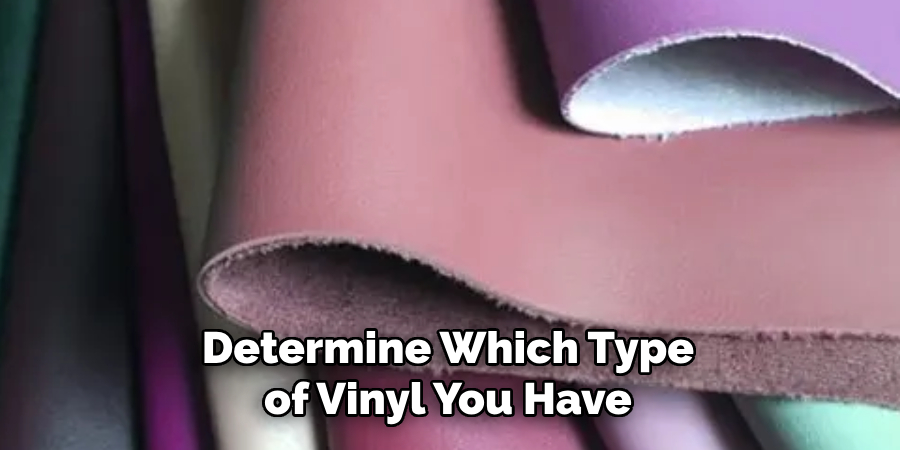
If you still can’t determine which type of vinyl you have, take a closer look at the carrier sheet. HTV will typically have a clear carrier sheet, while permanent vinyl may have white or colored backing paper. This is because HTV needs to be placed face-down on the material, while permanent vinyl is placed face-up.
Step 3: Feel the Texture
HTV and permanent vinyl have different textures that can help you identify them. HTV is usually thinner and has a slightly rubbery texture, while permanent vinyl is thicker and feels more like a sticker or decal.
Step 4: Test the Stretch
One of the main differences between HTV and permanent vinyl is their ability to stretch. If you are unsure which type of vinyl you have, try stretching it gently. HTV should be able to stretch without cracking or peeling, while permanent vinyl will not stretch at all.
Step 5: Check for a Heat-Sensitive Adhesive
HTV has a heat-sensitive adhesive that is activated when heat is applied. This allows it to bond with the fabric and stay in place. On the other hand, permanent vinyl has a pressure-sensitive adhesive that can be applied without heat.
Step 6: Look at the Finish
HTV and permanent vinyl have different finishes that can help you tell them apart. HTV typically has a smooth, matte finish, while permanent vinyl may have a glossy or shiny finish. When applied, HTV will also have a smooth, fabric-like appearance, while permanent vinyl may have visible edges or seams.
Step 7: Consider the Purpose
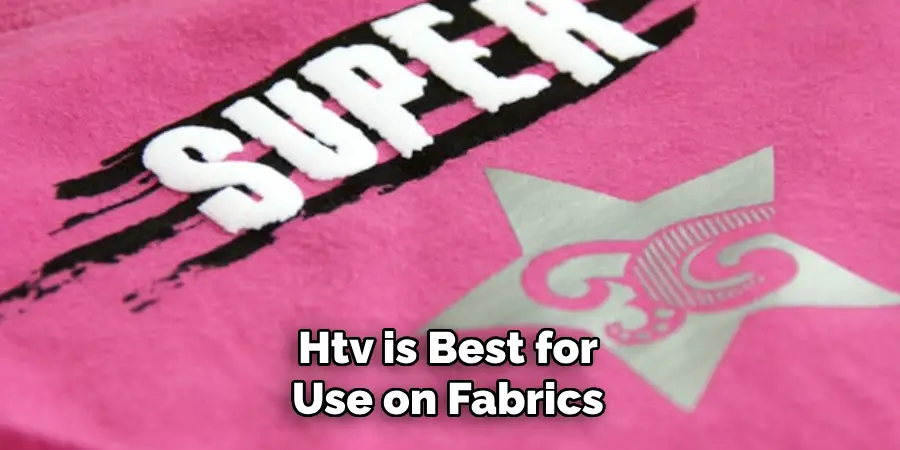
Another way to tell the difference between HTV and permanent vinyl is by considering their purposes. HTV is best for use on fabrics, as it can stretch and move with the material without peeling or cracking. Permanent vinyl is better suited for rigid surfaces like glass, metal, or wood.
Step 8: Check the Cutting Settings
If you are using a cutting machine to create your designs, be sure to use the correct settings for each type of vinyl. HTV is typically thinner and may require a different blade and cutting depth than permanent vinyl. Refer to the manufacturer’s instructions for the best results.
Step 9: Check the Transfer Process
When it comes to transferring your design onto your desired surface, HTV and permanent vinyl have different processes. HTV requires heat and pressure to activate the adhesive and bond it to the fabric. Permanent vinyl can be applied with just pressure or a transfer tape.
Step 10: Consider Care Instructions
Finally, the care instructions for HTV and permanent vinyl can help you identify which type of vinyl you have. HTV is usually more durable and can withstand multiple washings, while permanent vinyl may start to peel or crack after a few washes. Be sure to follow the recommended care instructions for each type of vinyl.
By following these ten steps on how to tell the difference between HTV and permanent vinyl, you’ll be able to confidently tell the difference between HTV and permanent vinyl and use them for their intended purposes.
Remember to always check the label, feel the texture, test for stretch, consider the purpose, and follow recommended cutting and transfer techniques. With practice and experience, you’ll become a pro at working with both types of vinyl.
8 Things to Avoid When Working with HTV and Permanent Vinyl
1. Using the Wrong Cutting Tools and Settings
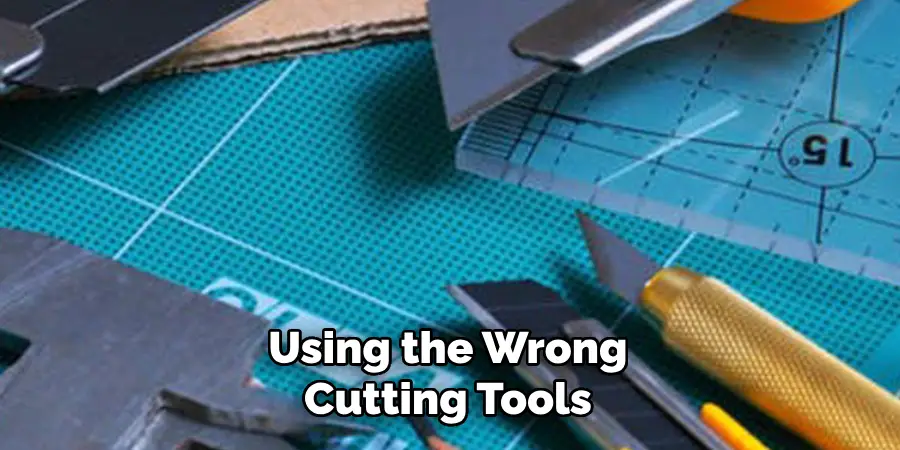
Using the wrong cutting tools or settings can cause issues when working with both HTV and permanent vinyl. Make sure to use a sharp blade and adjust your settings according to the manufacturer’s instructions for best results.
2. Forgetting to Mirror Your Design
This is a common mistake when working with HTV and permanent vinyl. Since you will be cutting the design on the backside of the vinyl, remember to always mirror your design before cutting. If you don’t, your design will be backward when applied.
3. Not Weeding Carefully
Weeding is the process of removing excess vinyl from your design before applying it to the surface. It’s essential to weed carefully and remove all unwanted pieces to ensure a clean and precise application.
4. Skipping the Test Cut
Before cutting your entire design, always do a test cut on a small piece of vinyl to ensure your settings are correct. This will save you time and materials in case any adjustments need to be made. When in doubt, do a test cut.
5. Using the Wrong Transfer Tape
Different types of vinyl may require different types of transfer tape for application. Always check the recommended transfer tape for your specific type of vinyl to ensure a successful transfer. And remember, use transfer tape for permanent vinyl, but it is not needed for HTV.
6. Not Cleaning Your Surface
Before applying your design, make sure to clean and dry the surface thoroughly. Any dirt or debris can interfere with the adhesive and cause your design to peel or not stick properly. So, always make sure your surface is clean before applying either HTV or permanent vinyl.
7. Applying Too Much Heat or Pressure
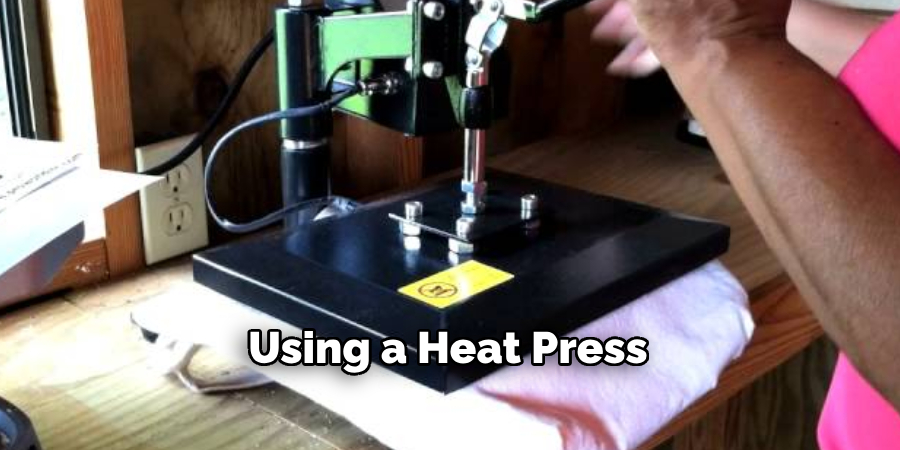
When using a heat press to apply HTV, be careful not to overheat the material. Overheating can cause the adhesive to melt and create uneven results. Similarly, when using a transfer tape for permanent vinyl, avoid applying excessive pressure, as it can cause the vinyl to stretch or distort.
8. Not Following Recommended Care Instructions
Proper care is crucial for maintaining the longevity of your HTV and permanent vinyl designs. Be sure to follow the recommended care instructions for each type of vinyl to ensure they stay in excellent condition and last for multiple uses. This includes washing with mild detergent, air-drying, and avoiding harsh chemicals or abrasive materials.
Overall, being aware of these things to avoid when working with HTV and permanent vinyl will help you achieve professional-looking results and extend the life of your designs. With practice and attention to detail, you’ll be able to create beautiful projects using both types of vinyl.
8 Additional Tips for Working with HTV and Permanent Vinyl
1. Keep a Scrap Bin
When working with vinyl, it’s always helpful to have a designated scrap bin nearby. This will help keep your workspace clean and organized while also providing you with small pieces of vinyl for future projects.
2. Use Transfer Masks for Intricate Designs
For more intricate designs or small pieces of vinyl, consider using a transfer mask to help keep your design in place during application. This will make the transfer process more manageable and ensure precise placement.
3. Use a Teflon Sheet or Parchment Paper
To protect your vinyl from overheating or melting, place a Teflon sheet or parchment paper between the heat source and the vinyl. This will help distribute the heat evenly and prevent any damage to your design.
4. Test Your Transfer Tape First
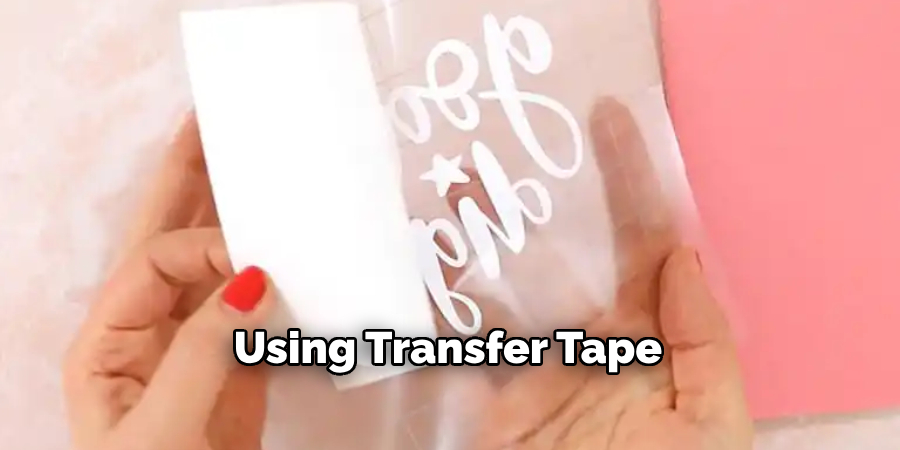
If you’re using transfer tape for permanent vinyl, do a test run on a small piece of scrap vinyl first. This will give you an idea of how sticky the transfer tape is and how much pressure is needed for the application.
5. Use a Weeding Tool for Small Details
For intricate designs or small pieces of vinyl, using a weeding tool can make the process much more manageable. These tools have sharp points that can help you remove tiny pieces of vinyl without damaging your design.
6. Keep an Eye on Your Cutting Mat
After repeated use, cutting mats can lose their stickiness and cause issues when cutting vinyl. Keep an eye on your mat and replace it if necessary to ensure precise cuts every time. While some people recommend using a spray adhesive to revive the stickiness, it’s best to start with a new mat for optimal results.
7. Experiment with Different Techniques
There is no one-size-fits-all approach when working with HTV and permanent vinyl. Don’t be afraid to experiment with different techniques and find what works best for you. This could include adjusting settings, trying different transfer methods, or using alternative tools.
8. Don’t Be Afraid to Ask for Help
If you’re new to working with HTV and permanent vinyl, don’t be afraid to reach out for help. Whether it’s asking a more experienced friend or joining online communities dedicated to crafting, there are plenty of resources available to assist you in mastering the art of vinyl application. So, don’t hesitate to ask for help when needed.
Keep practicing and continue exploring new techniques to take your vinyl projects to the next level. With these tips on how to tell the difference between HTV and permanent vinyl in mind, you’ll be creating professional-looking designs in no time. Have fun, and let your creativity shine through your projects!
Frequently Asked Questions
What is the Difference Between Htv and Permanent Vinyl?
HTV, or heat transfer vinyl, requires heat to activate its adhesive and adhere to a surface. It’s commonly used for customizing clothing and fabric items. On the other hand, permanent vinyl has a self-adhesive backing and does not require heat for application. It’s often used for creating decals, stickers, and other decorative items.
Can You Use a Regular Iron for HTV?
While it’s possible to use a regular iron for applying HTV, it may not provide the consistent heat and pressure needed for the best results. A heat press is recommended for precise and professional-looking HTV projects.
How Long Does Permanent Vinyl Last?
With proper care, permanent vinyl designs can last for several years. It’s essential to follow recommended care instructions and avoid harsh chemicals or abrasive materials when cleaning.
Is Transfer Tape Necessary for Permanent Vinyl?
Transfer tape is not necessary for permanent vinyl, but it can make the application process easier and more precise. If using transfer tape, be sure to use one recommended for permanent vinyl and follow the manufacturer’s instructions for best results.
Can You Layer HTV Designs?
Yes, you can layer HTV designs, but it’s important to consider the thickness of the layers and ensure they don’t create too much bulk or interfere with the adhesive’s ability to bond. It may also require adjusting heat and pressure settings on your heat-press for optimal results.
Always do a test run before applying multiple layers to your final project. Lastly, avoid layering adhesive vinyl as it can cause issues with the permanent design’s adhesion. Instead, use separate pieces of adhesive vinyl for each layer.
Conclusion
Working with HTV and permanent vinyl may seem daunting at first, but with practice and attention to detail, you’ll be able to create beautiful and professional-looking designs. Remember to follow recommended care instructions, use the right tools and techniques, and don’t be afraid to ask for help when needed.
With these tips on how to tell the difference between HTV and permanent vinyl in mind, you’ll be on your way to mastering the art of vinyl application and creating unique and personalized projects for years to come.

