Have you ever wanted to make a stylish and practical tote bag with lining, but don’t know where to start? If so, we have the perfect tutorial for you! Whether it’s for outings or errands around town, making your own custom-made tote bag is an incredibly satisfying task that can be done with minimal effort, limited supplies and time.

Keep reading this blog post on how to make a tote bag with lining if you want more details on how to craft your very own one-of-a-kind piece of luggage. We provide step-by-step instructions as well as helpful tips all along the way so that every part of the process – from selecting fabric to assembling the final product – will become crystal clear. Ready? Let’s begin!
What is a Tote Bag?
A tote bag is a large and spacious handbag, usually made of sturdy fabric, with parallel handles that emerge from the sides of its pouch. This type of carrying case is perfect for a variety of everyday uses such as shopping, going to the beach or carrying books and laptops. Tote bags come in different shapes, sizes and styles, but they all share one common feature – they usually do not have a zipper or other form of closure.
Why Make a Tote Bag with Lining?
Although making a tote bag without lining is possible, adding a lining to your tote bag brings several benefits. First and foremost, it adds durability and structure to the bag, making it sturdier and able to withstand more weight.
Secondly, the lining can add a pop of color or pattern to the inside of your bag, making it more visually appealing. And lastly, the lining can also serve as an extra layer of protection for your belongings, especially if you plan on carrying delicate items.
Supplies You Will Need
Before we dive into the tutorial, here are some supplies that you will need to make a tote bag with lining:
- Fabric for the Outer Part of the Bag
- Coordinating Fabric for the Lining
- Sewing Machine (Although Hand-sewing is Possible, a Sewing Machine Will Make the Process Faster and More Efficient)
- Thread in Matching Color to Your Fabrics
- Scissors or Rotary Cutter
- Pins
- Ruler/measuring Tape
- Iron and Ironing Board (Optional but Recommended)
10 Simple Step-by-step Guidelines on How to Make a Tote Bag With Lining
Step 1: Prepare Your Fabrics
Start by selecting your fabrics for the outer part of the bag and lining. You can either choose two different fabrics or use the same fabric for both. Make sure to prewash, dry and iron your fabrics before cutting.

This will ensure that your bag won’t shrink or get distorted after washing. It’s also a good idea to use interfacing on the outer fabric if you want your tote bag to have more structure. But this step is optional.
Step 2: Cut Your Fabrics
Using your ruler or measuring tape, cut two rectangular pieces out of both the outer fabric and the lining fabric. For a medium-sized tote bag, you can cut each piece to be approximately 15″ x 18″.
Adjust the measurements according to how big or small you want your bag to be. You can also add pockets to the lining fabric at this stage if you wish. You will need two pocket pieces, cut to the desired size and shape, for each side of the lining fabric.
Step 3: Sewing the Pockets
Take one pocket piece and fold it in half with the right sides together. Sew around three sides, leaving a small opening for turning. Turn the pocket right side out and press with an iron. Repeat this step for the other pocket piece. Then, pin each pocket to the lining fabric, making sure they are evenly placed and centered.
Step 4: Sewing the Outer Fabric
Take both pieces of your outer fabric and place them with the right sides facing each other. Pin along three sides, leaving one of the shorter sides open for turning later. Then, sew along those three sides with a ½ inch seam allowance. You can also add any decorations or appliques to the outer fabric at this stage.
Step 5: Sewing the Lining Fabric
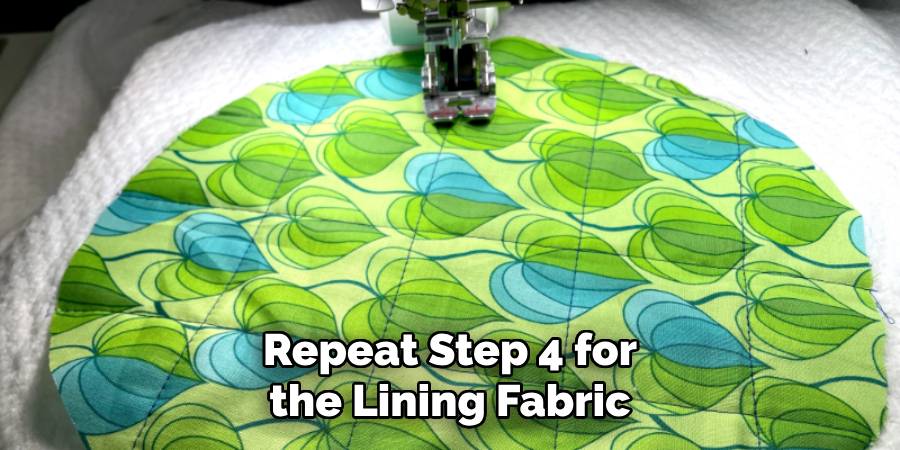
Repeat step 4 for the lining fabric, but leave a small opening on one of the longer sides instead of a shorter side. This will be used later for turning. It’s important to leave an opening for turning in both the outer fabric and the lining. It can be quite tricky to turn the bag right side out if you forget this step. You can also add a label or tag to the lining fabric at this point if you want.

Step 6: Box the Corners
Take your outer fabric and lining, and pinch the bottom corners of each piece to create a triangle shape. Measure approximately 2-3 inches from the tip of the triangle and draw a line perpendicular to the seam with a ruler or measuring tape. Sew along the line and then cut off the excess fabric. Repeat this for all four corners of both the outer fabric and lining. You should now have a boxed bottom for your bag.
Step 7: Ironing
Turn your outer fabric right side out and press it with an iron to create crisp edges. Then, insert the outer fabric into the lining so that the right sides are facing each other. Make sure to align the side seams and pin in place. You can also add a strap at this point if you want. Otherwise, you can use the handles that emerge from the pouch as your straps. It’s important to make sure that the straps are not twisted.
Step 8: Sewing the Top Edge
Sew along the top edge of your bag with an ½ inch seam allowance, leaving a small opening for turning. Make sure to reinforce the seams at each corner and where the straps meet the bag to add extra strength. Then, turn your tote bag right side out through the opening. It should now have a finished top edge.
Step 9: Closing the Opening
Using a slip stitch or a ladder stitch, close the opening in the lining. This will also create a neat and clean finish to your bag. If you are not familiar with these stitches, you can use a topstitch or invisible stitch instead. You can also add a topstitch around the top edge of your bag for added durability. But this step is optional.
Step 10: Final Pressing
Give your tote bag one final press with an iron, making sure to smooth out any wrinkles and creases. And that’s it! You now have a beautiful tote bag with a sturdy lining that is perfect for carrying all your essentials.
Customize your bag with different fabrics, decorations, and sizes to make it truly unique. Now you can confidently rock your handmade tote bag wherever you go!

Following these guidelines on how to make a tote bag with lining, you can easily make a tote bag with a lining that is both functional and stylish. With the added protection, strength, and customization options that a lining provides, your tote bag will not only be useful but also a fashion statement.
So why settle for generic store-bought bags when you can create your own personalized tote bag? Grab your supplies and get ready to impress everyone with your newly acquired sewing skills! Happy crafting!
Frequently Asked Questions
Q1. What is a Tote Bag and Why Should I Make One With Lining?
A1. A tote bag is a large, versatile and reusable carryall that can hold everything from books to groceries to work essentials. They are the perfect accessory for everyday use or travel, as they provide ample space and easy access to anything you need.
Making your own tote bag allows you to customize the design, size and features to fit your personal style and needs. Adding a lining to the tote bag not only adds an extra layer of durability but also gives a more professional finish to the overall look.
Q2. Can I Use Any Fabric for the Tote Bag and Lining?
A2. You can choose any fabric that you like for both the outer fabric and the lining of your tote bag. However, it is recommended to use sturdy and durable fabrics such as cotton canvas, denim or upholstery fabric for the outer layer to ensure your tote bag has enough structure and can withstand heavy use. For the lining, you can use any lightweight fabric like cotton or polyester as it will not affect the overall strength of your bag.
Q3. Is Sewing Experience Necessary to Make a Tote Bag with Lining?
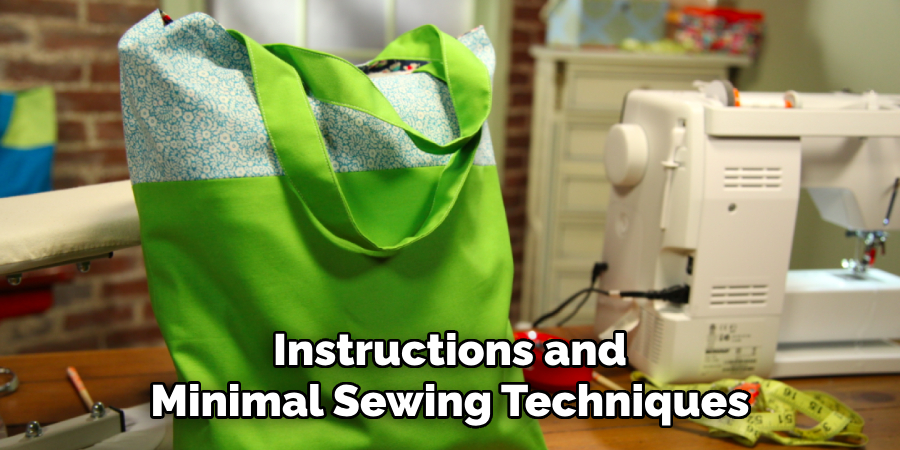
A3. While basic sewing skills are helpful, this tutorial is designed for beginners and does not require extensive sewing knowledge or experience. With detailed instructions and minimal sewing techniques, anyone can make a tote bag with lining following this guide. However, it is always helpful to have someone with sewing experience guide you through the process.

Conclusion
All in all, making a tote bag with lining isn’t as complicated as it may seem at first – with the right tools and know-how, anyone can learn how to make this durable and affordable accessory. Whether you decide to create a fun gift for a friend or make something stylish for yourself, the experience of making your own tote bag truly is rewarding.
Now that you have all of the tips and tricks to make your very own tote bag with lining, why not go out there and try it out? Trust us – no one will ever know it was homemade! Thanks for reading this article on how to make a tote bag with lining.


